
One of the best features offered in Switcher Studio is the ability to connect up to 9 iOS devices for live multicam streaming.
That’s amazing, but why?
Today we’re going to talk about ways that you can create a good multicam set up to fully leverage all that Switcher has to offer. If you have any questions or comments, feel like I left anything out, or just want a shoutout, hit us up in the YouTube comments on this video.
Multicam live video setups for one subject
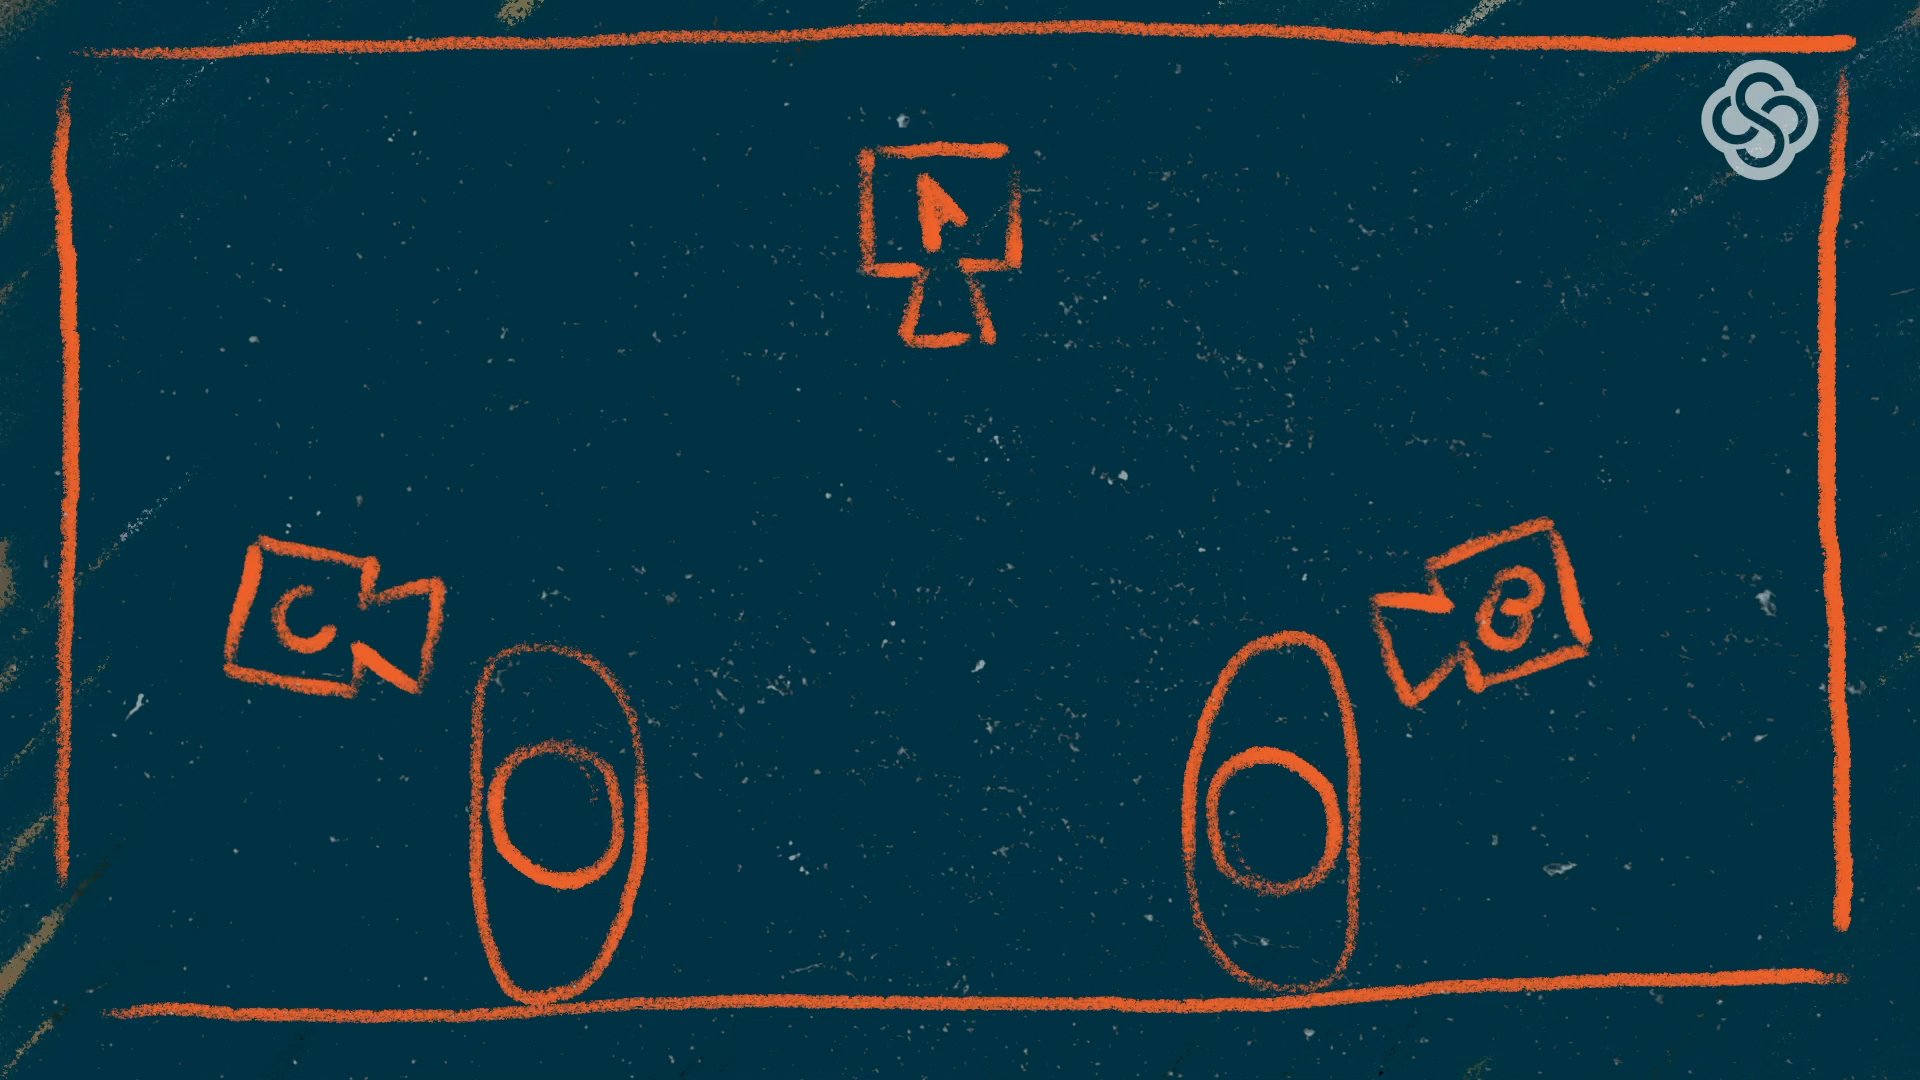
First, let’s start out with something pretty simple. Let’s talk about how we would set up our cameras for just one person or subject. Don’t worry, we’ll talk about more difficult setups, with multiple people or even sports later.
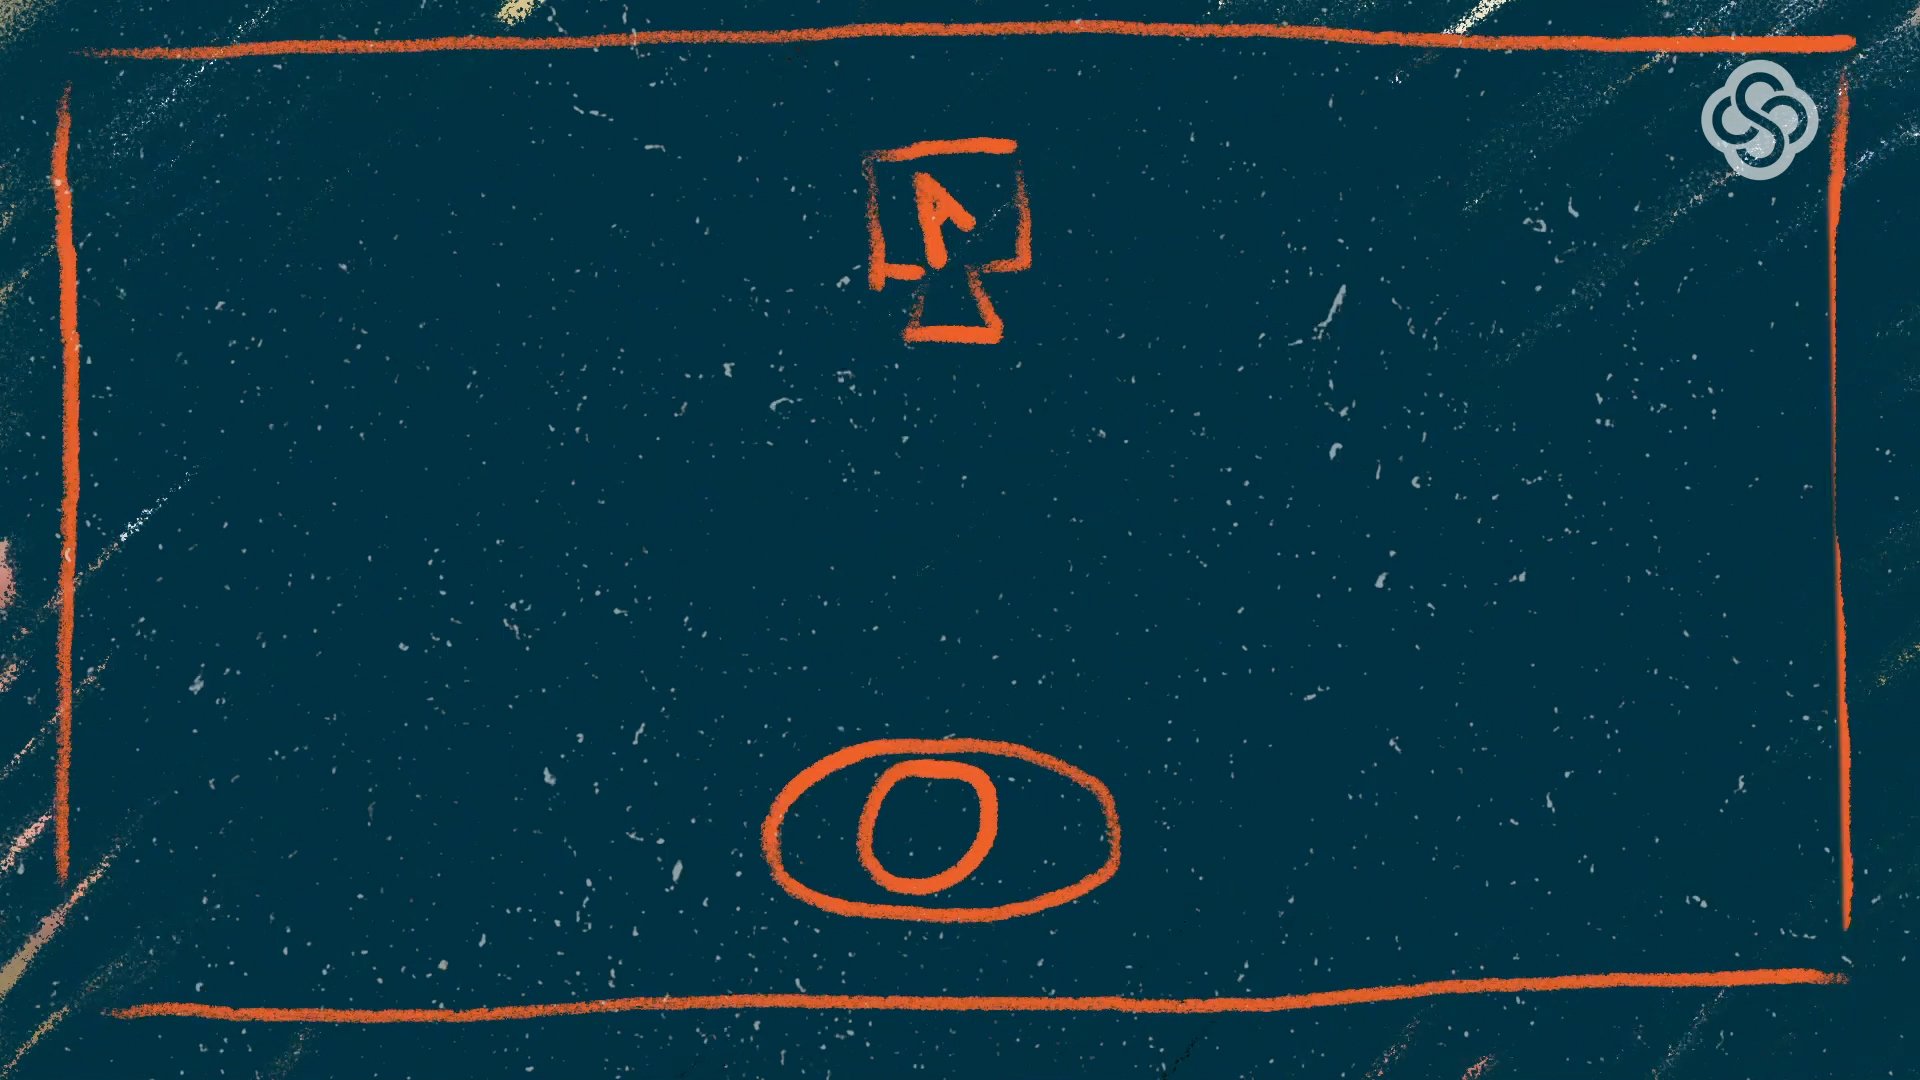
The first camera that I would set up would be just a general straight-on wide or medium that shows the subject and its surroundings in their entirety.
This is going to be your main camera. Most of the video or livestream will feature shots from this camera. This is usually what we call the A camera or A cam.
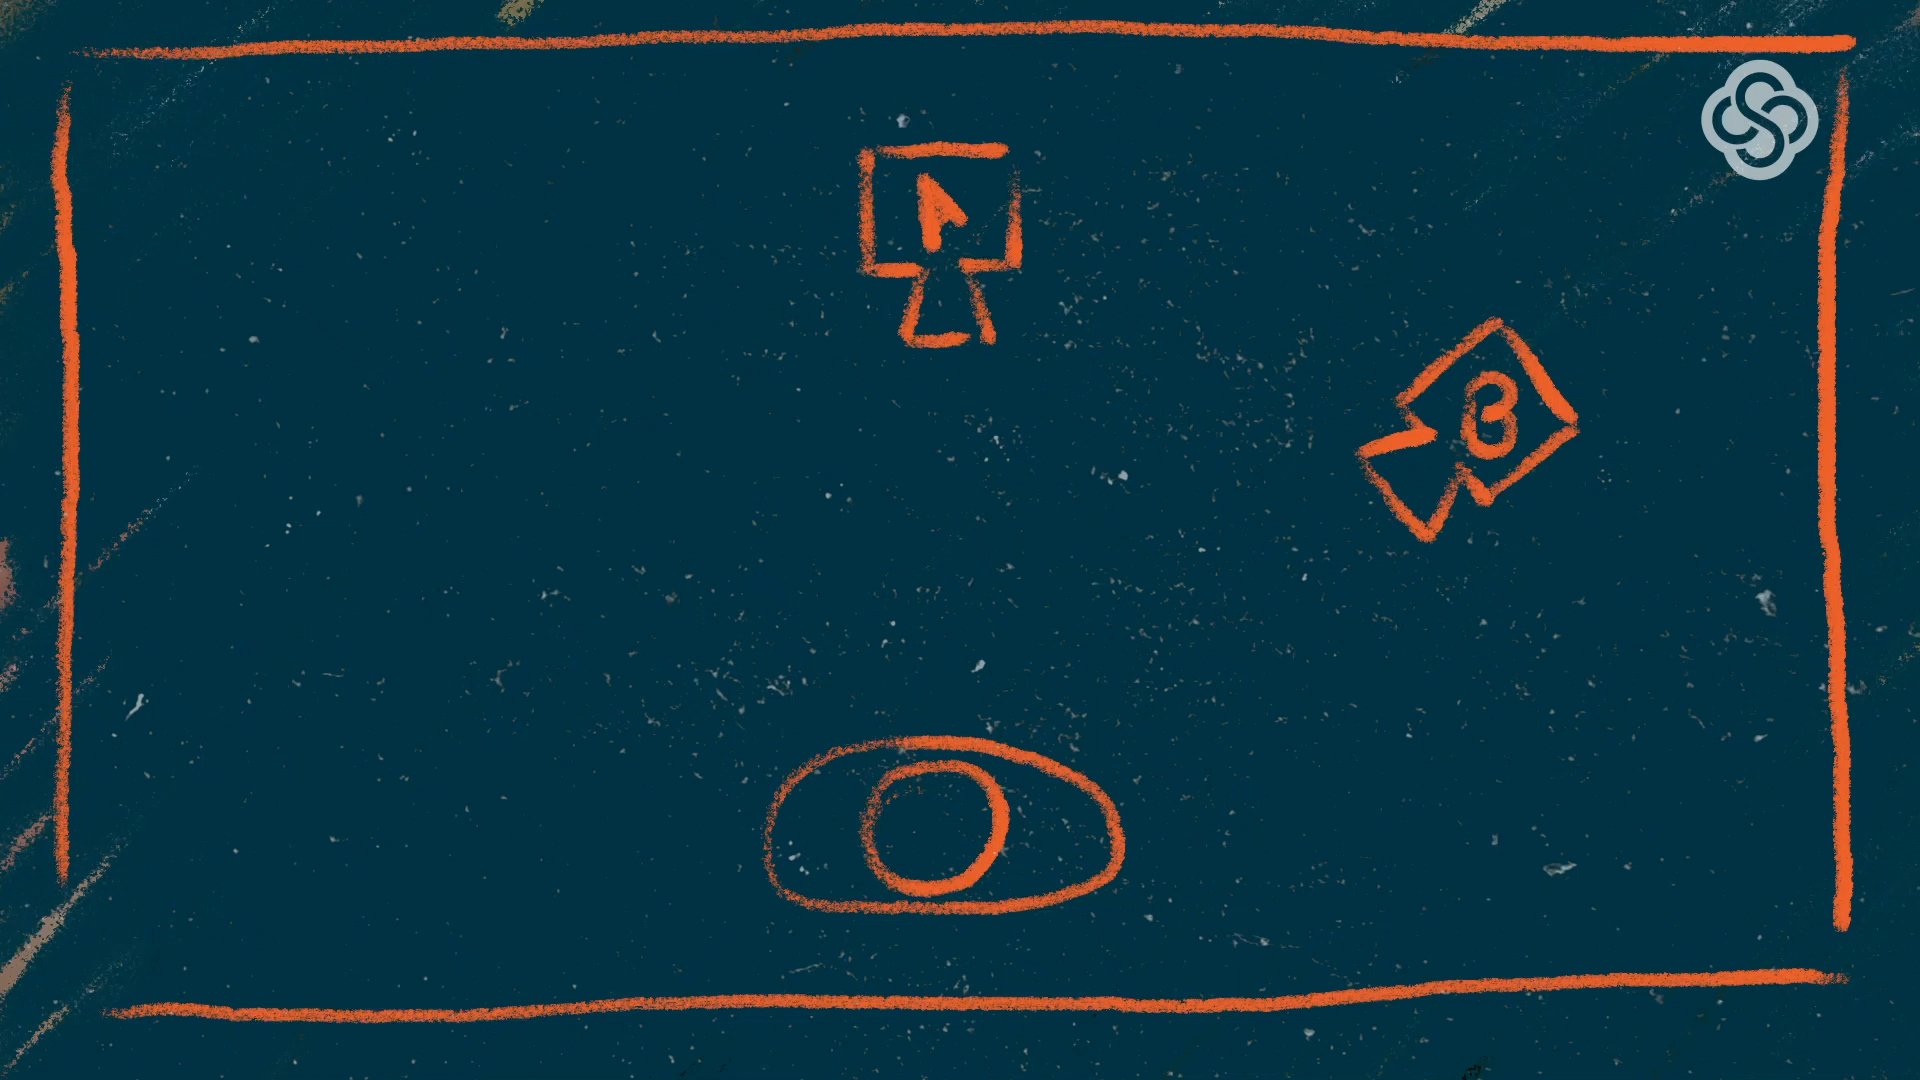
So, following that logic, we would then have a B cam. This is going to be a secondary camera angle, that shows a different point of view. For this purpose, I would set up a B cam to the side with a medium or close shot.
For a livestream, it’s great to have a B cam set up on a single subject to help vary things up and make it a little less boring. When you’re recording for post-production, that B cam is great to use when you need to hide a mistake or pause. You can just cut right over to the other cam and, boom, it’s seamless.
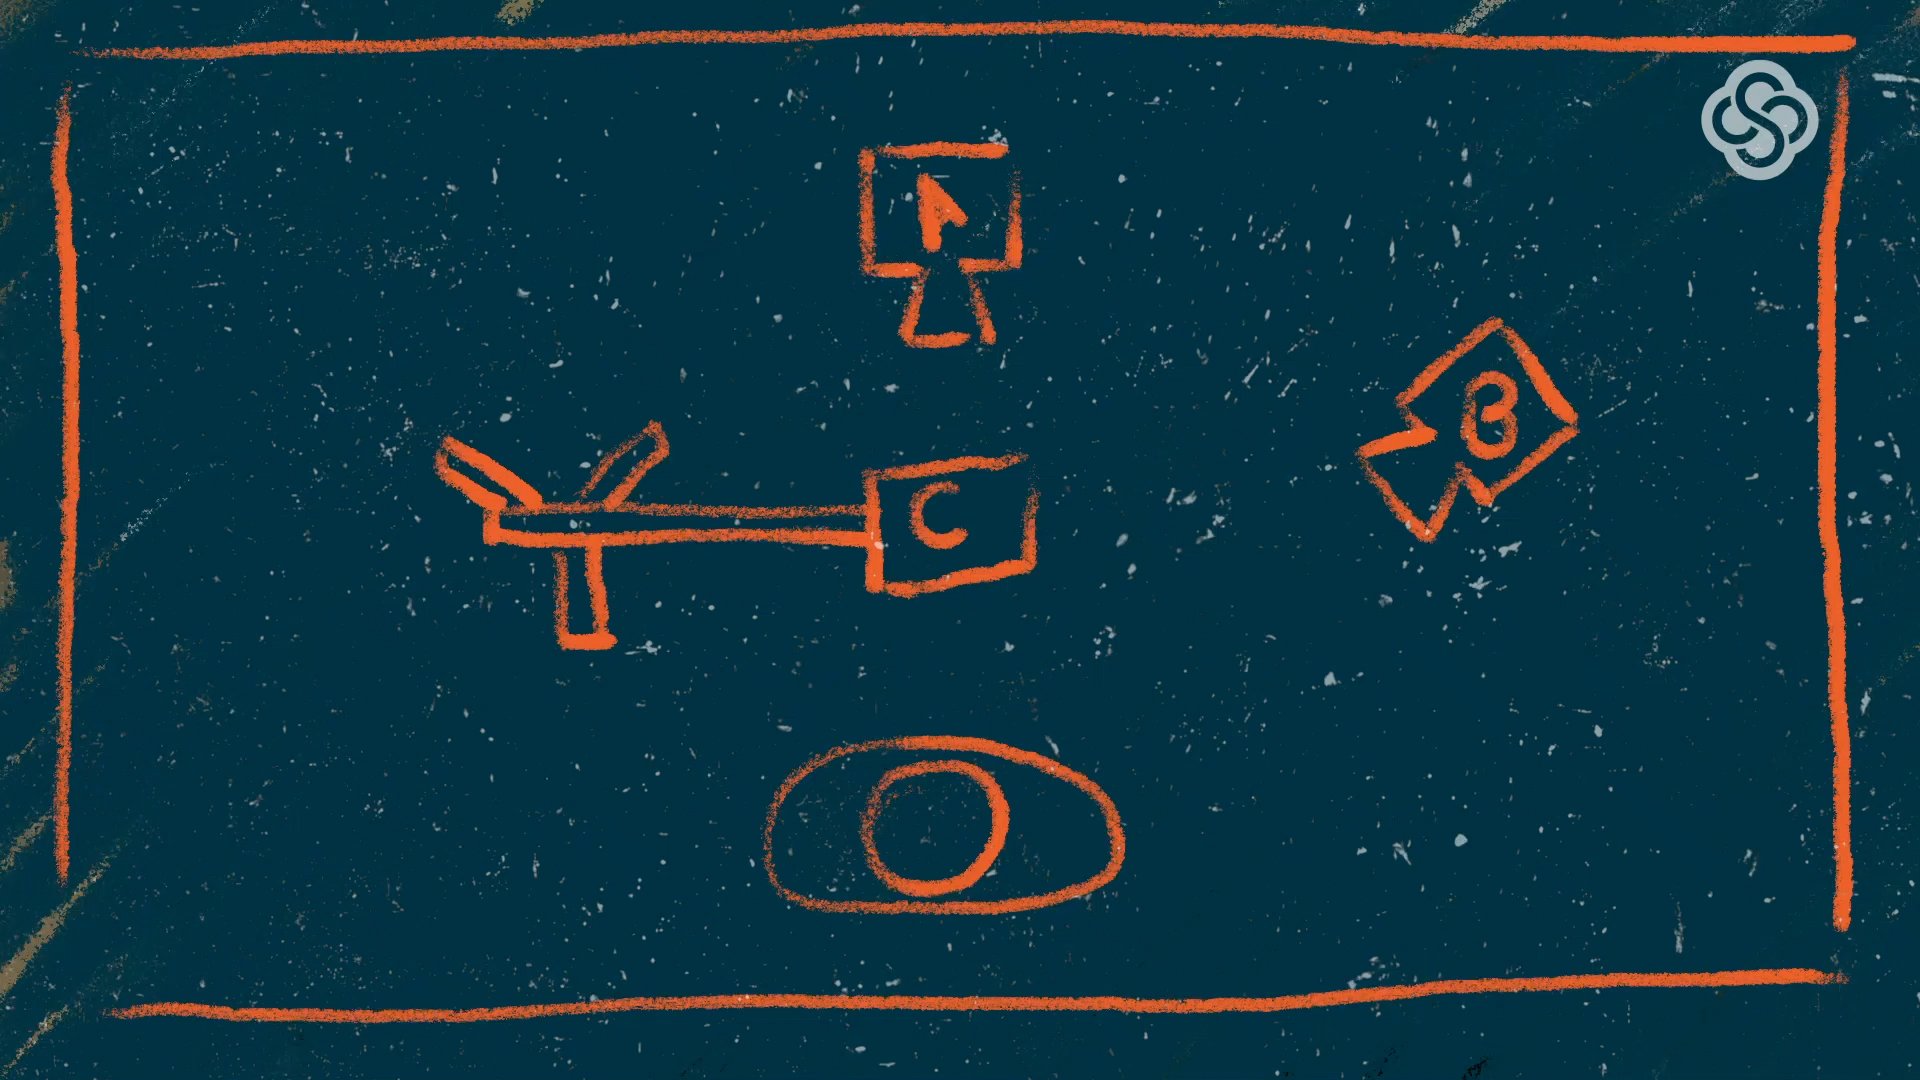
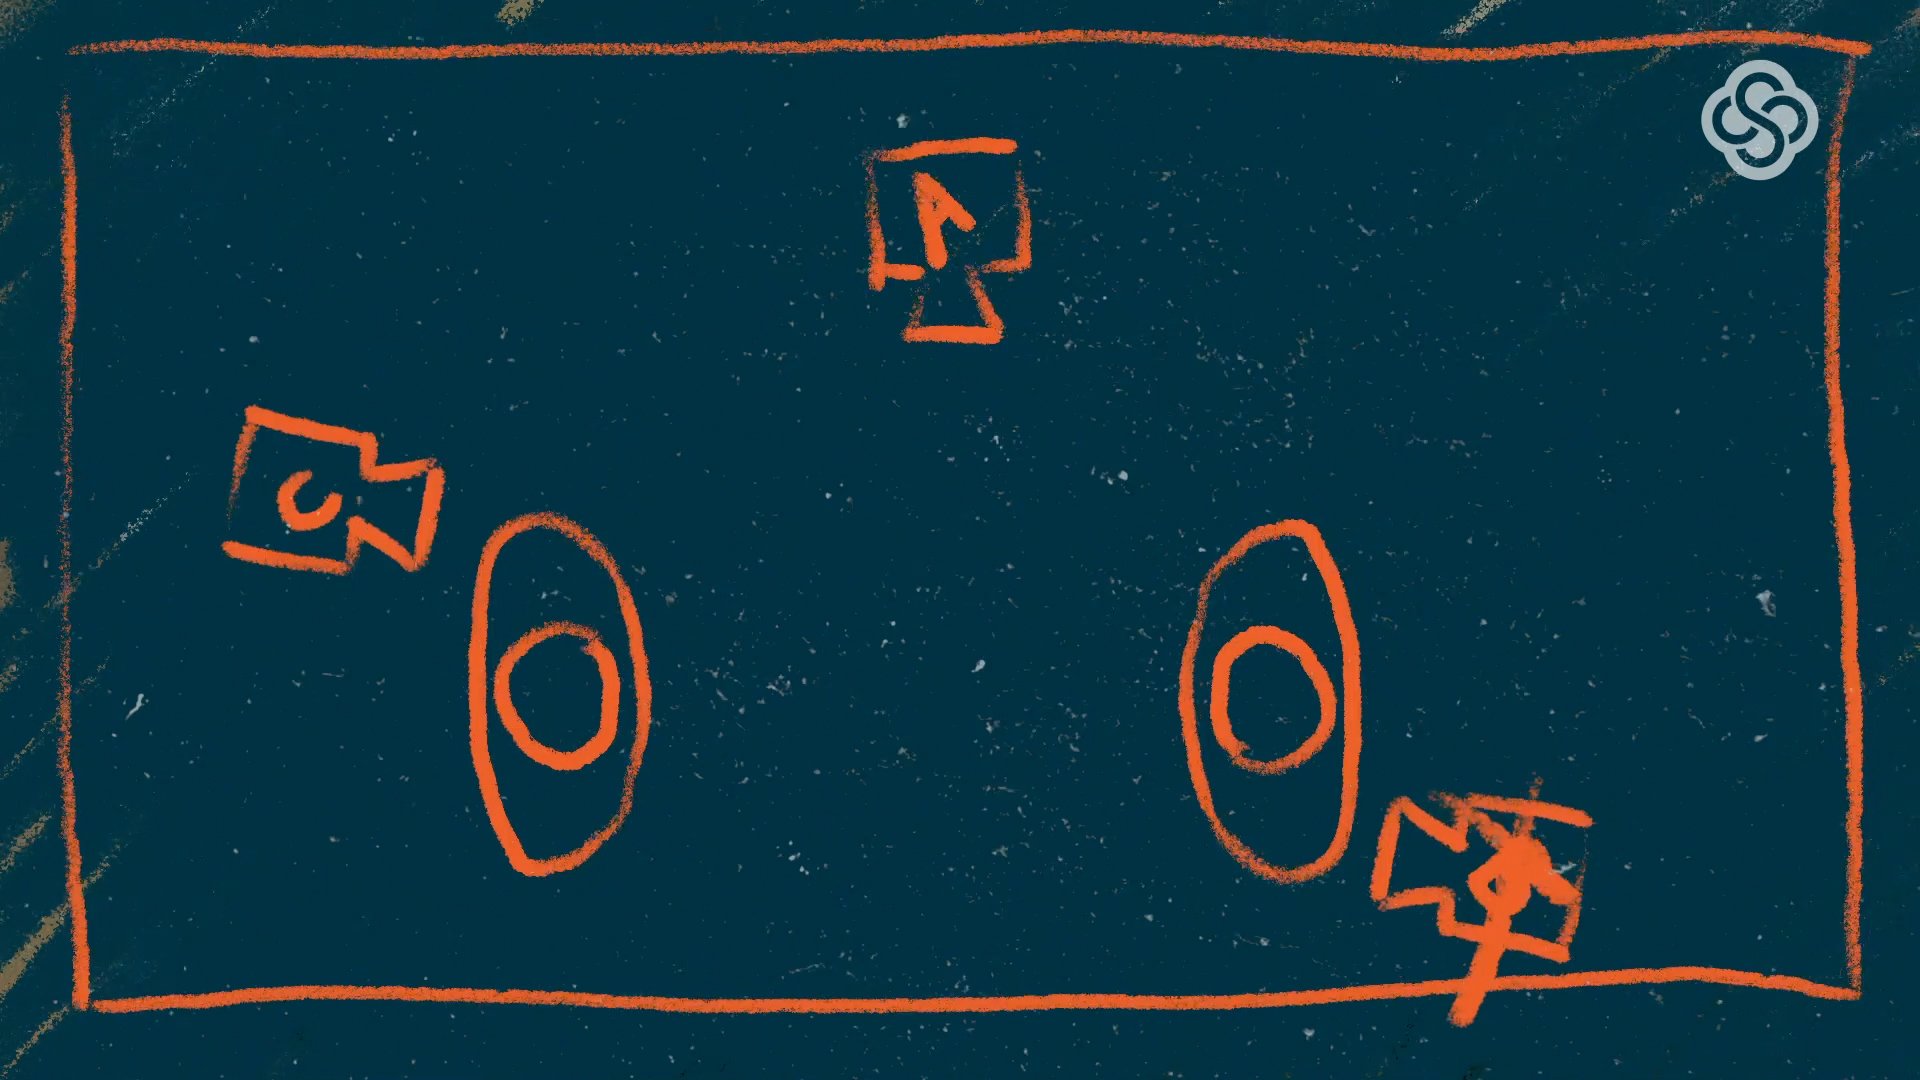
We have A cams. We have B cams. So, it makes sense that we could have C cams, D cams, E cams ... you get it.
If I were doing a livestream of a live illustration, let’s say, or I want to show off something in my hands, I could set up a C cam using a stand, shooting down to show what I am working on.
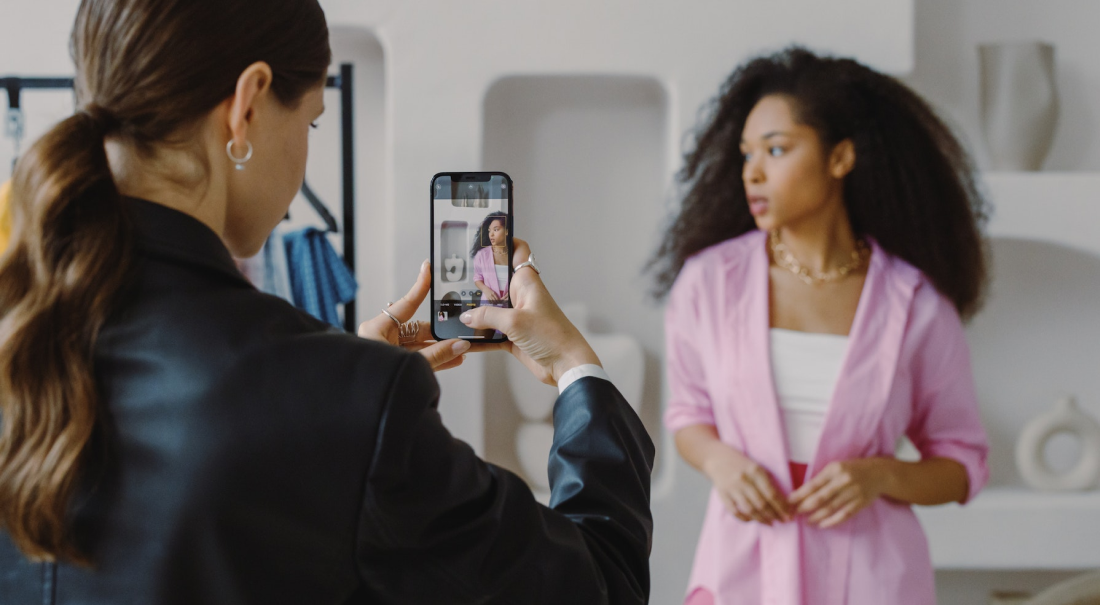
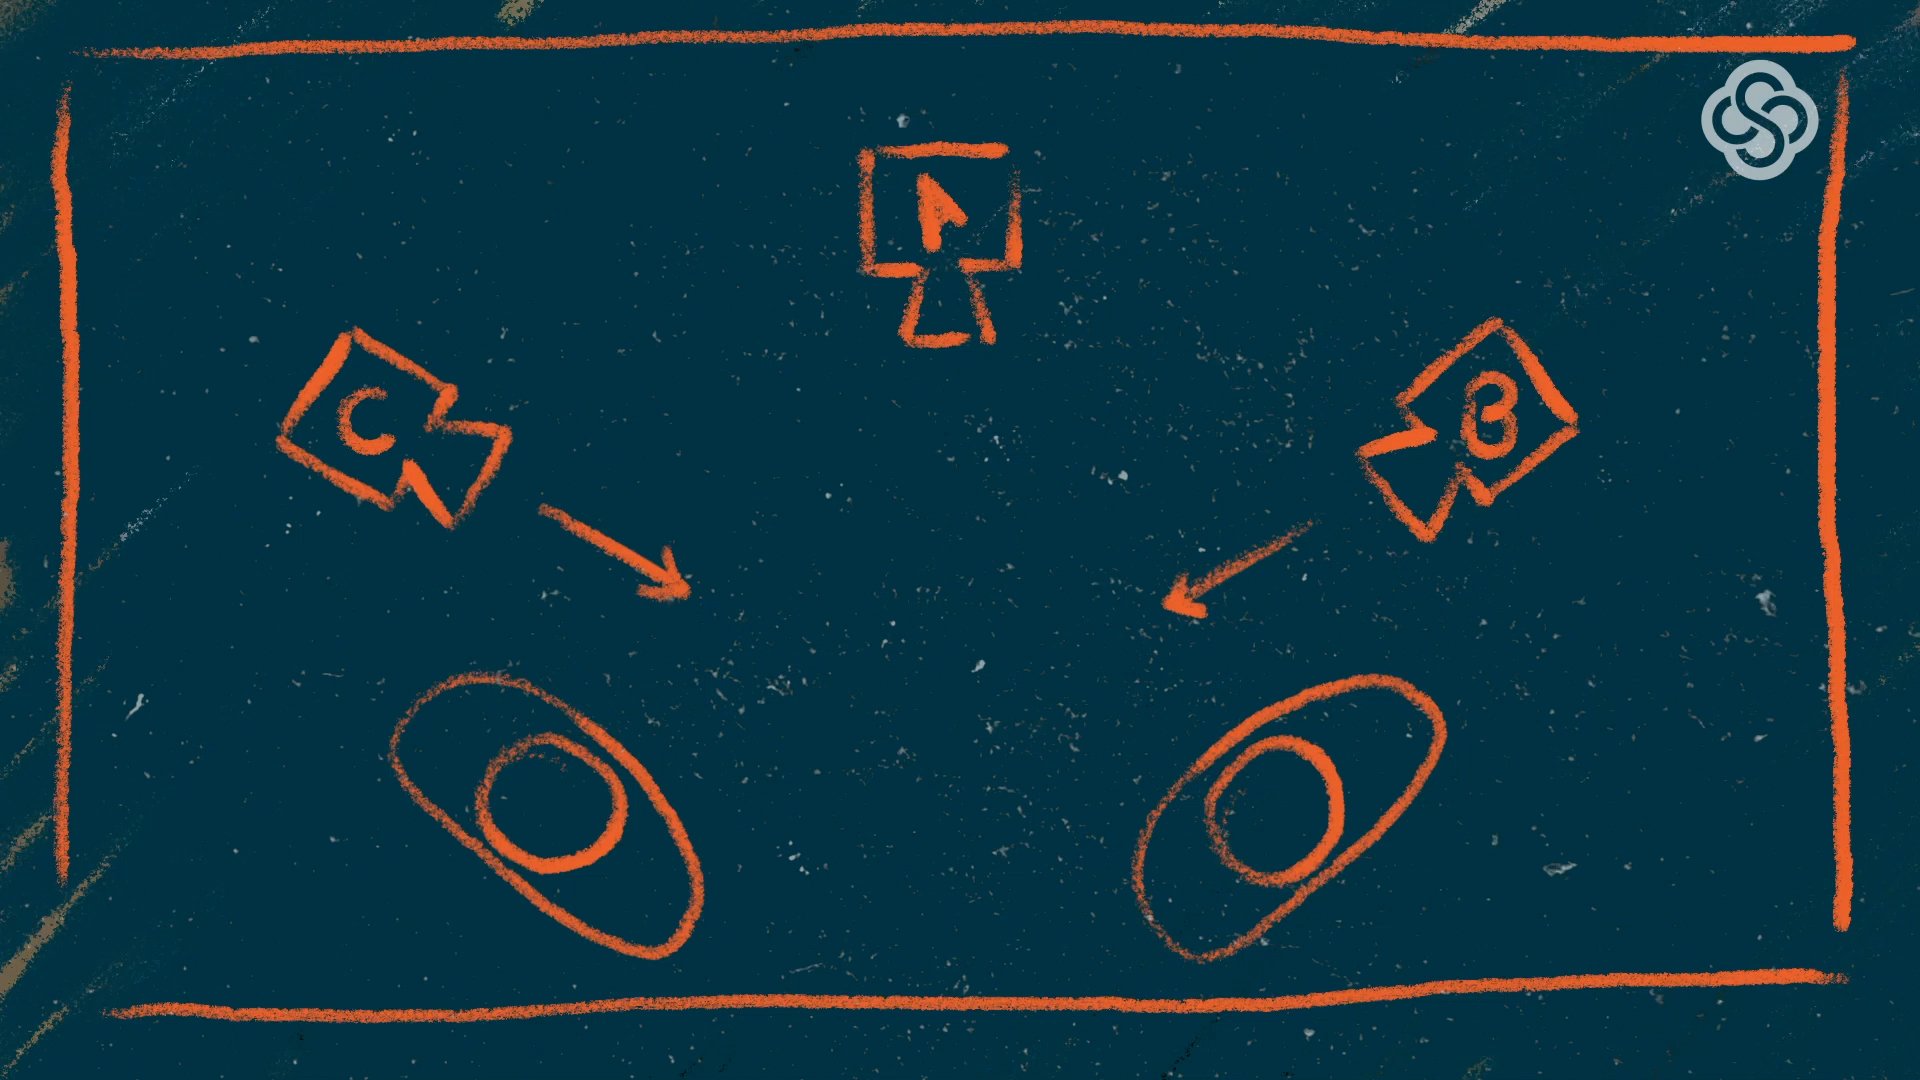
Another thing I want to highlight is the ability to go handheld with your B cam. If you have an extra set of hands, you could have someone with their iPhone in their hands, moving around, staying out of your camera frame and pointing the camera at different things. They can vary up the shot size on the fly, go from a wide to a close shot, or focus on something different as time goes by.
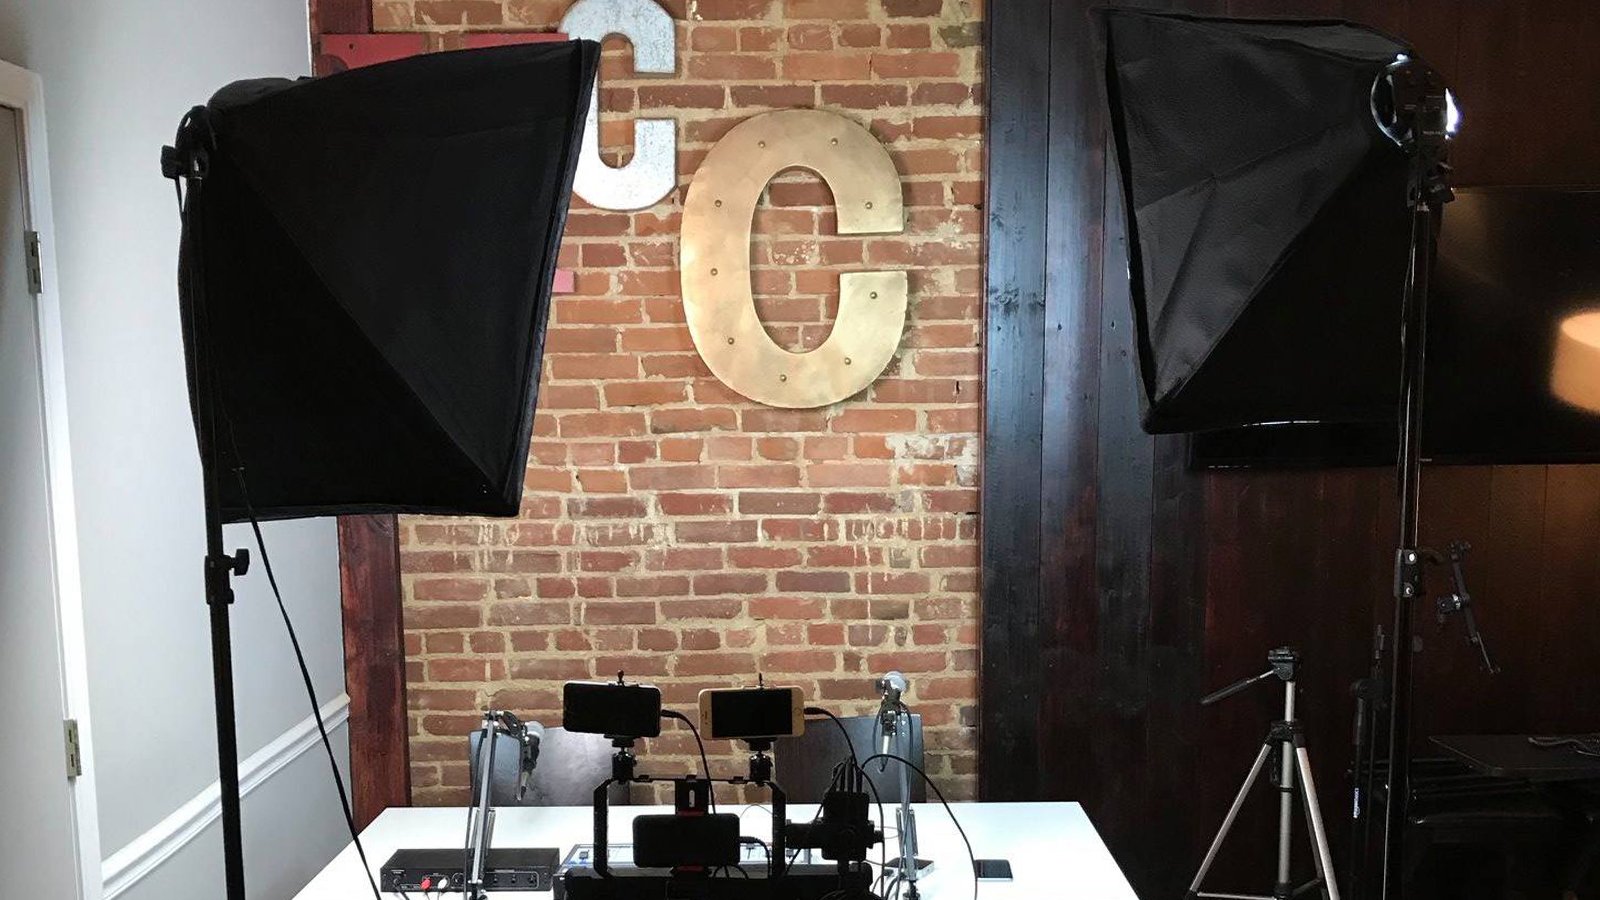
Multi-camera livestreaming equipment
There is a lot of gear out there to help you improve your handheld camera skills and help stabilize some of the shaky camera moves.
DJI Osmo Mobile
The DJI Osmo Mobile is a battery-powered gimbal that gets rid of any camera shake and has controls for pan and tilt and whatnot, but the coolest part is that it can be connected in Switcher so that you have the same controls for pan and tilt right from your Switcher device.
iOgrapher cases
Another great option are iOgrapher cases. They are just cases that your iPhone or iPad pop into, and they have great handles on each side. They also have lenses that you can purchase separately to augment the iPhone camera lens.
BeastGrip camera cages
And if you want to go crazy, BeastGrip makes a camera cage for your iPhone that lets you mount additional handles, mics, and monitors. They even make an adapter that allows you to mount DSLR or cinema cameras to your iPhone.
Motorized sliders and jibs
Speaking of going crazy, you could even get a motorized slider (which lets you move your camera left to right) or a jib (which is kind of like a small crane for your camera) and mount your iPhone to them. Edelkrone makes some really great sliders and jibs. There are a lot of options, but they can get expensive quickly.
If you have the cash for a slider or jib, they can really add a lot of production value, and a lot of them can be programmed or controlled remotely. This means you could set them up and let them go.
For a single subject by itself, I’d recommend using a jib or slider for that B cam so that your main camera can stay that wide shot.
Multicam live video setups for two subjects
Let’s talk about putting another person on camera now.
With two people on camera, you will still want to start out with your A cam being a wide shot that takes in everybody and their surroundings. But your B cams will play a larger role. You will want to set up a B cam on each side of your A cam. Each one will be shooting across at an individual person.
With this setup, you can switch to show your guest or host when they are going to be speaking for the majority of the time, or you can switch to the wide A cam when there is a back and forth conversation. I also want to point out two different ways you can position your guests and cameras when you have two people.
The first way is to have them both angled towards each other at 45 degrees. This way they can easily turn back and forth from talking to each other and talking directly to the audience in the A cam.
The second way is to have them face directly toward one another at a 90 degree angle from the A cam. This lets the audience feel as though they’re peeking in and sets up the interviewers for a more intimate conversation.
This needs to be done carefully because you don’t want to isolate your audience, especially during a livestream where audience participation is key, but if you are having an intimate conversation with someone or perhaps you are doing a serious interview with a politician, this is a good setup.
For this setup, you’ll want to place the B cams behind the guest and interview for an over-the-shoulder shot at the other person. Shooting over the shoulder puts you in the position of the person listening and gives you a reference spot for where you are in the scene. It also allows you to have an almost straight-on view of the speaker.
One important thing to note is to not cross the plane of view. In other words, don’t put your cameras on opposing sides of your speakers and don’t put them in view of the A cam. You’ll want them to be on the same side as the A cam, just out of frame.
Non-interview multicam live video setups
Let’s talk about three specific use cases for multicam that don’t involve an interview.
Arts and crafts live video setups
A big one is arts and crafts. An artist can benefit greatly from using multiple camera angles.
Let’s say that you are a painter and you’re doing a livestream of a work in progress. You could set up a camera behind you, over your shoulder, that shows your painting coming to life. You could put a camera in front of you that shows you hard at work.
You could also provide commentary to this camera. You could even set up a camera that is positioned above your palette to show you mixing your colors.
To go hands-free, you could throw all of your camera sources into a multiview layout in Switcher and show all of them at once. This allows you to focus on what you do best: paint!
Live video setups for musicians
Another great use case for multicam, would be for a musician. Say I’m a drummer. I’m not — I’m far from it — but let’s just say I am.
I could set up an A cam in front of me showing my whole drum set. Then, a B cam over my shoulder looking down at my drumsticks going to work. You could even throw a C cam on the floor showing me on the kick pedal.
You could use a multiview layout again to show everything going on at once, or you could use the new camera auto-switching feature that would allow you to just sit back and play on the drums while Switcher automatically changes camera angles for you.
Live selling live video setups
If you’re an online retailer hosting live shopping streams, multicam live video setups can help you display your products in unique ways. You can use multiple cameras with a split-view to show a variety of angles, like using your A cam to show the host talking while a roving, or handheld, B cam showcases your products.
For boutique owners and clothing retailers, you could even have a camera dedicated to showing people modeling various apparel items. If you sell items like cosmetics, jewelry, household goods, etc., you could have a camera showing an overhead shot of a model’s hands. No matter what type of products you’re selling on your live shopping streams, multicam live video setups allow you to better showcase your products, and they bring a little variety to your live selling livestreams.
Worship live video setups
Many churches, synagogues, temples, and other places of worship use multicam live video setups to create immersive worship experiences that help viewers feel like they’re actually at the service. Depending on what’s happening during your service, you can use a couple of different multicam setups.
For example, if there’s a musical performance, you could have your A cam positioned in the back of the room showing a wide shot of the stage, while your B cam shows the choir, band, or organist. A multicam setup for a sermon, homily, or another type of teaching could have your A cam showing a closeup of the pulpit while your B cam is showing an extra-wide shot of the audience.
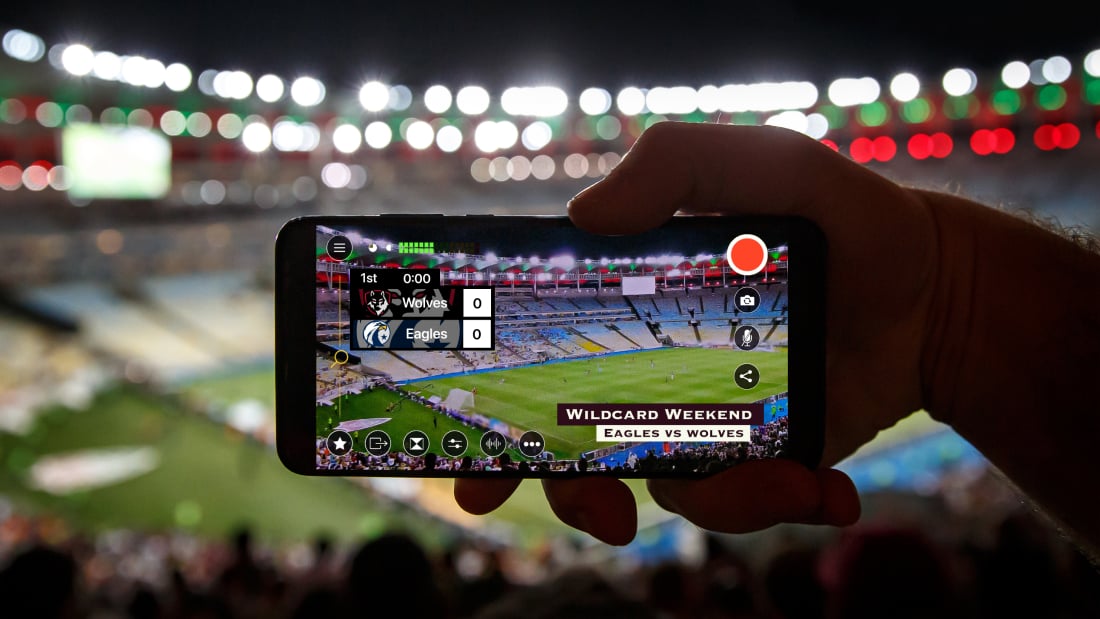
Sports live video setups
Sports is another huge reason to have multiple cameras, and it will probably get its own video/post in the future. In fact every sport could get its own video.
Soccer
A wide shot of a soccer game is great for your A cam. Set it up high in the bleachers. Maybe put it on a DJI Osmo Mobile so you can turn it left and right. But then you can also have two handheld cameras on the field, one at each goal, that you can switch to when the action gets close.
Basketball
For basketball, you could have handheld cameras under the baskets to get free throws or action down the lane.
Football
For football, you could have a handheld that follows along the line of scrimmage. The possibilities are endless really. You could even put a camera on the commentator every now and then to get their reactions.
Thank you for joining me in this look at multicam live video setups, I hope it was helpful, informative, maybe even inspirational. I can’t wait to see what you all create using multicam in Switcher.
Subscribe to the blog
Sign up to receive notifications whenever a new blog post is published. You may unsubscribe at any time.

Share
About the Author
Ryan is a video professional with over 10 years of experience in live and prerecorded video as a producer, editor, designer, animator, and occasional coffee getter. As Switcher’s senior video producer, Ryan is excited to share some of the knowledge he has gained in video and content strategy to make it easier and more accessible to all.
All posts by Ryan O'Hare