I’m going to assume that you’re reading this blog post on an internet-connected phone, computer, or tablet, which means you technically have at your fingertips everything you need to create a livestream. Creating a livestream and creating a livestream that looks professional, however, are two different things. One requires hitting the stream button — the other requires giving at least a little consideration to your surroundings, lighting, network strength, etc., before you hit said stream button.
Of course, sometimes spontaneous, unedited streaming is exactly what you’re going for. But often, you’re going to want that extra polish. This is especially true if you’re streaming content for your business, brand, or organization — or if you’re streaming an event like a performance, wedding, conference, etc.
This blog post is going to show you how to achieve a professional-quality look for your livestreams, whether you’re streaming from home, the office, in studio, on set, outside, or on the go. And don’t worry about needing to hire a film crew or bust your budget on equipment. You can build a professional-looking livestream setup around gear you already own — and the rest can be ordered online at minimal cost.
What makes up the best professional livestreaming setup?
So what all goes into professional-quality streaming? Great question. I’ve broken it down into these categories, which I’ll be covering in detail below. Let’s jump in!
Cameras: Capture high-quality footage for professional-looking livestreams
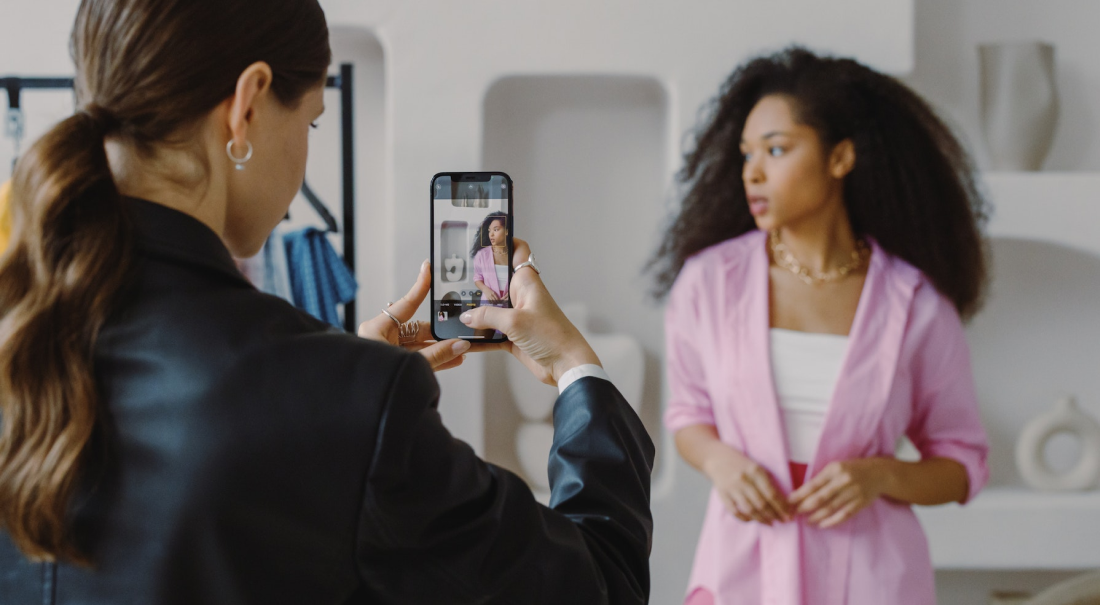
These days, most of us are carrying around stunningly powerful video cameras in our pockets. That’s right — your iPhone is really all you need to capture and stream high-quality footage. Its camera is far superior to that of your webcam.
And if you have additional iPhones or iPads accessible (whether your previous models or those of coworkers or family members), you can use a multicamera streaming software like Switcher Studio to link them together and stream from multiple angles. A multicamera setup creates a much higher-quality livestream experience than a single computer or phone could.
BOOM, DONE. You have your camera gear.
Internet: Nail your networking with sufficient upload speed
Next, you gotta have the internetz. Though it’s possible to stream using your phone’s data plan, it’s not as reliable as a dedicated, traditional Wi-Fi network. For professional-quality streams, that reliability is key.
Usually when you’re checking your internet connection, you’re looking at download speed, but when it comes to livestreaming, upload speed is what matters. For 720p (HD) streaming, you need at least 5 Mbps upload speed. You can check yours at Speedtest.net.
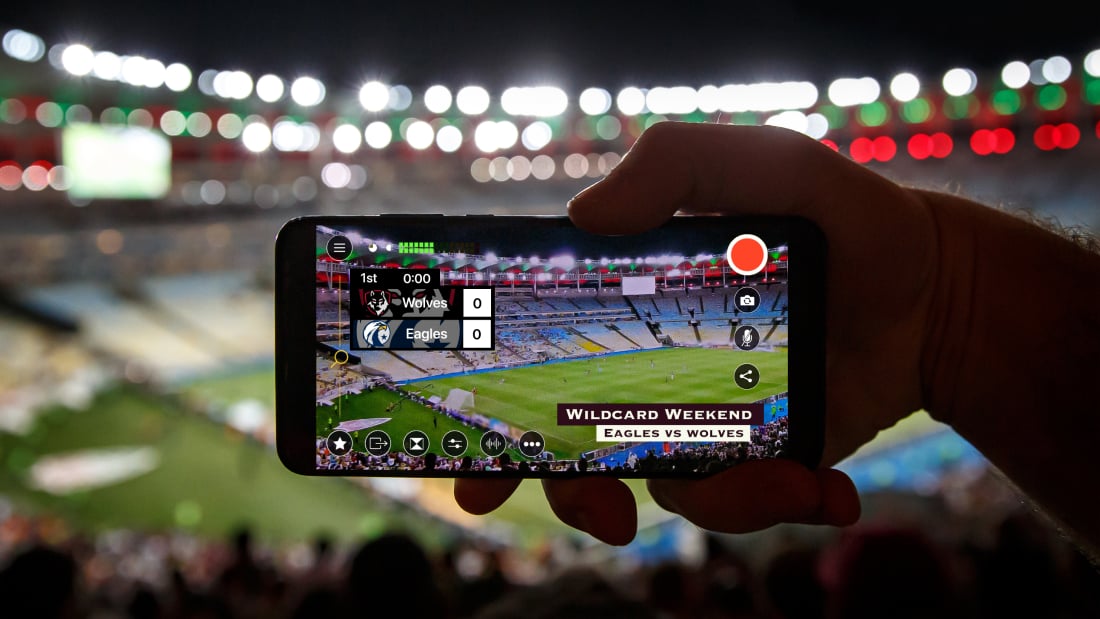
The best networking setup for you will depend on where you’re streaming. If you’re streaming outside or in a location where lots of people are relying on the same internet network (an office, an event space, a stadium, etc.), you may want to bring your own internet in the form of a standalone mobile hotspot, like the Netgear M1 or M5, with its own data plan.
For more details on networking, check out the blog post we did on stream quality, upload speed, and networking options.
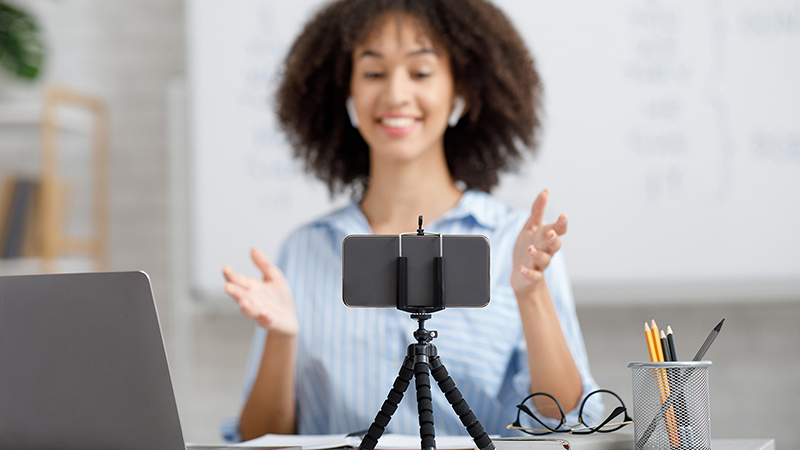
Tripods and gimbals: Stabilize your shots — in the studio and on the go
OK, you’ve got cameras and internet over which to stream their footage. Now you want to stabilize those cameras/footage. (Shaky video doesn’t exactly scream professionalism.) Tripods are ideal when your cameras are staying in place throughout your stream, whereas gimbals are great for roaming cameras and following the action. Depending on the type of stream you’re creating, you may want any combination of the following:
- Basic tripod: It’s hard to go wrong with classic. Though a tripod will probably be the biggest piece of equipment in your streaming setup, it can fold up to be surprisingly small — perfect for recreating your setup anywhere for mobile streaming.
- Mini tripod: Perfect when you’re streaming in a tight pace, many types of mini tripods have flexible legs to increase the number of locations you can secure them.
- Gimbal: DJI Osmo Mobile Gimbals stabilize handheld iPhones, eliminating all the shake you’d normally create by walking around. (Seriously, if you have never played with one of these, get thee to an Apple Store. They’re super cool.)
- Overhead tripod: If you’re streaming content like a product demonstration or tutorial, you may want to capture a view from above — overhead tripods make it easy to achieve this angle.
Lighting: Brighten up your livestream to set the right tone
Lighting plays a huge role in the quality of any video footage — and also has a huge impact on how you or your subjects look on camera. It can be harsh or forgiving, calming or energizing, dramatic or understated.
Test your lighting by adding, arranging, or blocking lights. You can also adjust brightness and warmth to achieve the effect you’re going for. To create the best lighting for streaming, you may want to incorporate or adjust any of these:
- On-camera lights: Small, affordable, and easy to use — these help eliminate shadows on your subject when you’re shooting close-up.
- Ring lights: Ring lights come in a million sizes and in both clip-on and standalone versions. Because they brighten from multiple angles, they’re an easy way to add and customize your lighting — plus, they’re super flattering for faces.
- Lamps: Don’t feel like you have to go purchasing extra lights. Lamps around your office or house can be brought in — whether into or outside the frame — to create the right mood for your stream. Consider swapping out lightbulbs to tweak the color temperature.
- Studio lights: If you want to go all out, you can get a studio light kit, which will give you greater control over the lighting in your videos. Like tripods, you can fold up studio lights for easy transport.
- Windows: If you’re in a space with natural light, you may not even need to incorporate any extra lighting. In fact, you may want to draw the curtains to maintain more control over the brightness. In general, avoid shooting right in front of windows.
Audio equipment: Perfect your sound with mics and mixers
OK, admittedly, sound has nothing to do with how your live video looks, and yet, it has lots to do with overall professionalism. If your audio is fuzzy, inconsistent in volume, or competing with background noise, your video becomes almost unwatchable.
External mics will provide much higher-quality audio and more control over your audio than you’d get with your iPhone’s built-in microphone. Here’s some gear that will up your game:
- Mics: There are so many types of mics available, and the best one for you depends on what time of stream you’re conducting. Consider wireless handheld mics, wireless lav mics that clip to your clothing — or, for a stationary stream, a classic handheld mic.
- Mixers: If you use external mics or multiple audio sources, you need a way to get their audio into your streaming software (which we’ll discuss in a minute). A reliable classic is the Zoom H6, which lets you input up to six audio sources.
Background/set: Create a background that reflects your brand
I saw a live video yesterday in which the host’s desk was so messy I could barely pay attention to what he was saying. Now I won’t ask you to go Marie Kondo-ing your entire house, office, or studio, but it is a good idea to think about what’s going to be in the frame in your live videos.
If you’re streaming a sporting event, a musical, a worship service, or the like, you probably don’t need to create or adjust a “set” for your stream — the event itself is the set. But if you’re streaming an interview, a demonstration, an announcement, etc., consider what you want the video to look like. Try incorporating some elements that reflect your brand or personality. These could include:
- Artwork
- TV or computer screens
- Bookshelves
- Plants
- Chairs
- The great outdoors
Livestreaming software: Polish your stream with live editing
Now for the fun part. Livestreaming software like Switcher Studio lets you stream and edit your live video in real time. This adds a level of polish that you can’t achieve with beautiful audio and video alone. Streaming software lets you add professional touches like:
- Multiple camera angles: Switching angles during a stream not only keeps your video interesting but also lets you literally show more of what’s going on. Try cameras on each speaker, closeups on demonstrations, overhead views, and more.
- Branding: Add your logo, incorporate your brand colors, and drive action with graphic CTAs.
- Text elements: Introduce speakers, segments, and topics with titles and lower thirds.
- Openers and credits: Playing a prerecorded opener video for your streams not only gives viewers a little time to get settled but also adds the “official” feel that’s created by intros to television shows and movies. You can also using streaming software to roll in credits or other prerecorded segments.
- Screensharing: Incorporate your computer, tablet, or phone screen right into your stream — perfect for sharing demonstrations, websites, and decks.
- Remote guests: Streaming software like Switcher also lets you bring in remote guests from anywhere in the world — nothing says profesh like a guest expert!
Testing run: Test your livestreaming setup
Once you have your livestreaming equipment and software chosen, make sure your planned stream goes smoothly by doing a test run of your entire livestreaming setup. Gather your gear, perfect your set and framing, and start a private test stream. This puts your internet and your plan to the test, gives you time to remove any unforeseen obstacles, and ensures you have everything in place to stream professional-quality live videos.
Ready to livestream like a pro? Start your free 14-day trial of Switcher Studio to take our simple, pro-quality livestreaming software for a spin.
Subscribe to the blog
Sign up to receive notifications whenever a new blog post is published. You may unsubscribe at any time.

Share
About the Author
Kate Brannen Smith
As Switcher's content strategy manager, Kate strives to answer the questions of new and expert livestreamers alike. She has spent her career in digital marketing and content strategy and now funnels that experience into helping others plan and create their own video content.
All posts by Kate Brannen Smith