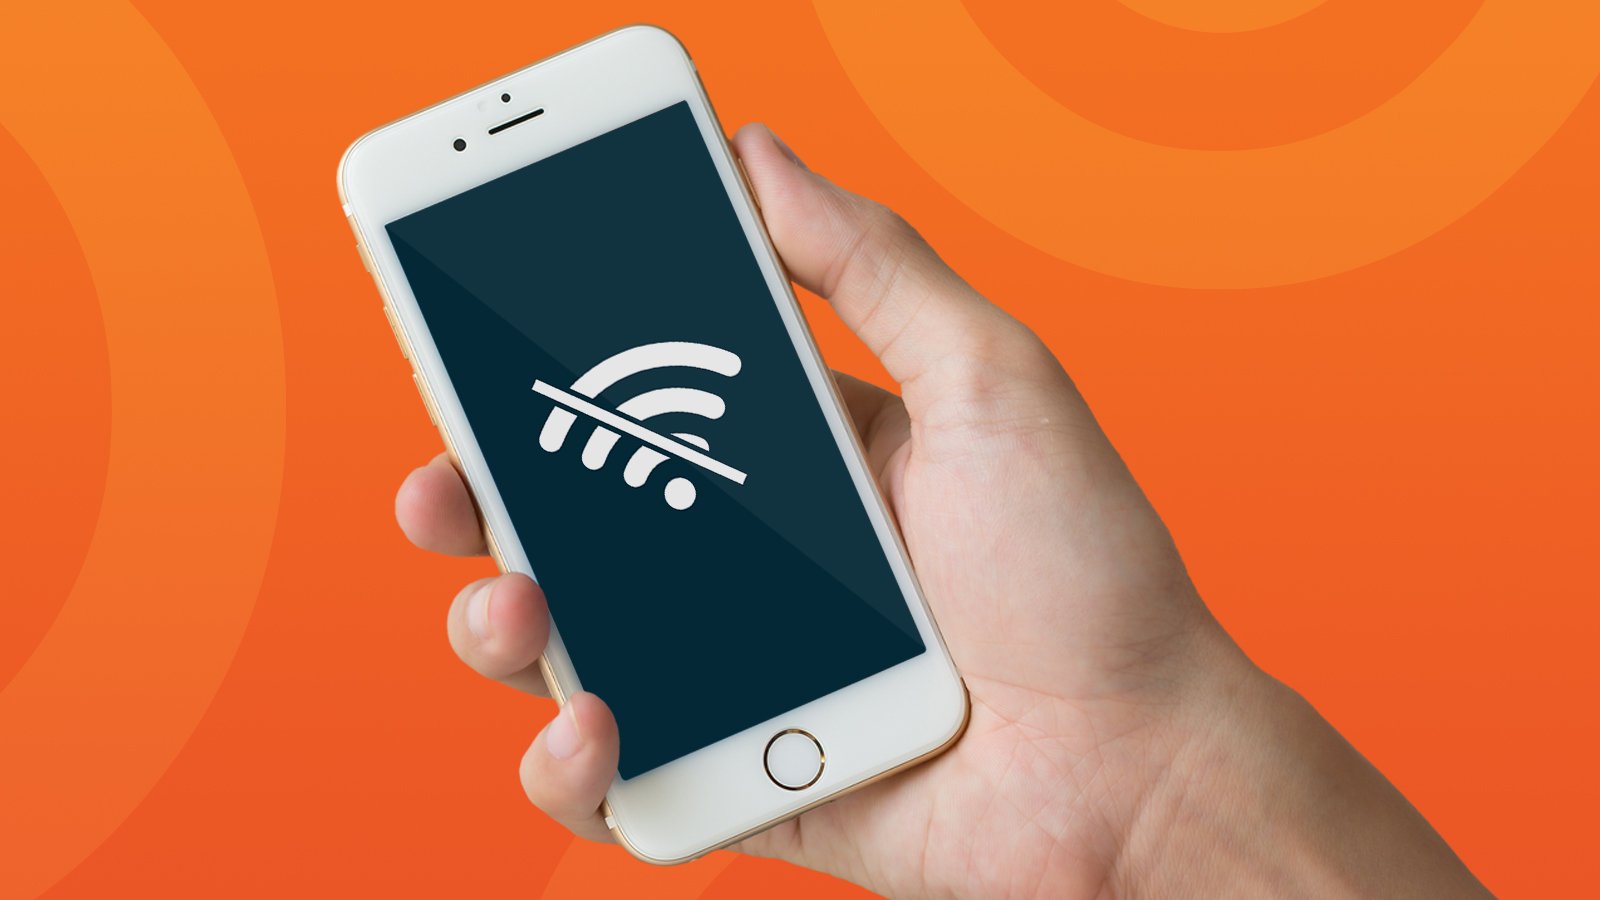
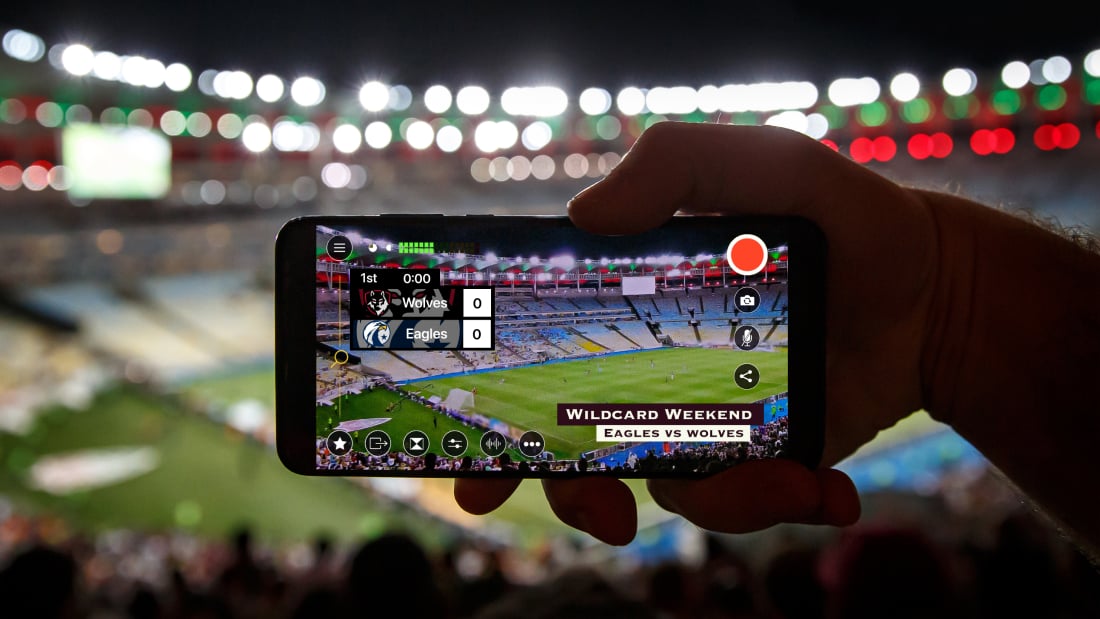
Have you ever been watching a live video and then had to wait while the stream buffered? Nobody likes this. If a stream is sent over an insufficient internet connection, however, buffering is likely to occur for viewers. This is why it is imperative that, when you’re the one streaming live videos for other viewers, you have a sufficient internet connection.
Below I will outline a few ways to stop buffering before it starts. We’ll talk about matching stream quality to upload speed, streaming on a closed network, and bringing your own portable Wi-Fi connection.
Match your stream quality to your upload speed
If you or your viewers are experiencing buffering during live videos, the issue likely stems from the internet speed. Before you go live, head to a website like speedtest.net to test the internet speed. Knowing the upload and download speeds of your network can help you choose the right settings for your livestream.
Once you know your upload and download speeds, you can choose a stream quality. For livestreaming, we are concerned with the upload speed (measured in megabits per second or Mbps). To stream in 1080p (Full HD), you will want at least 6 Mbps upload speed. To stream in 720p (HD), at least 2 Mbps. For 540p (high), use at least 1.2 Mbps. A 360p (medium) stream needs at least .8 Mbps. And lastly, a 270p (low) stream requires .5 Mbps upload.
Stream quality |
Minimum upload speed |
| 1920x1080p (Full HD) | 6 Mbps |
| 1280x720p (HD) | 2 Mbps |
| 960x540p (High) | 1.2 Mbps |
| 640x360p (Medium) | .8 Mbps |
| 480x270p (Low) | .5 Mbps |
Don’t be afraid to lower the quality of your stream. Many viewers watch on mobile devices; in this case, the video is smaller, and a medium stream still looks and sounds great. Trust me, people would rather watch a lower quality than have the stream constantly buffer.
Stream on a closed network
Whenever possible, I recommend having your own secure network setup to stream over. Open or public internet connections have lots of devices connected, which slows everyone down. Imagine that your internet connection is an off-ramp on a highway and every device connected is a car that needs to use the off-ramp. If there are lots of cars trying to get off the highway, there tends to be a slowdown for everyone. Now imagine you have your own internet connection (off-ramp) and you are the only car on the road. You see where I’m going with this?
With fewer devices connected to a network, you have a much higher chance of consistently getting the necessary upload speed. Now back to checking your internet speeds — make sure you do a speed test with the conditions you will be streaming in. If you do the test while you are the only connection, you will get higher speeds than you will when lots of people are connected.
BYOI: Bring your own internet
One last thing to consider is bringing your own internet connection. Sometimes the number of devices connected to a public network is out of your hands and there’s no way to get a closed connection just for yourself. (And sometimes you’re out in the middle of nowhere where there is no network to connect to.) When this is the case, bringing your own internet can be the best choice. Mobile hotspots work great for getting a reliable signal. Personally we have used the Netgear Nighthawk M1 with great success, but I recommend checking your local carriers and finding the best one for coverage and cost.
A mobile hotspot uses a cell carrier’s LTE or 5G connection to give you an internet connection. That means that even when you don’t have a wire to connect your internet, you can still stream. Most hotspots are battery-powered so they can run completely wirelessly. The aforementioned Nighthawk M1 uses AT&T’s network, but if that is not a strong network in your location, just check with your local carriers. Let them know about your plan to stream, and they will help you pick out the correct hotspot and data plan.
At the end of the day, the best thing you can do is test, test, test! Try streaming at the highest quality. If it works, great; if not, start going through this list to find and tackle the issue. Keep going until you master the process of matching your streams to your internet connections — the quality of your videos will reflect your hard work.
How Switcher makes this easier
If you use Switcher Studio for your livestreams, a lot of this work can be cut out. For example, if you’re streaming to Facebook or YouTube, you can use Switcher’s built-in presets for choosing the quality. Instead of having to configure every setting, you can simply choose among HD, high-, medium-, and low-quality streaming.
When setting up an RTMP stream with Switcher (either from within the app or using the online Dashboard), you also have the option to do an internet speed test that will automatically configure your stream for the best settings, taking all the guesswork out.
Additionally, when you’re streaming live with Switcher, there is a stream indicator that tells you the strength and health of your stream, giving you real time information on its performance.
Subscribe to the blog
Sign up to receive notifications whenever a new blog post is published. You may unsubscribe at any time.

Share
About the Author

Dan is Switcher's customer success manager and a co-founder of the company. He is a live video expert, helping companies like Golf Channel and Korbel create amazing livestreams with Switcher. Prior to co-founding Switcher, Dan spent 4 years working at an agency that helped businesses create and stream live video.
All posts by Dan Petrik