Though it’s possible to go live anywhere, having a live video set available for your streams makes going live a breeze. With nothing to set up or tear down after each broadcast, streaming is almost effortless.
Your set also provides a glimpse into your brand’s personality. What colors are you using? What objects are visible? Your audience sees these as a glimpse into who you are and what you’re promoting — before you even say a word on camera. Your set becomes the best first impression that you can provide!
Creating a set for your live videos may seem daunting or even expensive, but neither is true. Most video sets are actually quite small, making them easy to leave up at all times. Follow the guidelines below, and you’ll be able to construct a set of your own simply and cheaply in as little as one hour.
Choosing a set background
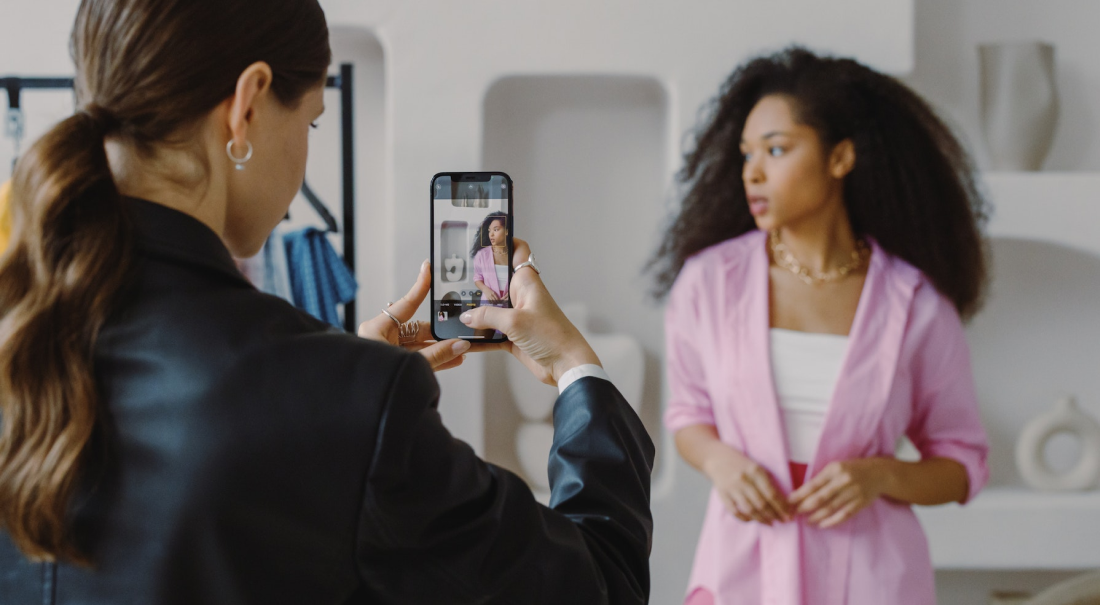
As mentioned earlier, your set’s design becomes your audience’s first impression of you and your company. The look of your set not only reaches the followers who’ve chosen to view your stream but also grants you the opportunity to acquire more viewers.
As people scroll through their feeds, your set may be the reason they stop and watch. Bright colors, pictures, and interesting items are a great way to make scrollers stop. This is your set, so make sure some of your brand or personality goes into it! What items around your office or house would look good on camera?
Make sure to create as much contrast between your subjects and the background as possible. You can achieve this by playing with those bright colors. If you normally wear light colors, make your background dark. Add dark items. Use a dark drop cloth, or even paint the wall dark if possible. Likewise, aim for a light background if you normally dress in dark tones.
Also, keep your personal features in mind. If you’re a blonde, keep from using a pale yellow backdrop. Likewise, if you’re rocking blue hair, don't incorporate much blue in your background.
Controlling the lighting on your set
You can have the best background around, but it will be irrelevant if you aren’t using proper lighting. No matter how great you think the natural lighting in the room appears, adding lighting equipment to your live video set can improve the visuals.
You want to have as much control over the lighting on your set as possible, no matter the time of day or the weather outside. Because of this, you may need to block out the natural light in the room. If this is not possible, at least avoid sitting directly in front of or next to a window.
Ideally, a variety of light sources should be used in order to achieve three-point lighting, which is the industry standard. Three-point lighting means that three areas are lit: your subject, the area behind your subject (backlighting), and the area opposing your subject (fill lighting).
If you don't want to purchase three studio-quality lights for three-point lighting at this time, consider the DIY route instead. Clamp lights, though harsh, are quite inexpensive and can direct light where it’s needed. Alternatively, paper lanterns, though unable to direct the light, create a soft, diffused glow that flatters the subject.
If you're on a budget, start with what you have around the office or your house and see how it looks. You do not need to spend a ton of money to achieve great lighting!
Capturing sound on your set
Yes, virtually every camera, mobile device, and computer comes with a built-in microphone. However, these built-in microphones can leave something to be desired. Background noises like the whirr of your air conditioning or the faint wail of an ambulance outside will be detected by a built-in microphone. It's important to keep this in mind as you design your set — the look isn't the only thing that matters.
Most viewers agree that a video that looks bad but sounds great is easier to consume than a video that looks superb but sounds terrible. Many viewers also enjoy listening to live videos podcast-style as they work, making audio quality key. Thankfully, it's not hard to achieve great audio in your live videos.
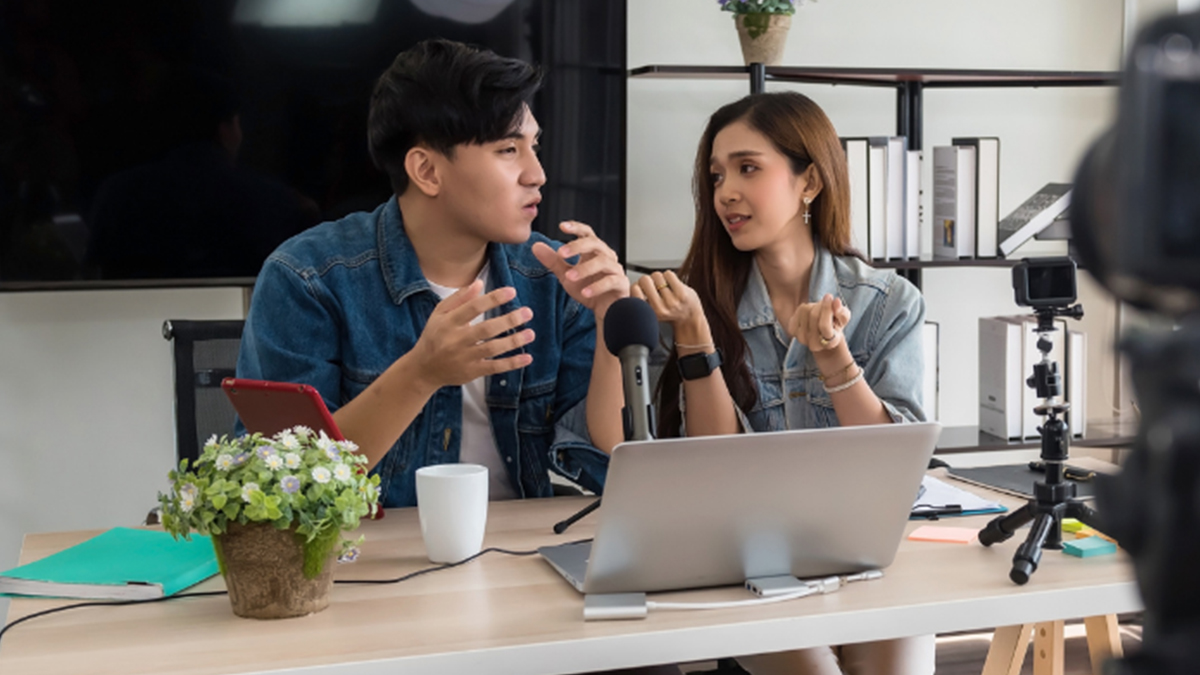
To start, you need a microphone. If you are a one-man show, only one microphone is needed. It can be a lavalier microphone, a shotgun microphone (for close range), or a boom microphone, depending on what you desire. Connect this microphone to your camera and you’re all set!
What if you have multiple subjects and need multiple microphones? Gather a microphone for each subject, and then connect them to an audio mixer. A specific audio mixer is not required — just make sure yours has an available channel for each microphone in use. If you also have computer audio, Bluetooth audio, or MP3 audio to use for your broadcast, connect those sources to the mixer as well.
Now that all of your various audio sources are connected to your audio mixer, you just need to connect your mixer to your camera. This allows the camera to hear the audio and mesh it directly with your stream or recording. As long as your camera has an XLR connection that can be set to line or mic, it should be able to receive a feed from a mixer.
If you are using an iOS camera for your stream, use a handy adapter like an iRig Pre to bridge the connection between XLR and your iPad/iPhone.
Finishing touches for your set
Now that the main essentials are in place, it’s time for the finishing touches for your live video set.
First, what sort of table or desk are you using? This surface helps to frame you for your viewers. Do you want to be framed by a cluttered table that’s been shoved in a corner? Of course not! Remember the color scheme and accessories we discussed earlier in the article, and keep this aesthetic alive. Affix a quick tablecloth to your table or desk to keep the color scheme going (you can find brightly colored plastic tablecloths for low cost at most party stores), and place some of your accessories on top.
Next, your tripods. Set your tripods up where you'll want them for each broadcast, and then just leave them in these locations. This makes it easy to pop your cameras into place when it’s time to go live, knowing, that they are all already positioned correctly. For a sturdy tripod, I recommend the Manfrotto tripod line. If you are using iOS cameras, our friends at iOgrapher make handy filmmaking cases for your iOS devices that easily attach to the top of a Manfrotto tripod. Find more details in our post on basic livestreaming gear.
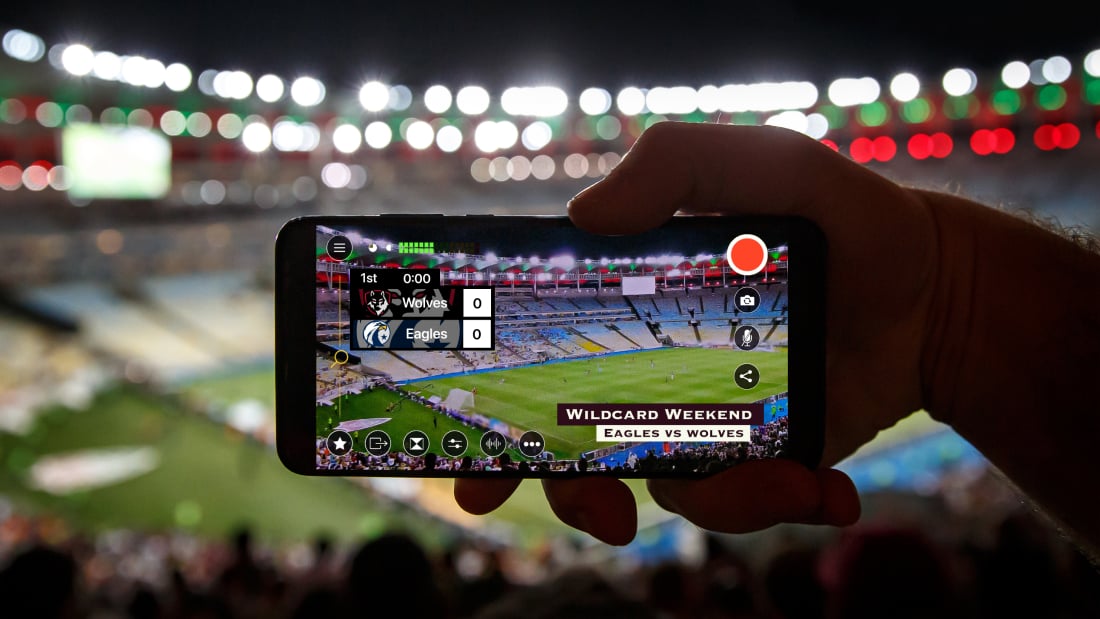
Lastly, you can set up an external monitor near your tripods. This allows your on-screen talent (typically yourself and guests) to see what is going on in real time. Connecting an HDMI cable from your main camera switcher to your monitor makes this quick and easy. Any monitor will do (some livestreamers prefer tiny monitors, while others prefer larger computer monitors), but here is a nice example.
With your set permanently available, it is easy to sit down and go live at any time. We’d love to see your live video set! Be sure to take a photo once it’s ready, and use the hashtag #madewithswitcher so that we see how you did.
To learn more about livestreaming how-tos and strategy, subscribe to the Switcher Studio blog, and follow us on Facebook to see our own weekly live show, #StreamSquad.
Subscribe to the blog
Sign up to receive notifications whenever a new blog post is published. You may unsubscribe at any time.

Share
About the Author
Angela Nicole Cobble
As Customer Support Manager, Angela seeks to keep users knowledgeable on Switcher's ever-evolving features and how they boost live video potential. She's also a Switcher user herself and uses the software to produce both live and recorded content for multiple platforms.
All posts by Angela Nicole Cobble