If you’re a regular livestreamer, you’ve likely run into some type of issue during a livestream. Maybe it was a problem with the social media platform you were streaming to, maybe your internet connection was weak, or maybe you had an equipment issue with your mic or camera.
With so many moving parts involved with livestreaming, issues are bound to happen at some point — especially if you don’t take the time to properly prepare before going live.
Whether you’re an experienced livestreamer or a beginner, this blog post will provide you with pre-livestream checklist items to ensure smooth, successful, and problem-free streams.

✅ Restart all devices and equipment
Restarting devices like iPhones, iPads, laptops, and computers before your livestreams can help your devices perform better. When you restart a mobile device, tablet, or computer, random access memory (RAM) is cleared — helping your device run faster and smoother.
If you haven’t rebooted your router in a while, you might want to consider it — especially if you notice your internet speed is running slower than usual. Router reboots work similarly to restarting your devices and can help make your internet run steadier and faster.
✅ Test internet connection quality
Speaking of internet speed, testing the quality of your internet connection by conducting a speed test lets you know how well your internet is performing and if your network can handle the quality of your broadcast.
We recommend using speedof.me for conducting your internet speeds tests. If you’re using Switcher Studio to stream to Facebook or if you are using Custom RTMP, you can run a speed test in the Switcher app or on the Switcher Studio Dashboard. If you want a more consistent and reliable internet speed, it's best to use a wired connection with an ethernet cable.
Once you have your internet speed test results, be sure to select the stream quality that best fits with your internet speed.
Our stream quality recommendations are based on minimum upload speeds:
- 270p (Low): 1.5mbps upload
- 360p (Medium): 2mbps upload
- 540p (High): 2.5mbps upload
- 720p (HD): 6mbps upload
- 1080p: 12mbps or higher upload
✅ Charge your livestreaming devices
This one might seem like common sense, but it can be easily overlooked. The last thing you want to happen during your livestream is to have your device shut down mid-stream. Making sure livestreaming devices like iPhones, iPads, laptops, and so on are fully charged can help you avoid a potential disaster. Even if you anticipate that your livestream will be fairly quick in length, it’s still best to make sure your devices are fully charged before going live.
Another good idea is to have your charging devices plugged into a nearby outlet and ready to go. This will prevent you from having to search for chargers or available outlets during your broadcasts.
✅ Make sure your devices or cloud storage have enough available space
It’s always helpful to have your live videos saved and downloaded so you can reuse and repurpose that content after your livestreams end. Live videos can take up a lot of space on your device or cloud storage, so be sure you have adequate storage space well in advance to going live.
✅ Test all livestreaming gear
Your gear is essential to the success of your livestreams. Testing each piece of equipment before you go live gives you reassurance that everything is working properly.
✅ Mic and camera test
Few things are more important to a successful livestream than your microphone and camera. To be safe, always conduct a mic and camera test prior to going live. For smartphones or tablets, you can create a quick video using your device’s camera. On a desktop computer, we recommend making a quick test video in QuickTime. If you can clearly see and hear your recording, your mic and camera should be good to go live.
✅ Lighting test
Lighting is another crucial factor in the success of your livestream. After all, what’s good video content if your audience can’t see you? Before your livestream, make sure any lights you’re going to use are plugged in and working properly. Light positioning is also incredibly important, so set your lights up in a way that fits in with your environment and broadcast content.
✅ Have talking points
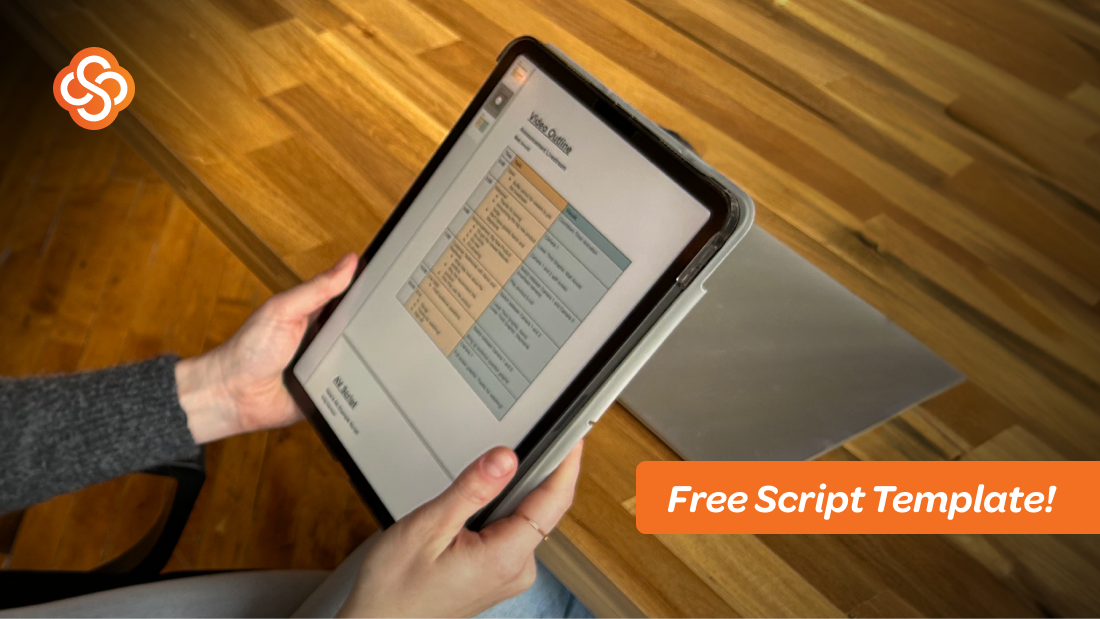
Part of what makes live video so appealing to audiences is the authenticity and rawness of the content. Watching someone live is entertaining, and many viewers crave an authentic experience. While it’s not recommended to write a script of your live video content, it is helpful to create a rough outline or a bulleted list of talking points if you plan on being on camera.
Outlines or lists of talking points can help keep you on track and remind you to cover important topics while still providing that unscripted experience that your viewers want to see.
✅ Have a beverage nearby
Keeping a beverage nearby might seem minor, but it can come in handy if you’re going to be the one talking on camera during a livestream. No one wants to have cottonmouth while speaking to a live virtual audience, and you wouldn’t want to risk any of your viewers leaving the livestream because you had to excuse yourself to grab a drink from another room.
Do yourself a favor and keep your beverage of choice next to you during your livestream, just in case you end up needing a drink.
✅ Get in the right mood for your livestream
To put it simply, your mood and energy should match the content of your livestream — especially if you plan on being on camera in your livestream. For example, think about the different mood you’d want to be when livestreaming a yoga class compared to a kickboxing class. For yoga, you’d likely want to feel calm and relaxed leading up to your livestream. For kickboxing, you’d probably want to feel energized and amped up.
Depending on the mood you want to be in, take the necessary steps to get in the right state of mind. That could include stretching, listening to music or a podcast, doing a quick workout, reading a book, dancing, drawing, etc. There’s no set list of what you should do to mentally or physically prepare for a livestream, but do what works best for your personality and the content of your live video.
✅ Make sure others in your house or location aren't streaming or downloading
What you don’t want to happen during a livestream is for someone in your home or on your Wi-Fi network to start streaming Netflix or downloading the latest operating system on their iPhone. Large downloads and even streaming live TV or video games can decrease your internet speed, which can ultimately reduce the quality of your livestream.
To avoid this from happening, let others in your house or office know when your livestream is going to start and around what time it will end. For maximum effectiveness, be sure to ask them nicely to refrain from streaming or starting large downloads while your livestream is going on. 😊
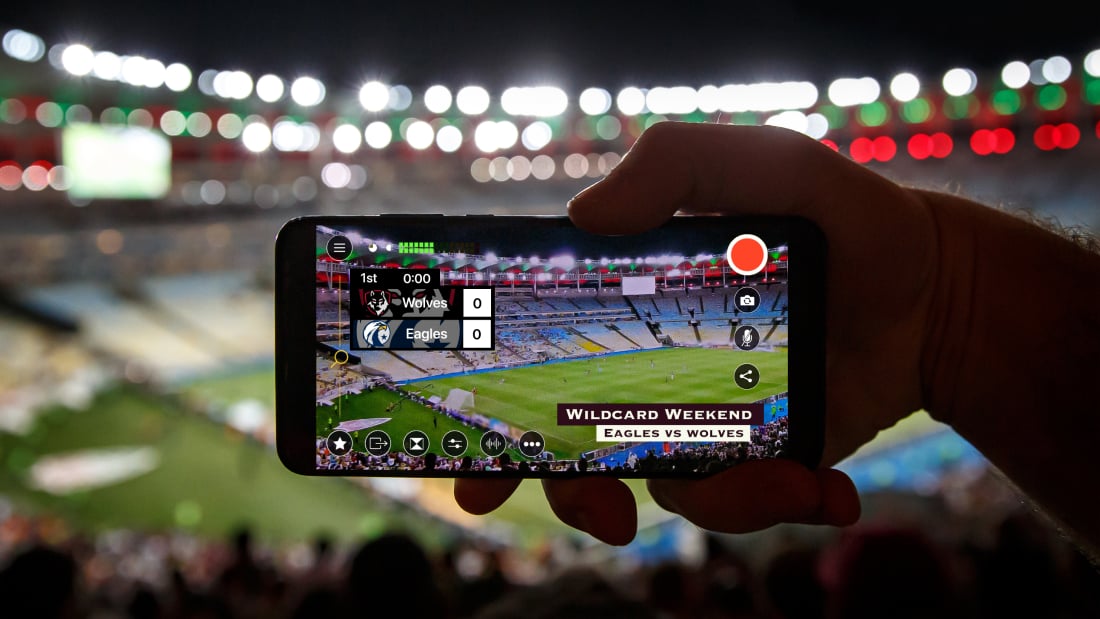
✅ Set up a test stream
Test streams are the perfect way to check and make sure your livestreams will run smoothly without any hiccups. They’re especially important when you’re streaming from a new location, using a new livestreaming service, or streaming to a new social media platform for the first time.
Since test streams are private, you won’t have to worry about your audience seeing them. You can set up private test streams on Facebook, or you can create private unlisted streams on YouTube.
We recommend conducting a test stream about 30 minutes prior to your livestream. That should give you enough time to run your test and make any necessary adjustments.
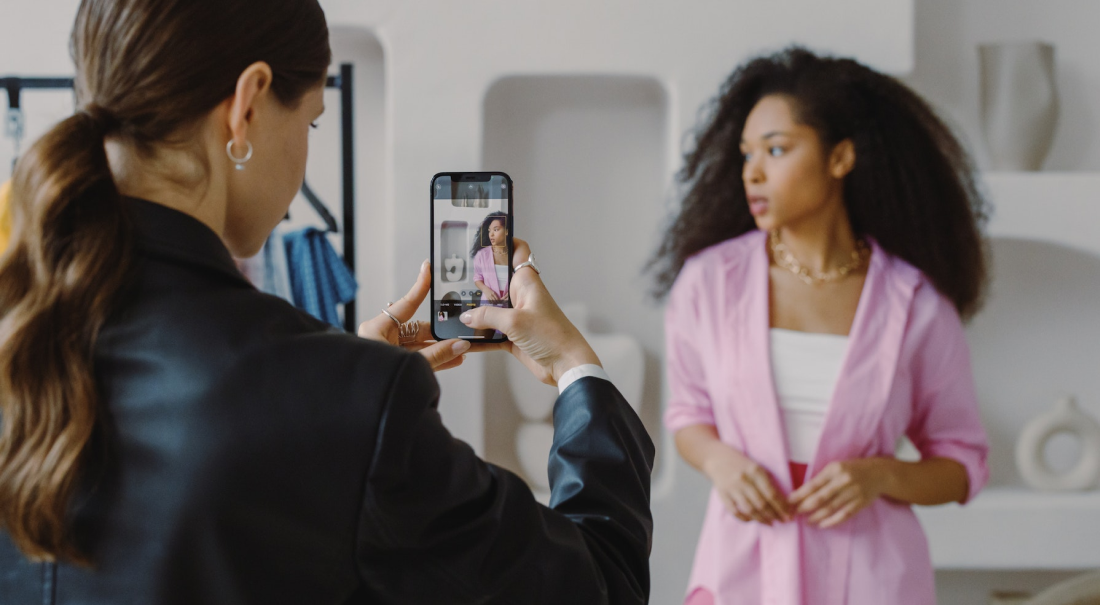
✅ Share your test stream link with guests
If you plan on having remote guests join you on your livestreams, you’ll want to make sure they’re prepared too. Sharing your test stream links with remote guests will give them an opportunity to identify any potential connection or equipment issues on their end.
✅ Put your devices in Do Not Disturb mode
Interruptions during your livestreams aren’t ideal. Whether you’re using your mobile device or tablet to livestream from, or it’s simply sitting next to you while you’re livestreaming from a laptop or desktop computer, you’ll want to avoid getting phone calls or notifications that interrupt the flow of your stream.
Putting your mobile device or tablet in Do Not Disturb mode can prevent any unwanted notifications or interruptions from occurring — which can help you from looking unprepared or unprofessional to your viewers.
✅ Mute your computer
Similar to mobile devices and tablets causing interruptions, trying to monitor or watch your livestream on a desktop computer or laptop while you’re streaming can also create unwanted distractions if you don’t mute your computer.
If you leave your computer sound on during a livestream, you and your viewers will hear yourself playback — creating an unpleasant echo-like sound. If you want to keep your viewers tuned in and engaged, be sure to mute your computer or laptop.
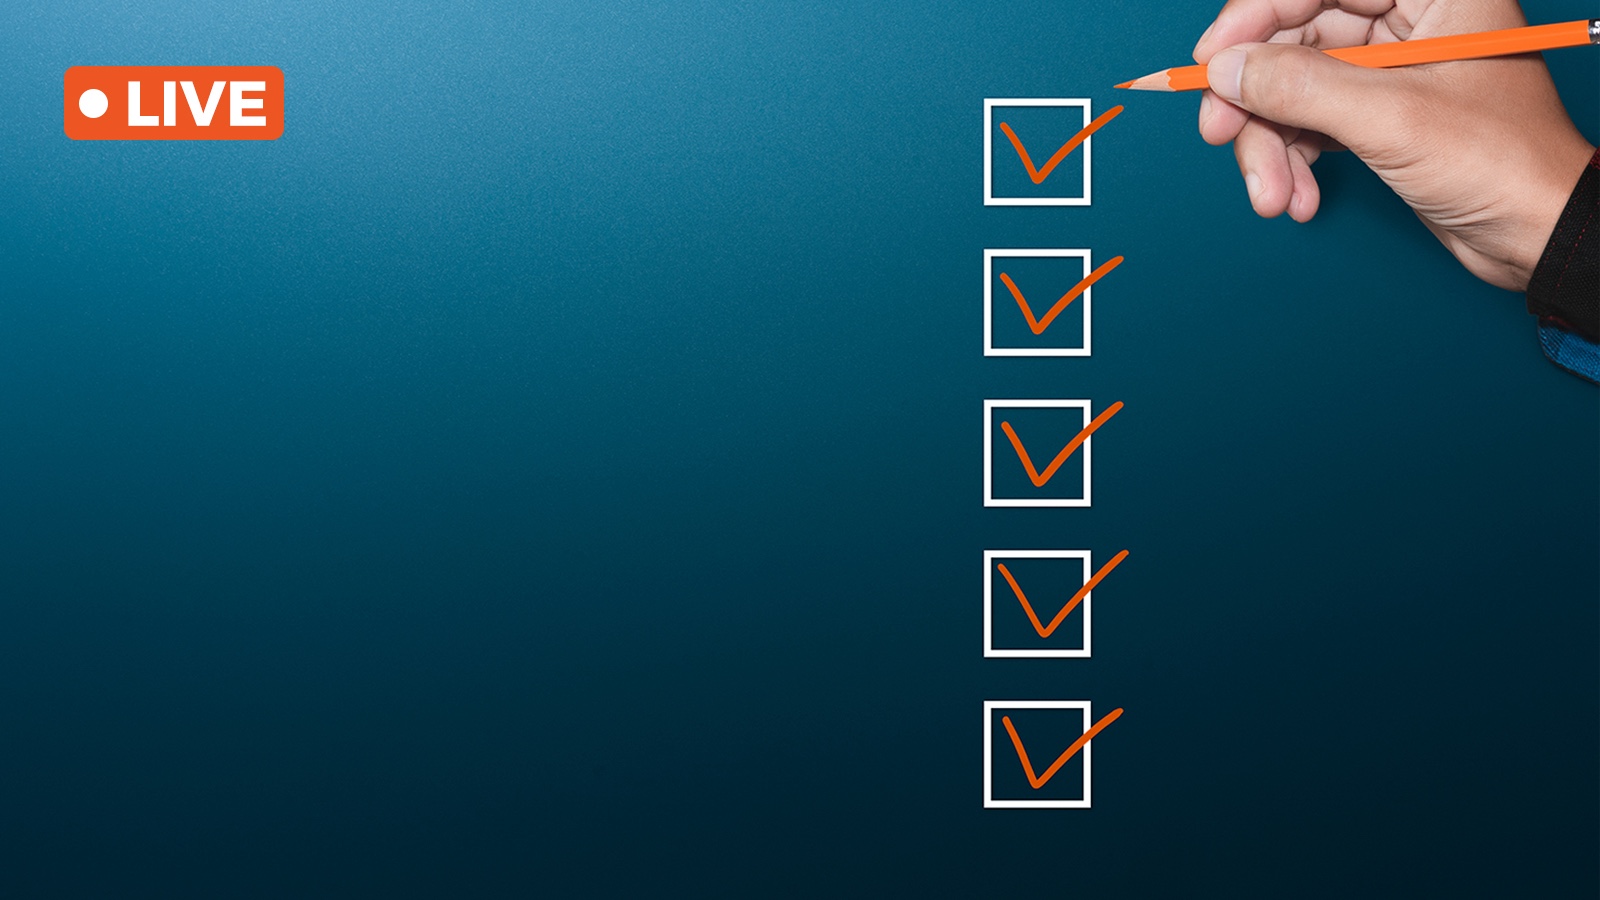
Download our livestreaming checklist
Hopefully our ultimate livestreaming checklist can help you prepare for future livestreams and even prevent some issues from happening.
If you haven’t yet, we encourage you to download our ultimate livestreaming checklist! Be sure to print it out and have it handy before going live — checking out and checking off each item on the list as you go through it. Good luck and happy streaming!
Catch the livestream
Want more tips on prepping for your livestreams? Check out this stream where the Switcher team discussed the pre-live checklist.
Subscribe to the blog
Sign up to receive notifications whenever a new blog post is published. You may unsubscribe at any time.

Share
About the Author

As Switcher's associate product manager, Jared aims to educate and entertain readers on all things live video. He's spent his career in digital content strategy, helping brands to better connect with their audiences.
All posts by Jared Applegate