
A step-by-step resource for churches, ministries, and nonprofits.
So, you’re ready to go live, but not quite sure where to start?
Good news: Live streaming doesn’t have to be complicated or expensive. You already have most of what you need for your parish community right where they are — online.
Here are some of the basics we’ll cover in this guide:
- Why go live?
- How to plan your stream
- Gathering your gear
- Test everything
- Going live!
- What to do after the stream ends
- How to keep building after the stream
- A quick live stream checklist to save for later
Let’s dive in!
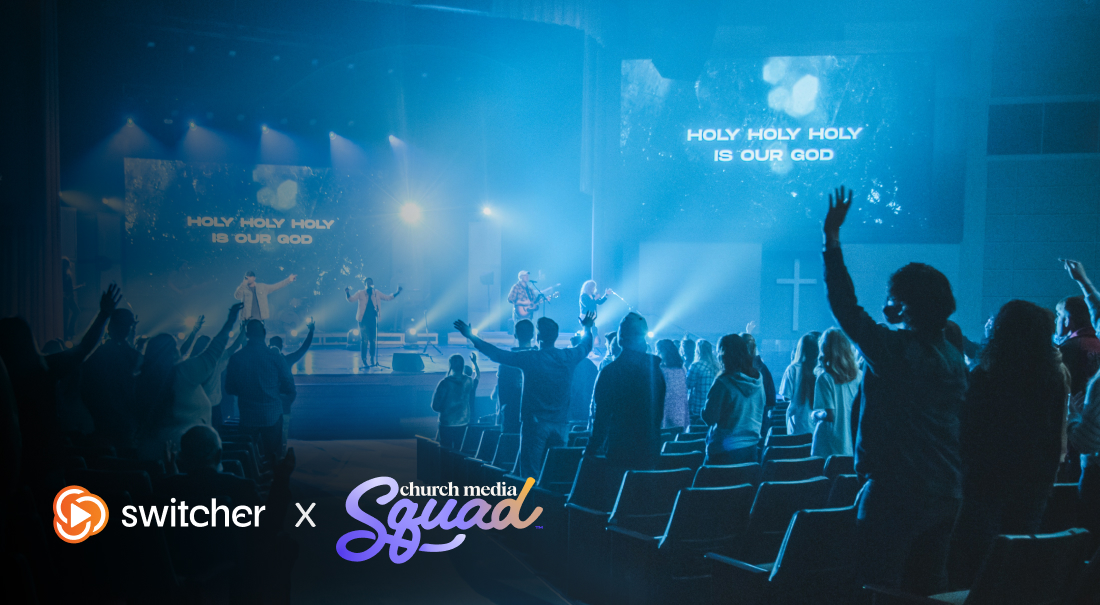
Why Go Live?
Live streaming lets you bring your mission beyond the walls of your church or organization. It’s a way to reach homebound parishioners, connect with younger audiences, or share special moments in real time.
And the best part? You don’t need a tech degree or a studio setup to make it happen.
%20Reach%20more%20people.png?width=500&height=347&name=(1)%20Reach%20more%20people.png)
Step 1: Plan Your Stream
Start by asking a few simple questions:
- What will you be streaming? A mass? Prayer Service? A giving Campaign, holiday performance or special event?
- Where will people watch? Facebook, YouTube, Instagram, your website?
- Who’s running the show? Even a team of one or two can work great — for example, one person producing and one monitoring and responding to live comments.
Write down your answers and you’ll already have the foundation for your streaming plan.
💡For ideas on structuring multi-camera shots or creative angles, check out this Switcher article on multi-camera live streaming.
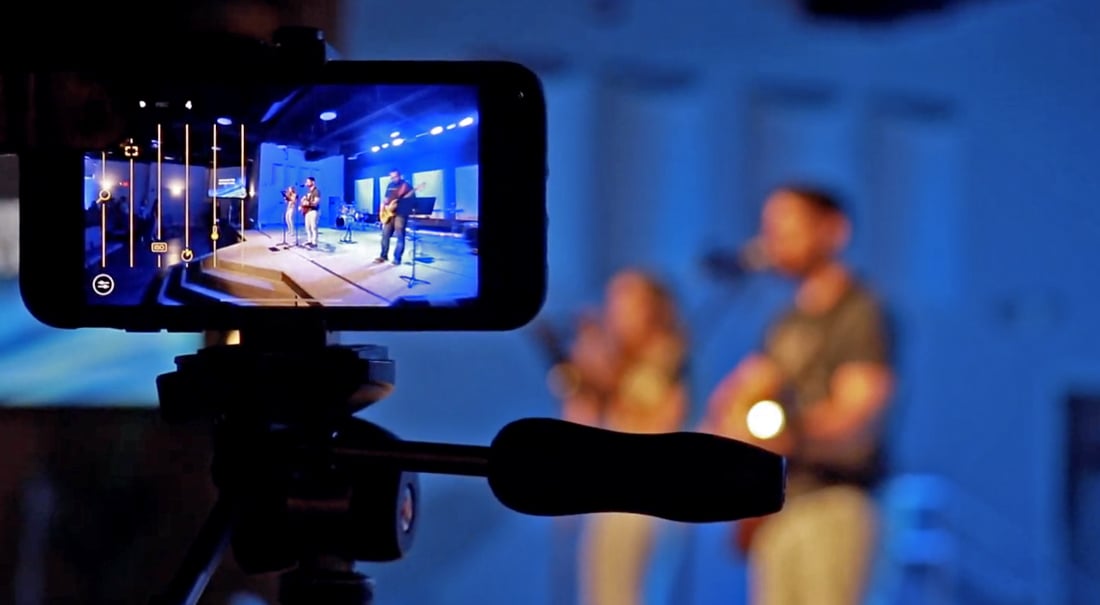
Step 2: Gather Your Gear
You probably already have all the gear you need! Here’s what you’ll need to get started if you’re using Switcher to live stream:
-
An iPhone or iPad: This is what you’ll use to produce your live broadcast.
-
Good lighting: Natural light works great, or if your space is dim a ring light can work wonders.
-
Clear audio: Your phone’s mic can work, but an affordable external mic will make a huge difference.
-
Strong internet connection: Shoot for at least 5-10 mbps of upload speed. You can check your internet speed by using a free tool like SpeedOf.Me.
-
Recommended: 1-3 additional iPhones or iPads. You can use these for additional camera angles and connect them seamlessly with the Switcher App.
-
Recommended: A stable tripod or mount. Shaky hands can ruin a live stream. So ideally, every camera or iOS device you use should have a sturdy mount. Thankfully, there are a lot of inexpensive options out there.
💡More Switcher Resources: Visit Switcher’s Getting Started page for quick video tutorials to walk you through your first setup.

Step 3: Test Everything before You Go Live
Think of this step as your “dress rehearsal.” A quick test run saves a ton of stress later, especially the first few times you stream.
Before your real event:
✅ Restart your devices and check your Wi-Fi router
✅ Test your camera angles and lighting
✅ Make sure audio is clear and balanced
✅ Turn on “Do Not Disturb” mode on your devices
✅ Ask others in your space not to stream or download during your live event to keep your internet connection strong for your stream
And most importantly, run a short private test stream to make sure everything looks and sounds the way you want.
💡 You can use this Ultimate Live Streaming Checklist to double-check every detail before you go live.
Step 4: Go Live!
Start your stream a few minutes early so viewers can join in. We’ve found that showing an intro video or screen, or even a bulletin or church announcements works well.
Once you’re live:
- Greet your online audience just like you would people in the room
- Keep an eye on comments if you can, or ask someone to moderate
- Switch between camera angles or add overlays to make it more engaging
- Stay calm and have fun! People are tuning in for your message, not your production polish
If you’re using Switcher, you can easily toggle between camera angles, add lower-third titles, or include tithing and donation links right from your iPad or iPhone.
💡For a walkthrough and more resources on using Switcher’s App specifically, you can visit our Help Center.
Remember: Authenticity is more important than production perfection. Your viewers care more about connecting with your mission than your flawless broadcasting skills.

Step 5: Making the Most, After the Stream
Don’t just hit “end stream” and walk away! A few quick follow-ups can make your stream even more impactful.
- Save your video: Share your live stream recording on your website and social media channels so people can catch it if they missed it live.
- Repurpose stream highlights: Clip the most engaging parts of your live broadcast into short videos that you can promote on your website, in email bulletins, and on social media. These could be anything from a powerful quote from the Homily, to a special moment or call to action.
- Check your analytics: See how many people watched and which parts they liked the most. This can help you improve future live streams and identify which parts to clip and share.
- Ask for feedback: What worked? What didn’t? What would they love to see next?
Each stream helps you learn and grow, so your next stream will always be smoother.
Step 6: Keep Building
Once you’re comfortable going live, you can start to expand:
- Add multiple cameras for a more dynamic look
- Include graphics, titles, or giving links on screen
- Live stream to multiple platforms at once
- Train a small volunteer team to help with production
Small upgrades can make a big difference, and with the right tools, it’s easy to scale up as your audience grows.
✅ Quick Live Stream Checklist:
☐ Define your goals and what you want to stream
☐ Choose your streaming platform
☐ Check your internet speed
☐ Set up cameras, lighting, and mics
☐ Test everything before you go live
☐ Engage viewers when you’re live
☐ Save and share your recording
☐ Review and find ways to improve next time
Final Thoughts
Going live is one of the simplest (and most powerful) ways to share your message further.
Whether you’re celebrating, worshipping, or fundraising for iGiveCatholic, live streaming helps you connect, inspire, and grow your community, all from the device in your hand.
And remember: You don’t need a big budget or complex gear to make a big impact. You just need to start!
READY TO GO LIVE? Check Switcher out to see if it’s the right fit for you, and save $30 when you sign up this holiday season with our limited-time Seasonal Studio Plan.
Subscribe to the blog
Sign up to receive notifications whenever a new blog post is published. You may unsubscribe at any time.