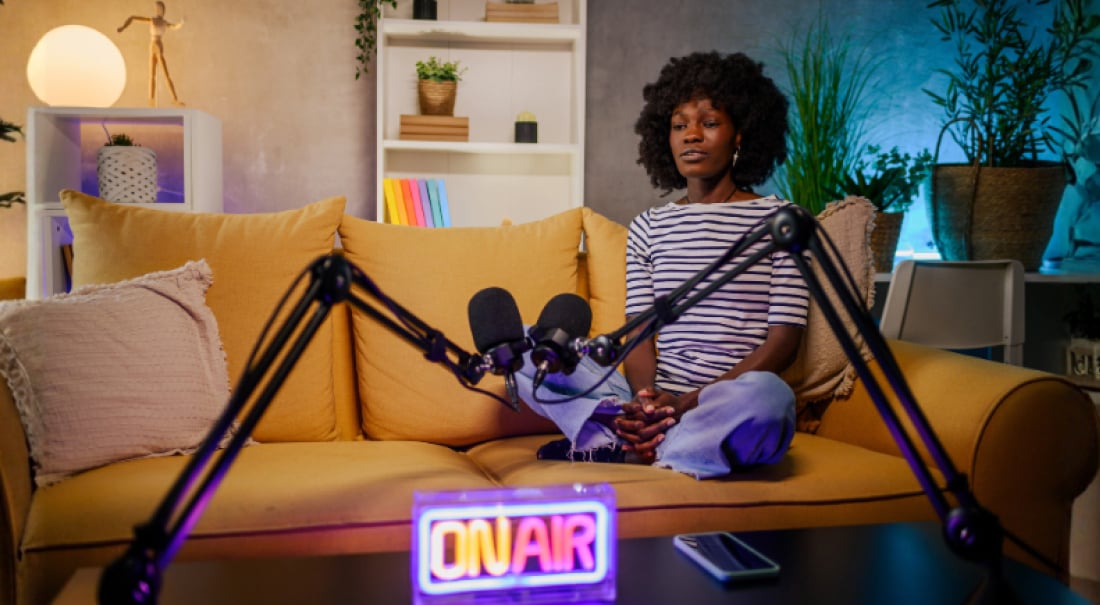

While content may be king, live streams should be crowned queen. After all, it’s a video format that’s currently thriving — in the third quarter of 2023, 7.6 billion hours of live content was watched across all platforms.
While streaming to social media is popular, that’s not the only option out there. Streaming on your website is a great way to improve your average time on page (which can positively impact SEO and your bottom line). To stream on your website, you do need to know how to embed a live stream. The good news is that you just need a little guidance to get this done, and we’re here to help.
To embed a live stream on your site, there are four steps you need to follow:
-
Choose a live streaming platform
-
Generate an embed code
-
Paste the embed code on your website
-
Save and test with a stream
Let’s walk you through the steps.
Choose a live streaming platform
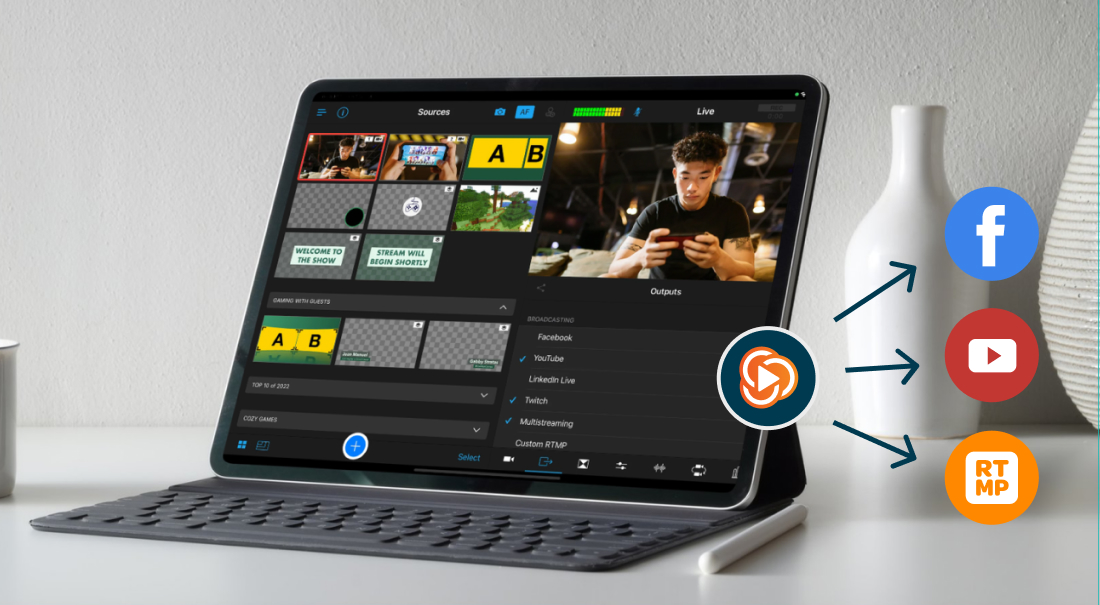
Before you go embedding, you need to first choose the right live streaming platform for you. This is the platform that will help you manage, host, and monetize your videos.
Since there are countless streaming service options, this can seem like a daunting task. You want to pick the right one because your streams will be in that platform's hands (or, code? You know what I’m saying). So when looking for the right platform, you’ll want to keep an eye out for a few key things — video quality, platform scalability, monetization options, custom branding, analytic reporting, and support.

If you’re on a tight budget, YouTube and Twitch are free options to consider. But keep in mind, you will have to deal with ad breaks and other content recommendations which isn’t ideal when you’re hosting a live event and want to look professional. For more features and fewer ads, consider going with a professional live streaming platform, like Switcher. A professional platform will offer you more features and capabilities that will serve you better in the long run.
Generate an embed code
Next step: Generate an embed code so you can have live streams on your website. Confused? Let me break it down.
First — what even is an embed code?
This is a short line of HTML text that allows you to add content from another place to your website. Think forms, images, and videos.
It may look like a jumble of numbers and words, but this code contains the data of the content — its URL, size, and name, among other things.
If you want to be able to stream live videos to your website, this is where an embed code comes in. The first step though — generating that code. Here’s how you can do that with Switcher.
-
To get started, log into your Switcher account on the browser dashboard.
-
Navigate to the Video Catalog under Video CMS on the left-hand side.
-
Create a new video player by clicking on the button “New Collection.”
-
Give your collection a name and description, and click “Create.” This will take you to your Collection Settings where you can customize the display of your player, gate your content, and preview how it will look to viewers.
-
To generate the embed code for your website, you’ll head to the menu on the right-hand side, you’ll see “Embed Code” — hit “Copy Code” and voilà, your code is created.

This won’t be exactly the same for other professional platforms, but it’ll likely be pretty similar. Just look for the embedded code, copy it, and go from there.
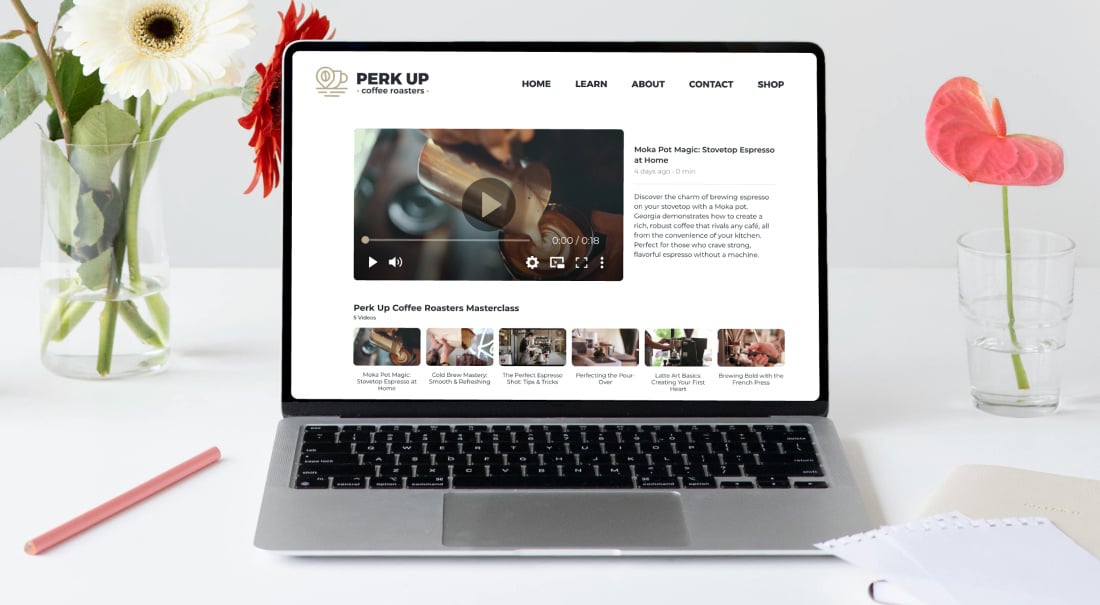
Paste the embed code on your website
You have the code copied — now it’s time to paste it where you want it on your website.
This may seem complicated, but you don’t need to be a coding master to get this done. In fact, it’s pretty simple. First, find the place on your website you want the live streams to show up. Then, you open up the HTML editor on your website’s content management system and paste it in. Yep, seriously — that’s all you need to do for this step!

Save and test with a stream
Last steps. After pasting your code, don’t forget to save your changes and publish the web page you’ve edited. Once you’ve done that, reload the page and you should see your new video player.
If you’ve been setting this all up with Switcher, the rest should be easy. When you go live on the Switcher app, you’ll be able to choose your website as a destination for your live streams and easily broadcast your videos to the player.
The final step is to do a test live stream to your website to ensure that your player is set up correctly and things are running smoothly.
Bonus: With Switcher, your past streams don’t need to be forgotten about. You can save old streams to your collection so if viewers miss a broadcast, they can catch up when they have the time. Make your website the hub for both your old and new content.
Take control of your live streams
Now you know how to easily embed a live stream on your website. And good thing too, because streaming for your business can be a game changer — offering a dynamic way to connect with your audience and boost your presence online.
Don’t miss out on the opportunity to enhance your video content with Switcher. With our all-in-one video platform, you can easily create, share, host, and monetize your live streams. Try us free for 14 days and take your content to the next level.
Subscribe to the blog
Sign up to receive notifications whenever a new blog post is published. You may unsubscribe at any time.

Share
About the Author

Carly is a content specialist at Switcher and is passionate about creating informative and engaging blog and social media material. With her background in digital marketing and degree in writing, she’s here to help others learn about our features and all things video content.
All posts by Carly Cowie