Recommended Budget Router:
If you aren't getting the results you want with your existing Wi-Fi you may consider setting up a dedicated router for your live video productions.
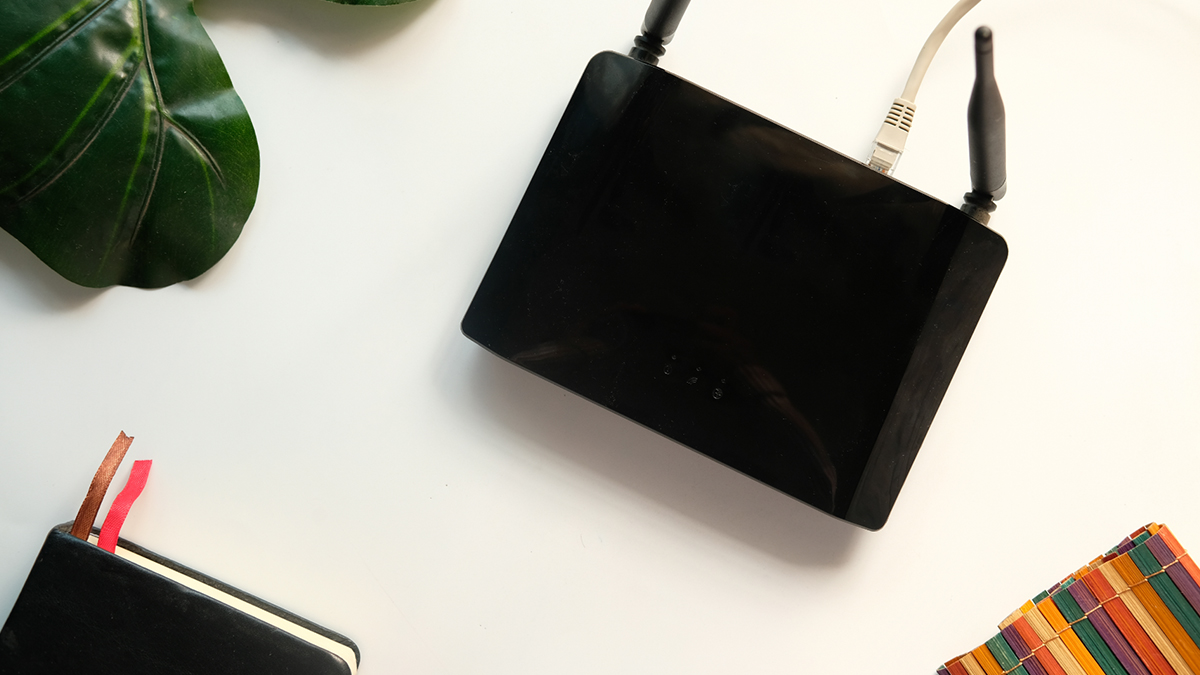
We recommend the Google Home Wifi system.

These devices are easy to set up and provide a strong reliable connection.
Google WiFi can also be used over large areas by pairing multiple units to create a mesh network to extend your wireless setup.
Configuration options:
- Setup one Google router connected to an internet connection
- Best uses: A smaller one room production. Camera's are close together
- Setup one Google router and hardwire your main Switcher device to the router
- Best uses: When you have lots of cameras connected, and all are relatively close
- Setup multiple Google routers creating a wireless mesh network
- Best uses: Multi-Room productions, smaller sporting events
- Setup multiple Google routers AND hardwire one (or more) devices to the routers
- Best uses: Multi-Room productions, when you need a greater range
- Hardwire multiple Google routers together
- Best uses: Sporting events, places where cameras will be far apart and need multiple cameras connected
- Hardwire multiple devices using a network switch/ router
- Best uses: More complicated and time consuming setup, but most reliable in the end
CONFIGURATION OPTION 1
Google router connected to an internet connection
This is an easy solution that will get your camera onto their own local network. After setting up the router, all you need to do is to connect the router to an internet port via ethernet.

Now when you connect your devices to an internet connection, choose the newly made connection instead.
This allows you to control the settings on the local network and manage the connections being made.
CONFIGURATION OPTION 2
Google router and hardwire your main Switcher device to the router
From the networking image above, the biggest data constraint is caused by sending the 12Mbps from the multiple cameras through the router to the main Switcher. Meanwhile, Switcher has to send 3Mbps back to the router. This normally happens wirelessly over the local network.
Since the Google router(s) have two ethernet ports, we have the ability to connect devices directly to them. In the above example, by simply hardwiring the main Switcher to the router, we cleared up 10Mbps in the above example.
To set this up, we still need to connect the Google router to the internet. Then we need to pick up a few extra pieces of equipment to allow an iOS device to connect with ethernet:
- Apple USB to ethernet adapter
- Apple USB to Lightning camera adapter
- An Apple charge cable
- Power for the iPad.
- Using ethernet for an iOS device requires a certain amount of power. You can achieve this by either plugging into a wall outlet, or for a more portable solution, grab an external battery. Here is the one we recommend. It is important to use the larger power bricks or external batteries. The smaller ones do not give enough power to use the ethernet connection.


Next plug the ethernet adapter into the USB port on the lightning adapter.

Power the adapters with an Apple charge cable and plug the adapters into the iOS device.


From the "General Settings" make sure "Wi-Fi" is disabled and select "Ethernet"

Now connect all the other devices to the network wirelessly. Your hybrid wired/ wireless system is now setup and ready to go for Switcher Studio.

CONFIGURATION OPTION 3
Setup multiple Google routers creating a wireless mesh network
This setup is best if you need to extend the range of your network. When setting up the Google routers, you will get the option to add additional access points. Once you have this done, you can add cameras next to the further spaced out access points for a more reliable connection.
Make sure to have the main Switcher near the router physically connected to the internet.

CONFIGURATION OPTION 4
Setup multiple Google routers AND hardwire one (or more) devices
If you want to help boost the signal from each device as explained above, we can connect our iOS devices to the Google routers. Use the same process as above for each device/ router and you will have an even more solid connection. Of course doing it this way will only allow you to hardwire one camera to each router.

CONFIGURATION OPTION 5
Hardwire multiple Google routers together
This solution allows you to increase the distance between the routers. Instead of plugging in cameras to the extra ethernet port on the routers, we will be plugging them into each other. This can extend the range of each access point to 300ft (100 meters). Of course, setting this up means we no longer can hardwire the cameras to the access points, but they can connect wirelessly no problem.

CONFIGURATION OPTION 6
Hardwire multiple devices using a network switch/router
The last solution we will cover requires slightly different equipment. For this setup, we have used a Ubiquity RouterX. These devices require a little more networking knowledge to setup, but will create the most reliable local network by allowing all devices to be paired via hardwire connection.

This device has multiple ethernet ports on the back. Here we will be hardwiring all the cameras together.
One of the ethernet ports on this router will be connected to the internet (by default, the Edge Router X’s internet port is eth0). The others will each run an ethernet cable (wired ethernet connections longer than 300ft will require a repeater) and connect using the Apple adapters described above.
Having everything wired prevents any issues that could be caused by wireless connectivity issues or interference, and allows the fastest, most reliable connection between each device.

You now have all the tools necessary to get out and create some amazing live video.
Find the best setup that fits your needs and take control of your networking!
Subscribe to the blog
Sign up to receive notifications whenever a new blog post is published. You may unsubscribe at any time.

Share
About the Author

Dan is Switcher's customer success manager and a co-founder of the company. He is a live video expert, helping companies like Golf Channel and Korbel create amazing livestreams with Switcher. Prior to co-founding Switcher, Dan spent 4 years working at an agency that helped businesses create and stream live video.
All posts by Dan Petrik