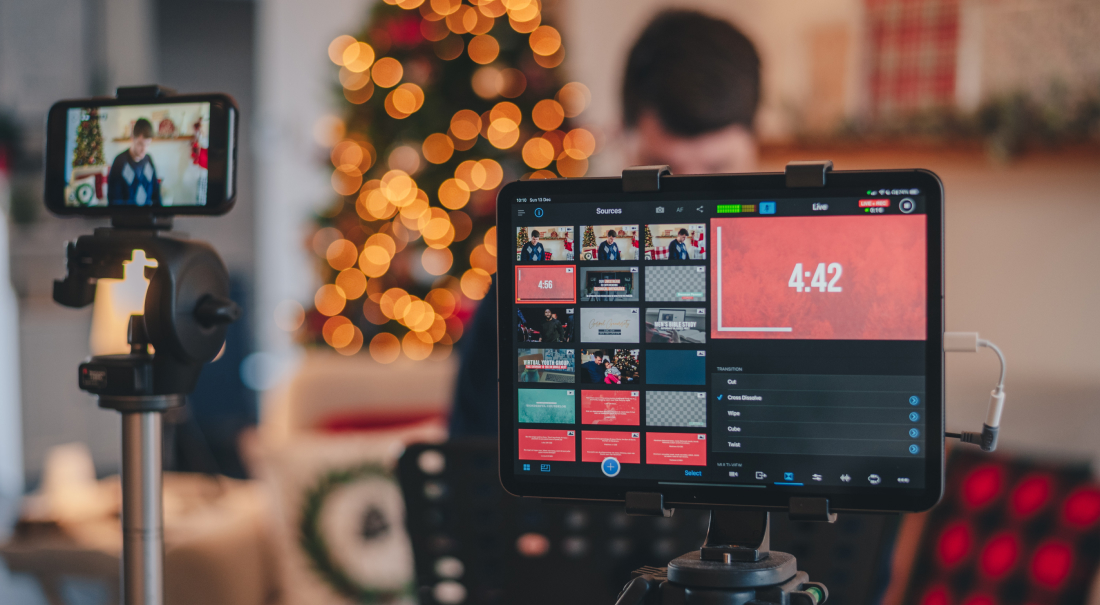
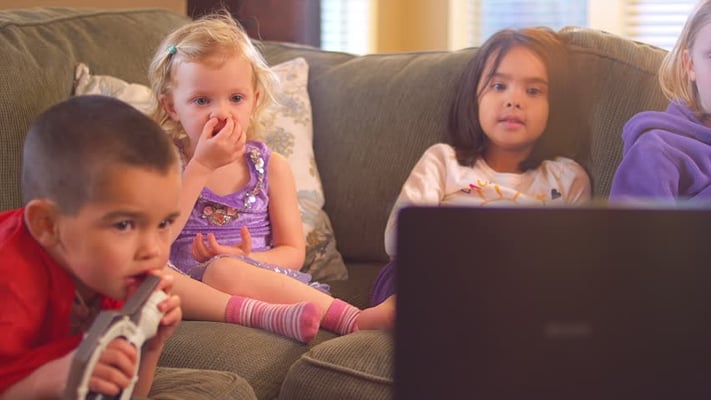
When going live, one of the end goals is to attract a larger audience by the end of each broadcast. It is exhilarating to see more and more people viewing each subsequent broadcast. Likewise, it can be frustrating to hit a plateau or lose your audience.
The most frustrating of all is when it seems that no one is watching your live videos. A lot goes into planning a live broadcast, and it's disappointing when no one is there to reap the benefits.
Many factors can result in a small (or nonexistent) audience for your live videos. Luckily, most of these factors are easy to correct. By adjusting your privacy settings, marketing your brand and organizing your network, you can grow your audience quickly and successfully.
Adjust Your Privacy Settings
For the best results and greatest exposure, your live videos should be public. If your live video is set to a friends/subscribers only setting, then you are limiting your audience. Most broadcasts gain exposure due to the law of viral videos.
A video goes viral when a viewer comments on it or shares it, thus placing it in the eye of their own followers. If your video is set to a higher privacy setting, these potential new viewers will not be able to see it. This will prevent them from giving your broadcast a shot and potentially becoming a new fan or user.
Even worse is when a broadcast is set to an unlisted or only me settings. This limits your viewer count to one, and that one person is yourself.
Regardless of how you usually set up your social media accounts, the account you stream from must be set up with public view access. Your privacy settings can make or break your broadcast before you've even said hello. Remember that you are trying to build your brand, and leave the privacy settings switched off.
Market Your Brand
Opening your privacy settings is only half the battle. If you are streaming to a Facebook Live Page or a YouTube Channel with no followers, your stream will be hard to find. You will likely have few views because no one will be notified of the stream.
Before going live, invite friends and family to like your Page or subscribe to your Channel. Post the link on your personal social media pages. Encourage other employees or business partners to do the same.

Advertise the link on appropriate networking groups. If you will be doing makeup tutorials, advertise your Page/Channel and your stream time in your favorite beauty groups and forums. This will give you organic growth, rather than growth from only people you know personally.
This will also help with the viral video aspect. More people will be watching, liking, and commenting on your stream. This will trigger your video platform to register your live video as "more important" than a smaller stream. Your platform will place your stream in front of more people as a result, and your audience will continue to grow from there.
Optimize Your Network
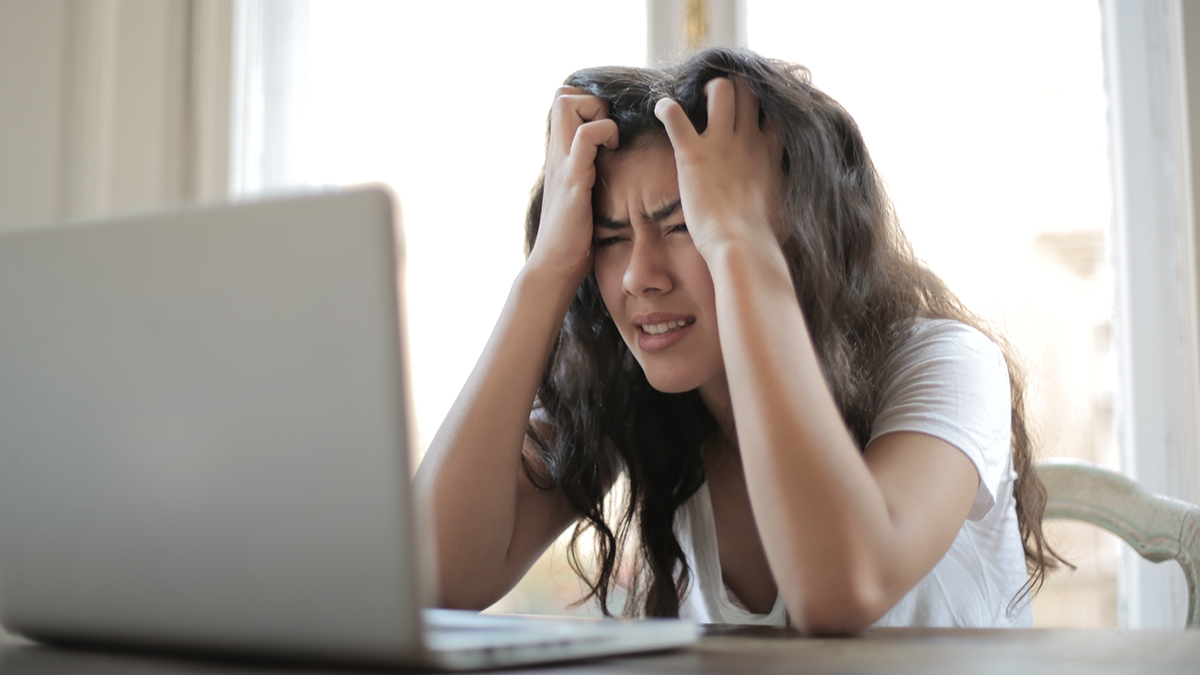
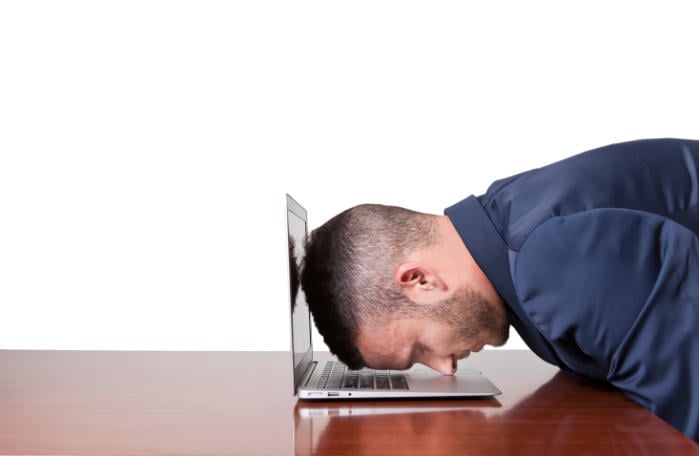
You might have done everything right. You might have built up the numbers on your platform, advertised your broadcast, used public settings and rehearsed what you will say all day. But midway through your broadcast, it crashes. Or your quality drops as the screen continues to freeze. Your audience literally cannot see your broadcast because of these errors.
What is happening?
In this case, you are likely using a wireless network that is not optimized for streaming. Even if your WiFi network is fast overall, it may still not be optimized for producing live video. This will lead to lag, dropped frames and even crashes while you are live.
Luckily, it is easy to optimize your network, and all it takes is changing a few settings on your WiFi. Click here to see the settings that you need to put in place before going live. There are two ways to do this. If you are more tech-savvy, you can log into your wireless network and make any necessary changes yourself. If this is all new to you, then you can also contact your Internet Service Provider and they can make the changes for you.
Using these settings resolves any issues for most streamers immediately. You will then be able to produce a high-quality stream with no dropped frames.
In Conclusion...
Implementing these steps will ensure that both old and new viewers are able to see your live video. They will also ensure that your quality is high, which will help to attract and keep new viewers. A stronger networking system will also allow you to add more cameras and features to improve the look of your broadcast.
To learn how to set up your first Facebook Live broadcast with Switcher Studio, check out this helpful guide.
Subscribe to the blog
Sign up to receive notifications whenever a new blog post is published. You may unsubscribe at any time.

Share
About the Author
As Customer Support Manager, Angela seeks to keep users knowledgeable on Switcher's ever-evolving features and how they boost live video potential. She's also a Switcher user herself and uses the software to produce both live and recorded content for multiple platforms.
All posts by Angela Nicole Cobble