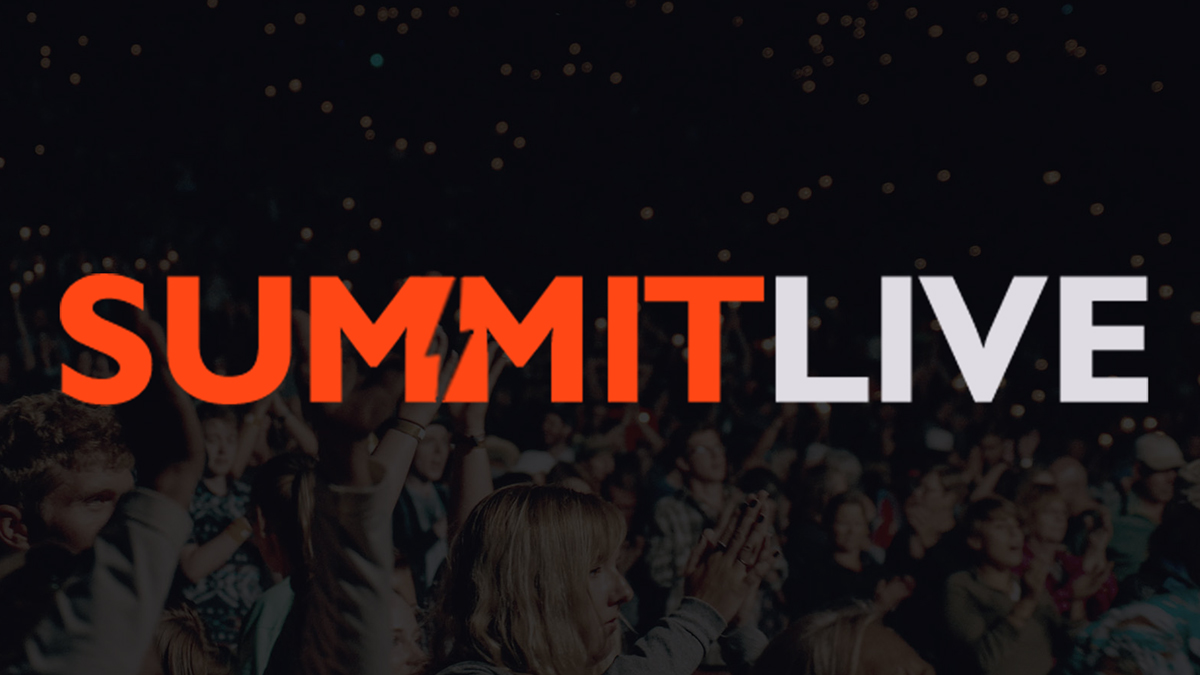
The 2017 Summit.Live conference took place February 22-24, 2017 in sunny Los Angeles, California. Many speakers including David Basulto, Luria Petrucci, and Ross Brand took to the stage to educate their audiences on how to make bigger and better livestreams for their brands and their businesses.
Switcher Studio’s CEO, Nick Mattingly, was invited to be a guest speaker for Thursday’s round of presentations. Nick’s talk revolved around “Blueprints for Live Content”, covering the crucial steps to take before, during, and after your live broadcast.
The biggest takeaway from Nick’s presentation was that the very best broadcasts are planned and created, rather than done on the fly. Of course, not all broadcasts can be planned, and some great ones are spur-of-the-moment, but it's helpful to prepare in advance to keep yourself and your audience on track.
With live video, the type of content you're showcasing (events, news reporting, etc.,) determines how you tell your story. The platform you use for your broadcast also affects how you tell your story. For example, Facebook’s prescheduling and comments features, Periscope’s integration with Twitter and quick integration, and YouTube’s 4K streaming option with 60fps quality.
Steps to Planning Your Livestreams
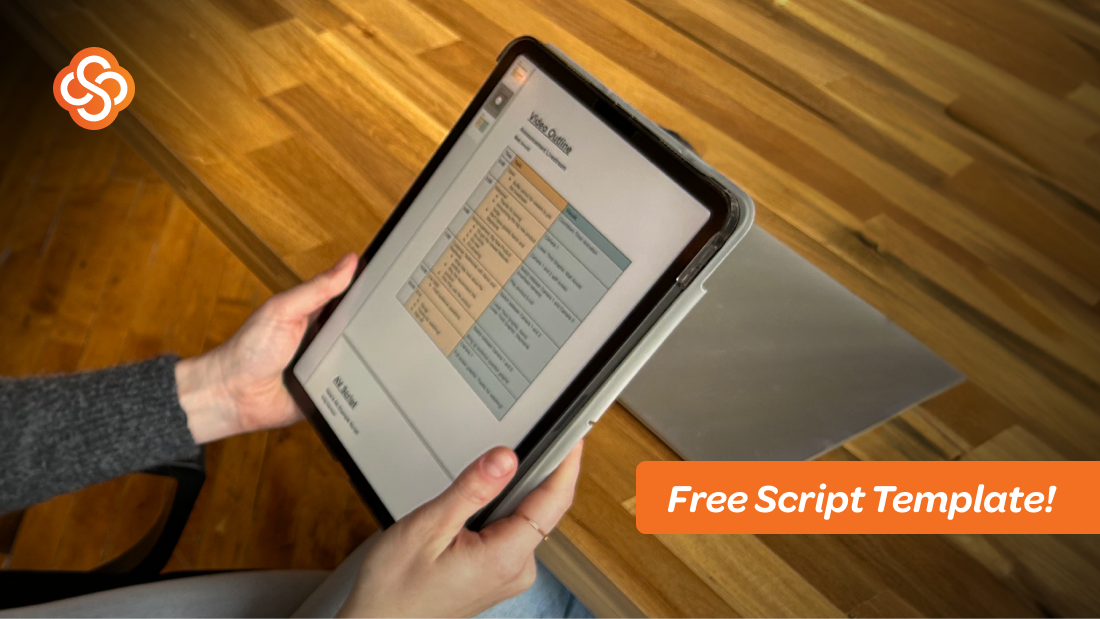
Storyboarding
- What is your goal for the broadcast? What do you plan to discuss? What are you trying to showcase (an expert speaking, a new product, an interview, etc.)? What will the call-to-action be for your audience?
Choosing Your Platform
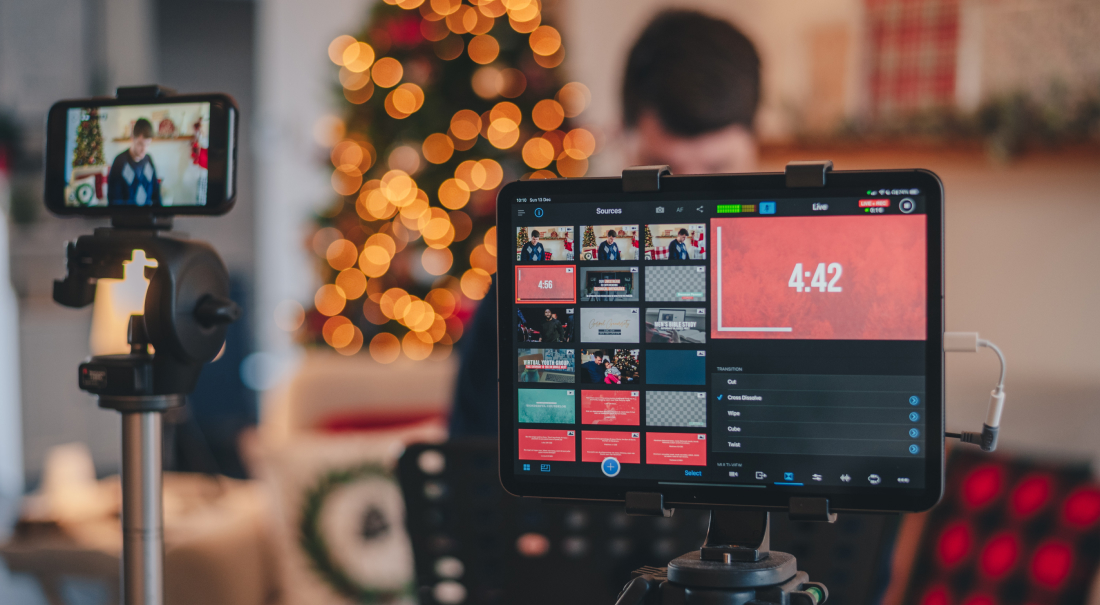
- Native apps like Facebook, Periscope, and YouTube are incredibly simple to go live with, but they are limited in functionality: your only option is a single-shot camera. If you use an app like Switcher Studio, Switcher Go, OBS, or Wirecast, then you can enhance your broadcast with graphics, images, prerecorded video, multicamera setups, and multiview layouts.
Networking Concerns
- Live video has gotten much easier thanks to improvements to both 4G and LTE networks, however, large crowds and inclement weather can negatively affect the bandwidth available for a broadcast. It's always best to use a dedicated personal network — such as a home or a portable router — to get the best quality possible no matter where or when you are streaming.
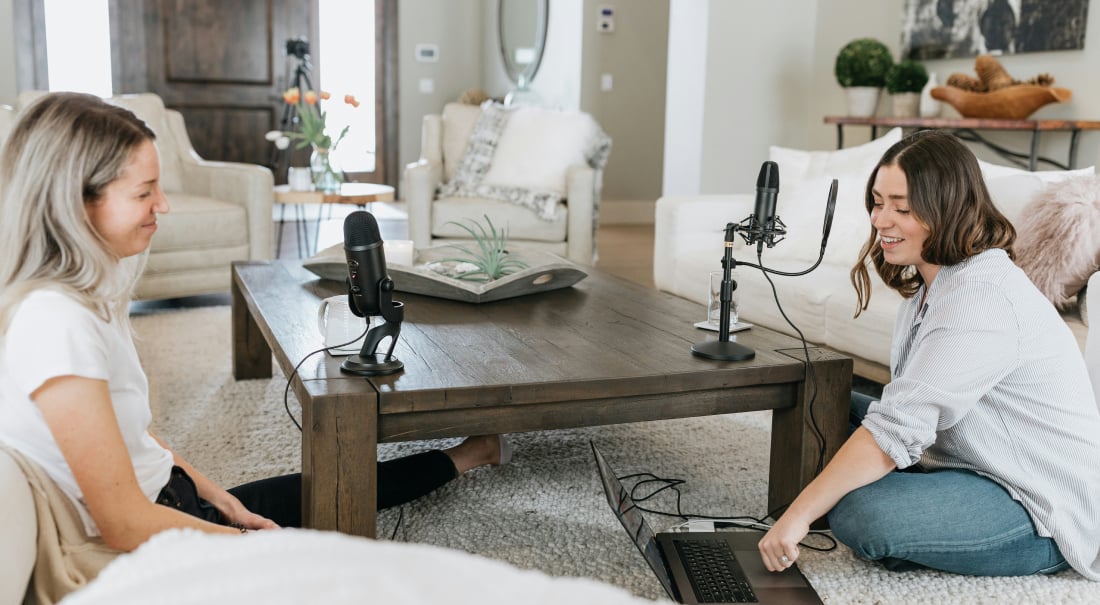
Check Your Audio
- Bad audio will ruin a video even faster than bad video quality. If your audience has trouble hearing you, they will tune out. Place your microphone as close to your subject as possible, and far away from ambient noise sources like wind and construction. Using adapters such as the iRig Pre and the iRig Pro can help you to connect shotgun mics, lavalier mics, handheld mics, and audio mixers for better sound quality. Learn more about popular mic options.
Add Graphics
- If you're running a business, including your logo or an image of your storefront will add more "oomph" to your broadcast. If a known guest will be appearing on your broadcast, prepare lower-thirds or personalized graphics for the guest. You should also have a graphic to queue up for your scheduled Q&A segments.
Schedule Your Streams
- As we mentioned before, some streams will be spontaneous, but if you know about your broadcast in advance, it's helpful to schedule the broadcast ahead of time and share it with your followers. You can also do pre-streams to tease your main broadcast and attract even more attention.
Who's On Your Team
- If you're the only person handling the broadcast, be prepared to queue up your assets on your own during your broadcast. If you have a second person to help, you'll need to plan to communicate with them when to queue up your assets. We recommend rehearsing your broadcast with your team before going live.

Time to Go Live!
So, you’ve planned for your broadcast and it's time to go live! Here are some tips for during your actual live broadcast.
Introduce Yourself and the Topic
- If your subject is a new business, then introduce the venue first and let your audience know where you are at the start of your broadcast. If you are the featured talent or brand, place the camera directly on yourself so that you're the first thing your audience sees.
Tell the Audience What to Expect
- Outline the topics that will be discussed during your broadcast, and lead with a brief overview to hook your audience. This way, they'll know what to expect and can prepare questions or comments they may have. If you know how long your broadcast will be, you can also announce a time expectation.
Go Into Detail on Your Topic(s)
- You already outlined your topics at the start of your broadcast, so now you can expand on each one. Be sure to engage with your audience and answer relevant questions on the fly. This is also where you can explain your goals.
Recap Content Frequently
- Not all viewers come in at the beginning of a live broadcast, so recapping what happened earlier will help latecomers catch up. If a viewer feels lost, they'll often leave.
Frame an Opportunity for Q&A
- Feel free to greet people as they come in and say “hi” throughout the broadcast, but save the main portion of viewer-asked questions and comments for a designated Q&A session. It makes for a good framework to keep your topics on track without interruption.
Remind Viewers of Your Call To Action
- Are you sending them to your website, a social page, a newsletter sign-up, to attend an event, to tune in next week? All of the above? Give your viewers a task at the end of the broadcast to keep them engaged and to keep your broadcast most effective.

After the broadcast ends, this is where many streamers tune out and move on with their day. That doesn't get the most out of your broadcast! Post-livestream, you'll want to perform a few additional actions to keep your viewers coming back and to grow your audience even further.
Analyze Your Broadcast
- Did you reach your goals? Did you convey the information that you wanted? Were you able to engage with your viewers and get the desired feedback for your business or your brand? What should you do differently next time?
Create Follow-Up Content
- Can you turn your live video into a blog post? Can you put a snippet of the video onto YouTube or Twitter? Can you make a compilation of multiple past broadcasts to advertise a weekly scheduled show (think: a commercial for your show)?
Answer Leftover Viewer Comments
- Viewers will continue leaving comments post-broadcast. Be sure to go back through and answer all of them to further drive engagement and keep your audience happy and fulfilled.
Share Your Broadcast to Other Platforms
- Pick the platform, or platforms, best for you and your audience. Increase your exposure by sharing your video across these other channels. Redirect back to your original streaming platform so that more people begin tuning in live.
Analyze How You Can Improve
- How can you grow your audience? How can you better convey your message? How can you interact with your audience pre-broadcast? Remember, you can only keep getting bigger and better, and you are your own competition.
To view Nick’s presentation in its entirety, be sure to go to Nick.Live to download the PDF. You can also sign up for our newsletter for updates and tips for creating better videos!
Subscribe to the blog
Sign up to receive notifications whenever a new blog post is published. You may unsubscribe at any time.

Share
About the Author
As Customer Support Manager, Angela seeks to keep users knowledgeable on Switcher's ever-evolving features and how they boost live video potential. She's also a Switcher user herself and uses the software to produce both live and recorded content for multiple platforms.
All posts by Angela Nicole Cobble