Here’s an unfortunate fact of life: We can’t be everywhere at once. There are places to be and people to see, and the world of film and video production is no exception. Location scouting, production team meetings, shooting on location — video production can pull you in more directions than you can handle, and the smaller your crew, the more you feel that pull.
Thankfully, there are many modern solutions for the creative process. So, let’s talk about remote video monitoring for film.
What is remote video monitoring?
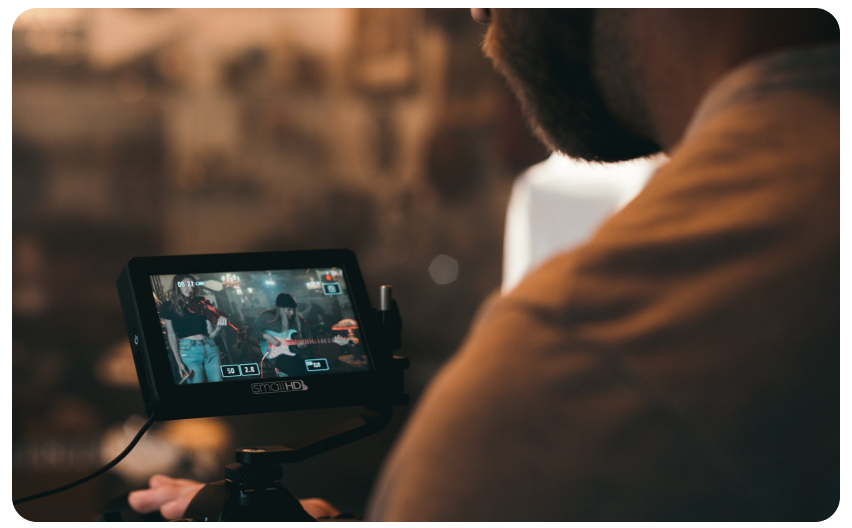
Remote video monitoring means viewing live video output on a separate device from the video camera being used to film.
During remote monitoring, live video output is sent via a transmitter to a receiver for the film director or producer to view. The director could be on set, or around the world! That way, a producer can watch and give feedback, even if they can’t make it to the shoot in person. It’s an immediate, low-latency workflow that’s become essential to film sets (especially as health and safety have become an on-set priority, and more people choose to work remotely).
Whether it’s on-set or remote, video monitoring streamlines the video production process by centralizing where creative decisions are made. On a multicamera shoot, the director can use a remote monitoring system to see all the video cameras’ shots live and simultaneously.
Then, the director can communicate to the camera operators in real time to adjust their shots as needed. The alternative? Walking up to each shot individually to check and make adjustments, then reviewing the footage afterward to make sure every shot came out as intended.
How does remote monitoring work in film production and broadcasting?
Both live broadcasts and film production use remote monitoring, but their applications differ.
Remote monitoring for live broadcasts
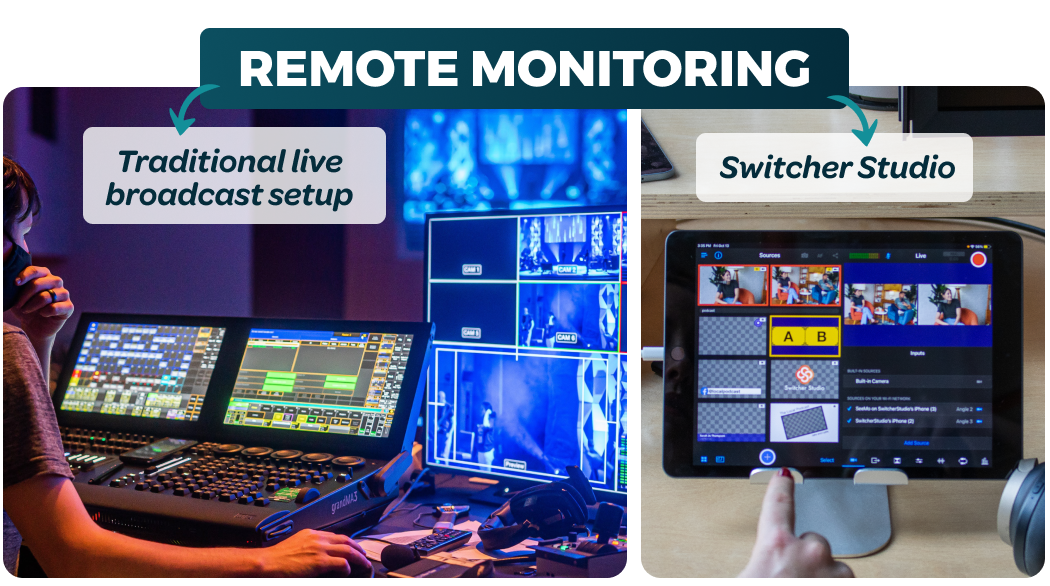
For live broadcasts, not only are the video feeds being transmitted live, but they’ll also be viewed by a live audience on television, a livestream, or big screens at a large event. For live broadcasts, a REMI (Remote Integration Model) system becomes the central monitoring hub for all the camera feeds.
REMI systems gather multiple live video outputs and manage them in one location. Think of the behind-the-scenes shots of the control room you’ll see during a live sporting event or news broadcast, with walls of screens looking like a surveillance system. From that central location, the producers will switch between video feeds, bring up multiple feeds at once, add graphics, and control audio sources and levels.
That live editing workflow is seen by everyone tuned in to the broadcast with only a few seconds of delay (or no delay if the production is being shown live at the same event).
Remote monitoring for film production
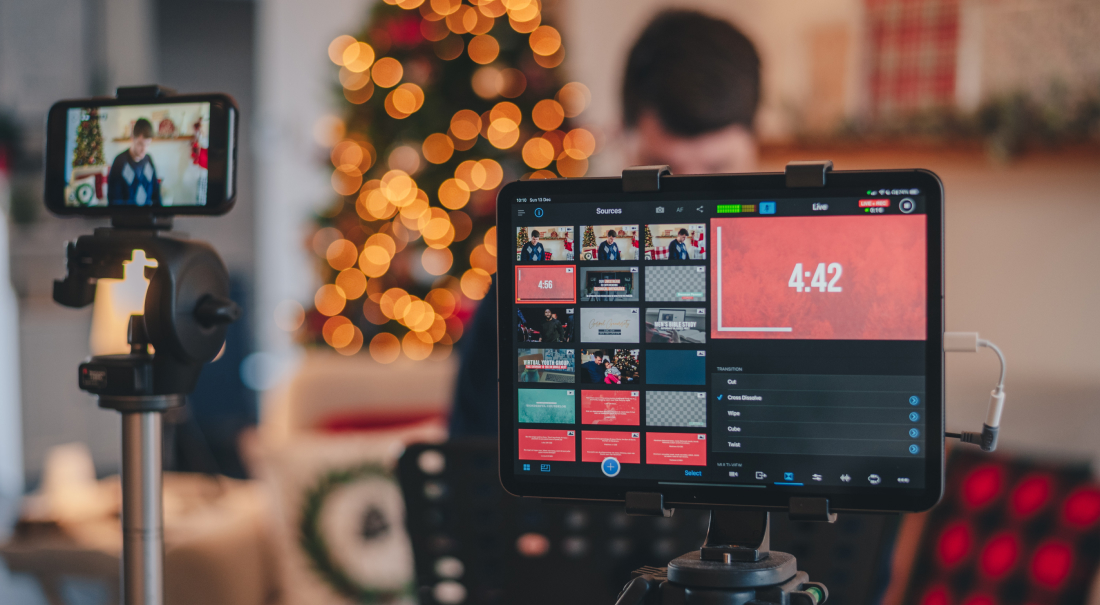
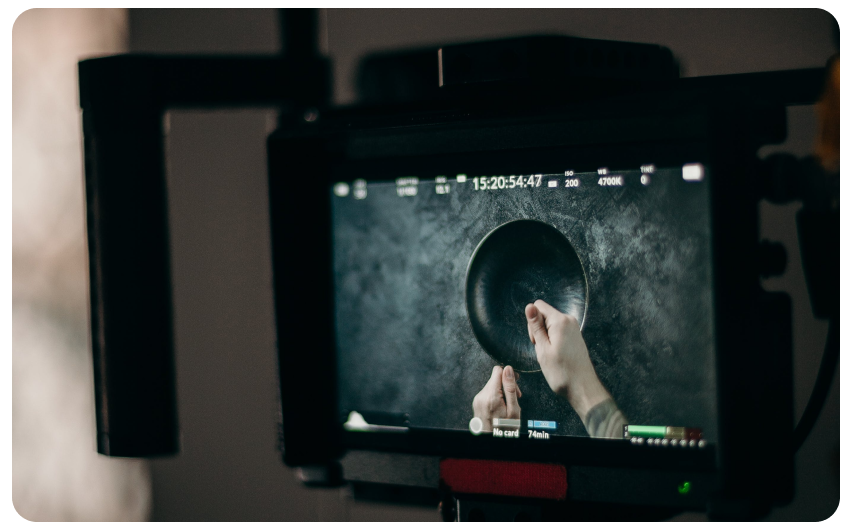
A film production that’s not being broadcast to a live audience will use remote monitoring, but without the live graphics or production polish. Since the focus here is editing the footage later, the video outputs will be clean feeds being sent to a central location. A director may view this real-time video on an iPad or handheld video monitor, or a larger stationary screen to see as much detail as possible. All feeds will be displayed simultaneously in smaller boxes, and the director can choose specific shots to enlarge and focus on.
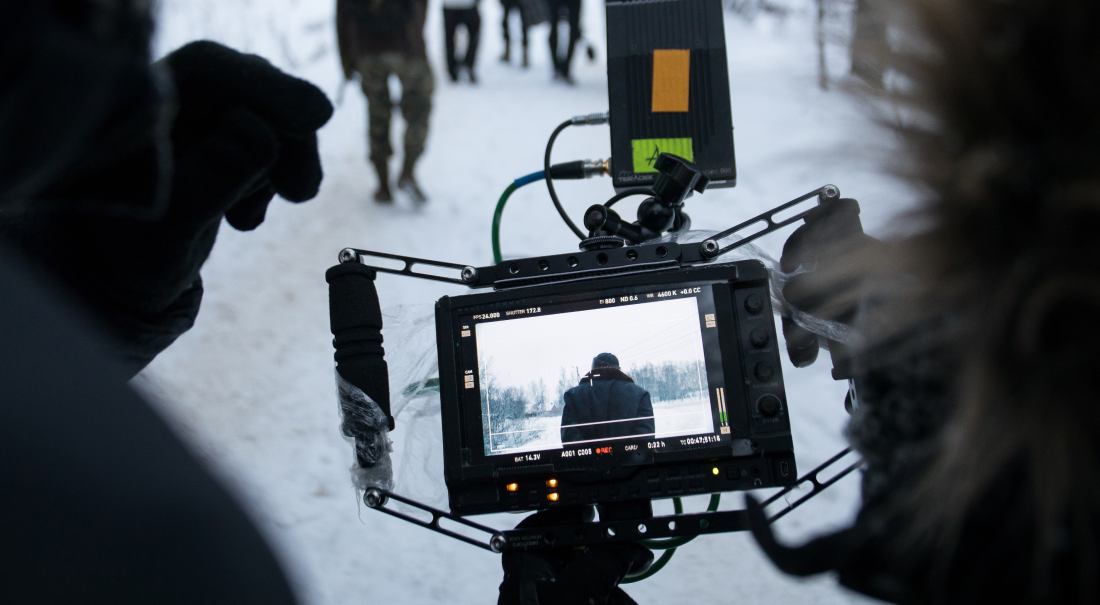
As far as transmission, this live video monitoring system stays within the bounds of film sets and is used in on-location filming. Cameras are equipped with transmitters that send the video signal to a receiver at a central location, where the live feeds will be displayed on the aforementioned video monitors. The exception is a remote film production, i.e., when a remote film director who isn’t on set needs to view the footage. In this case, the video will be transmitted to that remote location where they’ll have the same viewing experience as if they were on set.
What equipment do I need for remote monitoring?
Unfortunately, most cameras don’t come equipped with the software and hardware required to wirelessly send a live video feed. That’s where the following equipment comes in — to make the remote video monitoring world go round.

Transmitter and receiver system
First, you need a transmitter and receiver system, which is the core of the whole workflow. Mount the transmitter onto the camera you’re using and connect it, either with an HDMI or SDI cable. Connect the receiver into the main viewing screen wherever the remote monitoring is occurring. Some notable companies that make video transmitters are Teradek, DJI, Accsoon, and Hollyland.
Depending on the brand and the system’s capabilities, there’s a broad spectrum of prices for transmitter and receiver systems. You’re looking at anywhere from $500 to $3,000 on the “prosumer” end, and beyond $15,000 on the high-end professional end.
Note that several of these systems operate by line of sight, meaning there needs to be a clear, unobstructed view between the transmitter and receiver. The transmitter isn’t sending video over the internet, but rather directly from point A to point B, and that signal has trouble passing through solid objects. So, if you have obstructed cameras, or your receiver is too far away, these systems may start to break down and you’ll need hardwired solutions.
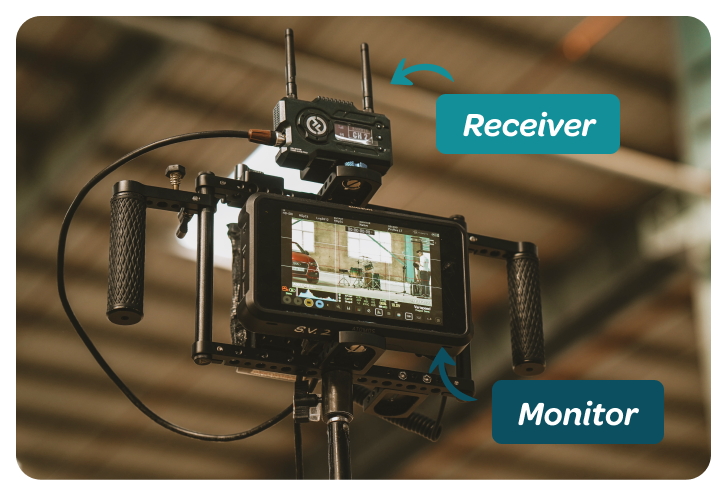
Monitor
Beyond the transmitter and receiver system, you’ll need a monitor itself to view the video feeds. Some companies sell monitors that double as a receiver, or you can grab a standalone monitor and plug your receiver into that. Either way, you’re looking at another $500-$1,500 just to view the transmitted footage. Some brands like Accsoon offer alternative solutions, like using a phone or tablet as the viewing monitor, and you also could just use an HDMI-compatible TV or computer monitor and sacrifice portability.
Like most things when it comes to video production, the right solution for you comes down to reliability, function, and cost. However, if you have an iPhone or iPad, you already have nearly everything you need for remote monitoring using the Switcher Studio live video production app.
How can I use Switcher Studio for remote monitoring?
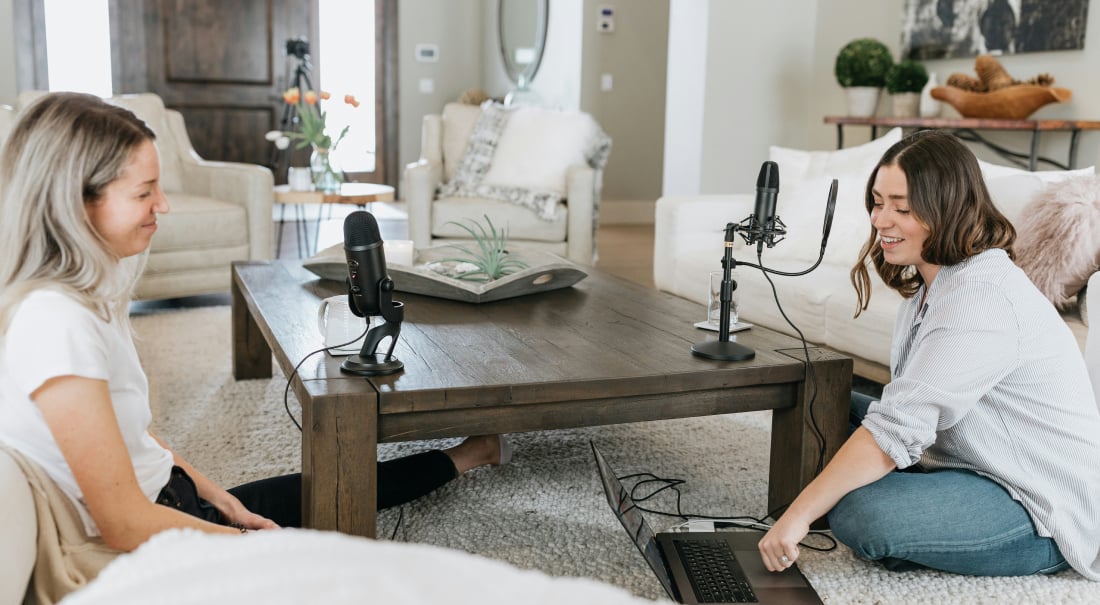
The Switcher Studio live video production app makes it easy to produce polished, professional videos on iPhones and iPads. Like the REMI systems we discussed earlier, Switcher Studio lets you bring multiple live camera feeds into one iOS device. From that device, you can add graphics, other video and image assets, and even bring in remote guests from around the world. Then, you can broadcast that live production across the world to Facebook, YouTube, Twitch — even your own website.
Using Switcher on a film set with Accsoon SeeMo
But what about the film set workflow, where you need to wirelessly view multiple camera shots at once from a central location? Switcher Studio has you covered there, too. Thanks to a partnership with Acsoon, you can use their SeeMo device to remotely view HDMI or mirrorless camera footage on an iPhone or iPad.
It’s simple: Just plug SeeMo into your HDMI or SDI camera, then plug SeeMo into an iPhone or iPad. Now you have a live video transmitter to another iPhone or iPad.
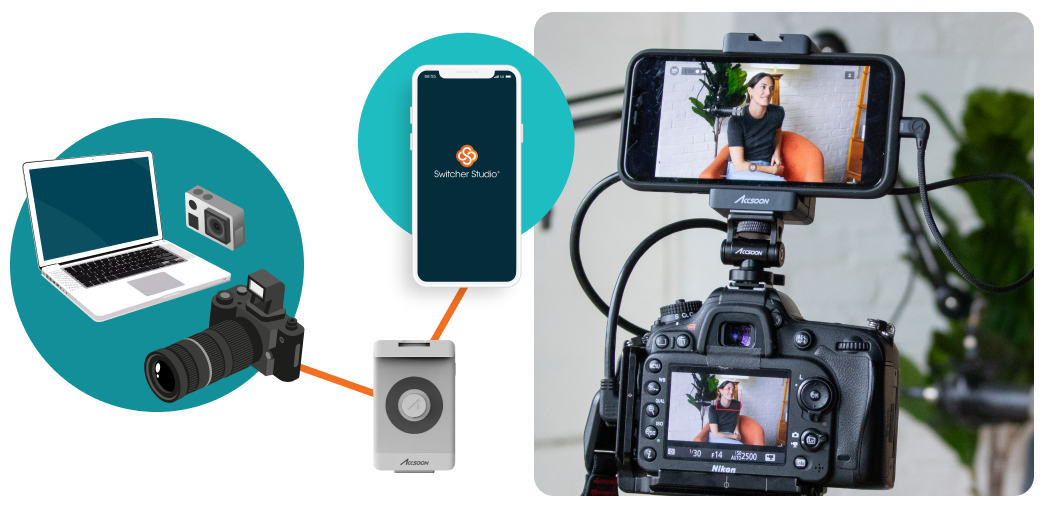
Typically, that second iPhone or iPad is where you manage your Switcher Studio production, while the SeeMo-equipped camera is remote. If you’re not going live, simply use that second device for viewing the SeeMo remote camera. You can connect up to nine SeeMo-enabled iPhone/camera setups to your main Switcher device, and you can see all those camera feeds live in the app.
The ideal Switcher setup for remote monitoring
The best experience with this workflow is using an iPad as the main Switcher device: That additional screen real estate makes viewing the remote cameras easier — you can even enlarge those sources to see them more clearly. Plus, if you pull up Switcher Studio’s preview window, you’ll get two large camera shots side by side with the other shots directly underneath, and you can pull any of the other video sources into those larger windows.
If you use Switcher Studio’s Director mode, you can remotely record all camera angles and export them to watch as dailies. Those recordings won’t be the full quality you need for editing in post-production, but they’re a great way to quickly review your footage on an iPhone or iPad.

Getting the most out of Switcher’s features
Say you need to view the live filming of a production, but can’t be on set, Switcher Studio has you covered with its live streaming capabilities. Switcher Studio lets you live stream to nearly any destination, including Facebook, YouTube, or Twitch. However, you probably don’t want just anyone viewing your film set live. Instead, you could send your live stream to a custom RTMP, where you decide who has access.
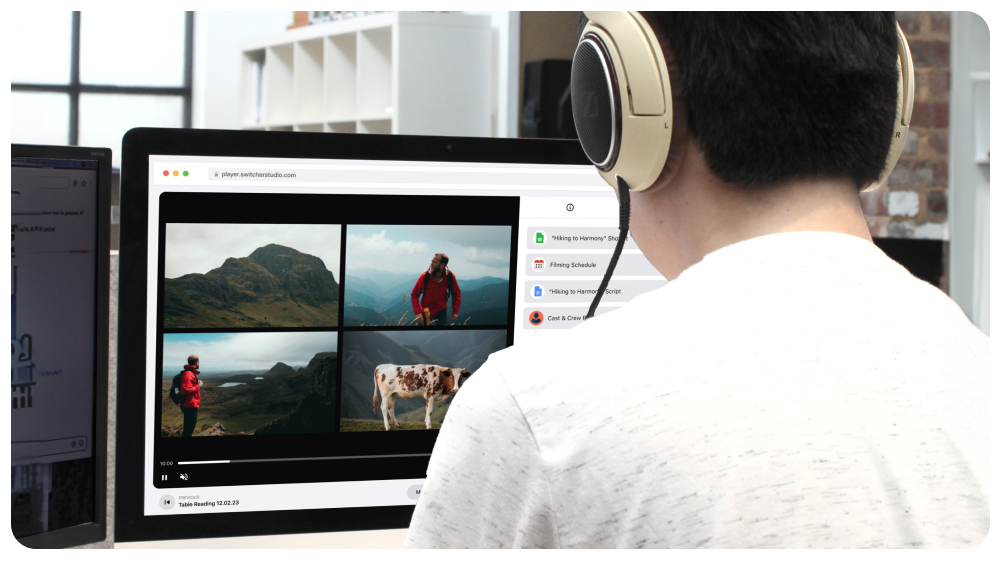
Better yet, broadcast your live video to Switcher’s embeddable video player, the Switcher Player. You can either embed the video on your website or get a unique URL to share the video directly.
If you don’t want to go live at all, you could simply bring the remote film director into your Switcher production as a remote guest. They’ll appear as a source in the app, where they’ll be able to watch privately from any device with a browser. The experience is like being on a video conferencing call, but without needing another app like Zoom or Microsoft Teams. This method also allows for a real-time viewing experience rather than the few seconds of delay that occurs when live streaming.
How much does remote production with Switcher cost?
Let’s take a quick look at the costs of live video monitoring using Switcher Studio. Let’s assume you have the cameras and iOS devices already.
And… that’s all you need to get started. The more cameras you want to connect, the more SeeMo’s you’ll need, and if you want to connect an SDI camera you’ll need Accsoon’s SeeMo Pro at $349. With this iOS monitoring setup, you’ll be able to save on more expensive gear and apply that money elsewhere in your film production.
Bada Bing Bada Boom
The world of film and video production gets expensive fast. YouTubers and social media may make you think there are no options aside from shelling out thousands to get the same gear that everyone else is using ... but you’re smarter and more resourceful than that, and now you have a great, low-cost solution for remote video monitoring using the tools you already have. Download the Switcher Studio live video production app today and start your free trial.
Subscribe to the blog
Sign up to receive notifications whenever a new blog post is published. You may unsubscribe at any time.

Share
About the Author

Dan is an Emmy Award-winning video producer who’s worked in journalism, TV news, commercial production, and brand marketing. Dan sees nearly limitless potential in Switcher Studio’s video tools and is excited to share his experience, expertise, and (sometimes "out there") ideas.
All posts by Dan Klapheke