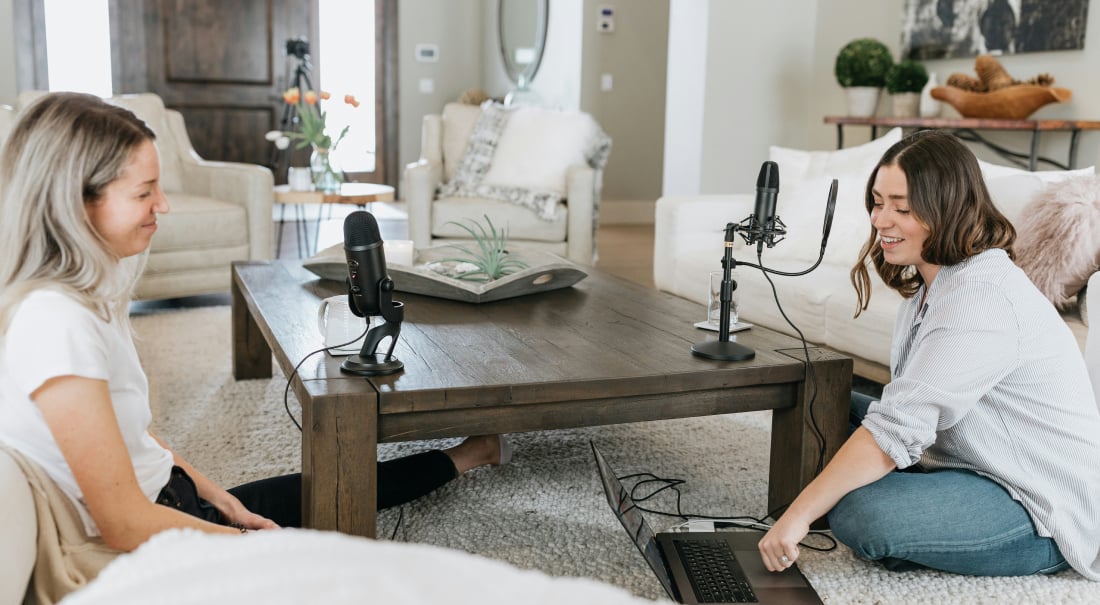
Going Live on Facebook or YouTube is easier than ever using your phone and a 4G or LTE cellular connection. But if you are streaming from work or home and relying on WiFi your networking equipment could be holding you back.
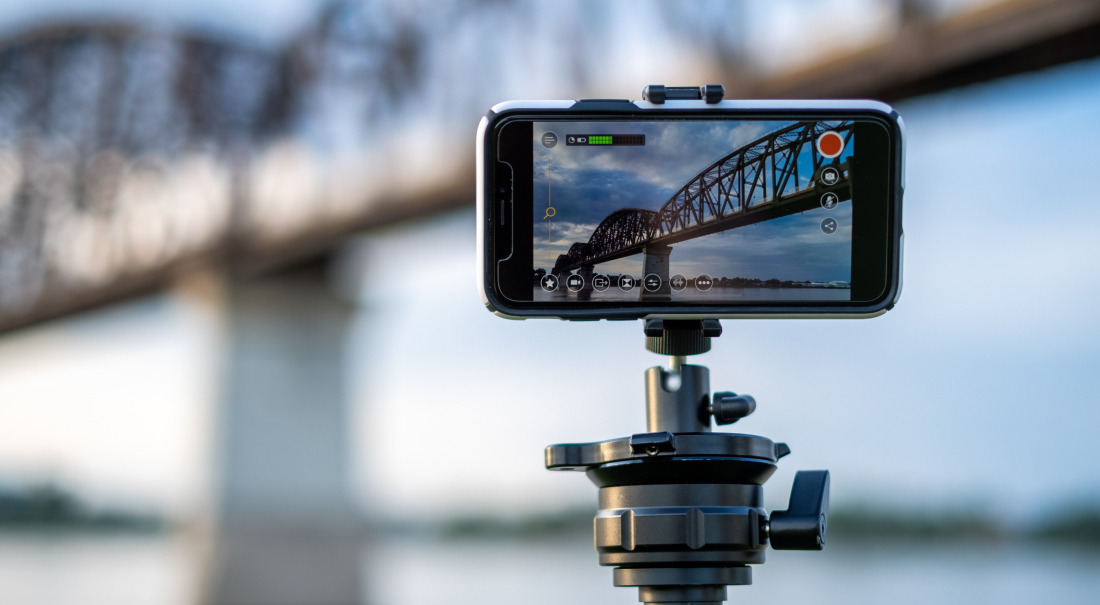
When making a live video using your phone you have a direct connection to your wireless carrier. However - cellular data connections aren't always reliable, especially in areas with poor coverage, in large crowds or during inclement weather.
Using WiFi or ethernet can be a good solution for having more control over your networking but there are a few things to take into consideration.
For example: If you are connected to a WiFi network, your iPhone or iPad has to communicate with a router before accessing the internet.
In some cases if you have a poor "internet" connection you may be unable to stream.
Likewise, if you have a poor connection between your "router" and your iPhone or iPad the quality of your live video may suffer.
Here's an overview of how to go live when using WiFi.
Checking your internet speed
Internet is required to stream a live video. Speedtest.net is a commonly used service for checking your internet speed. There are two results you will get back when running a speed test.
- Your “download” speed is used for watching video, reading emails, websites, etc. when you consume content.
- Your “upload” speed is used when attaching a document to an email or uploading content to the web so others can eventually have access.
The "upload" speed represents the outgoing internet connection from your ISP (internet service provider) or wireless carrier (AT&T, Sprint, T-mobile, Verizon, etc.).
If you are using a native app like YouTube, Twitter or Facebook to go live you will want to make sure you have sufficient “upload” speed.
We recommend 3-5 MB upload speed to get a quality 720p HD stream out to Facebook Live, YouTube and other streaming destinations.
Checking your router (local network)
The connection between your devices and your router (local network) is equally important.
We often get the question, “I have a good internet connection, but my video is still laggy and the quality isn’t great, what is wrong?”
Typically issues with dropped frames or lag are related to your local network and/or router.
Let’s take a look at setting up and configuring your own local network for best results.
The most common causes of “laggy video”:
- The devices are connected to a 2.4GHz networking instead of the more modern 5GHz.
- Solution: Most modern routers have two networks. The 2.4Ghz is there for older devices that cannot run on the newer 5GHz which is faster and typically has less issues with interference. Making sure the devices are on the 5GHz will help.
- A setting on the network is blocking the stream from going out.
- Solution: Send this article of advanced network settings to the person in charge of the network and have them make sure all the settings match up.
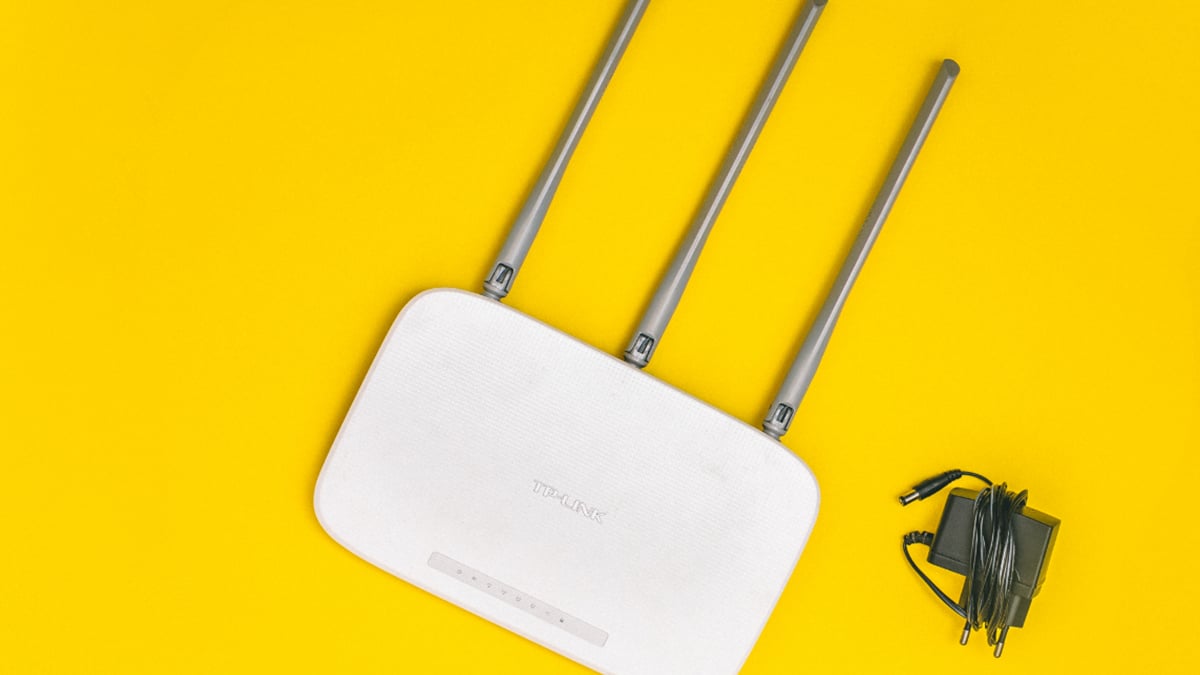
- The router handling the network is old and outdated.
- Solution: Upgrade the router. See the next section for more info. A lot of times if you are on a contract with your internet service provider (ISP) they will do this for you for free. You can also check out the options below.
- The devices are too far apart and having issues connecting.
- Solution: See the options below for setting up your own local mesh network. You can hardwire the devices together or setup extra access points to extend your network. Or you can try moving the cameras closer together.
- There are too many people connected to the network slowing it down.
- Solution: See if you can have the venue setup your own private internet connection that only you are on. Also, see the options below about setting up your own local network or hard wiring the cameras together.
Understanding the difference between "local network" and "internet":

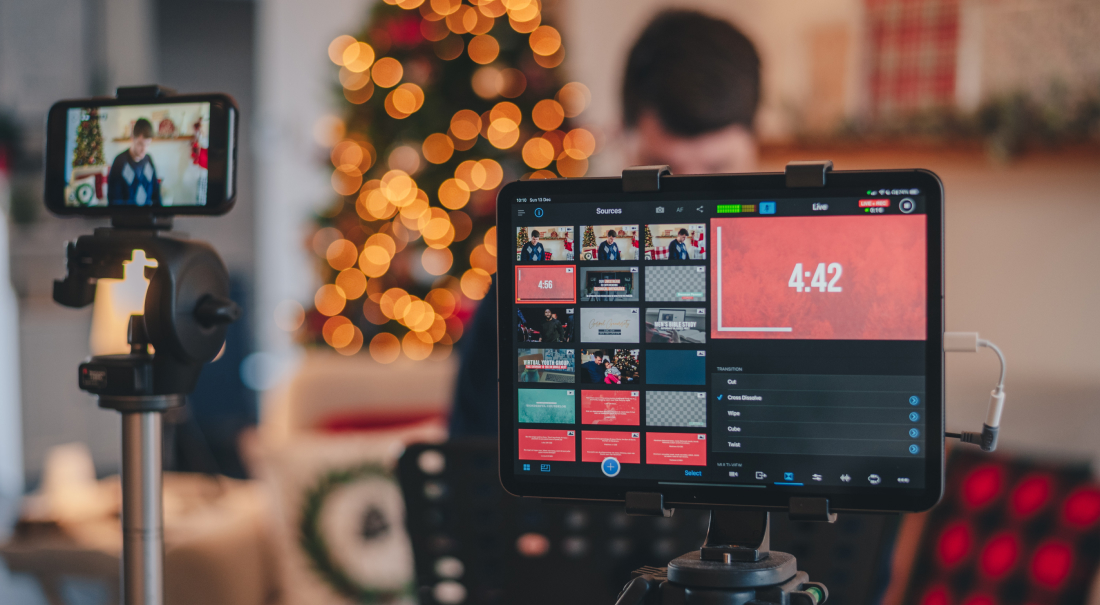
This image illustrates a four camera 720p HD Facebook Live production with Switcher Studio.
Data moves in the following routes:
1. A video stream is sent from each of the four cameras to the router
2. The stream from each camera is sent through the router to the main device running Switcher
3. From Switcher you can then select what to show in the program feed (this is what viewers will see).
4. Switcher then sends this single program feed back to the router and out to your viewers (via Facebook, YouTube, etc.).
The 3Mbps (notated in green) from the router to Facebook is your internet connection. This upload speed is required if you need to have a successful 720p HD live stream.
The data from each camera along with the data to and from Switcher is all handled on a local network, your "internet" or upload speed will have no impact on the video quality between devices.
Things to keep in mind when troubleshooting:
- Older 2.4 GHz routers might not perform as well when managing multiple video data streams. Consider installing a 5 GHz capable router.
- Some routers can only hand out a limited number of IP addresses, try to limit the number of connections to only devices running Switcher.
- Excessive distance between your devices and your Wifi source can issues, place your router near the center of your production, minimize distance and avoid walls.
- Interference from large crowds (even if they aren't connected to your WiFi) can cause the connection to slow down. Consider using a secret SSID so other devices can't scan your network.
Having a router dedicated to your Switcher production can improve performance and is the most reliable method for running your own live broadcast - Learn More at: Best Router for Making Live Video
Subscribe to the blog
Sign up to receive notifications whenever a new blog post is published. You may unsubscribe at any time.

Share
About the Author

Dan is Switcher's customer success manager and a co-founder of the company. He is a live video expert, helping companies like Golf Channel and Korbel create amazing livestreams with Switcher. Prior to co-founding Switcher, Dan spent 4 years working at an agency that helped businesses create and stream live video.
All posts by Dan Petrik