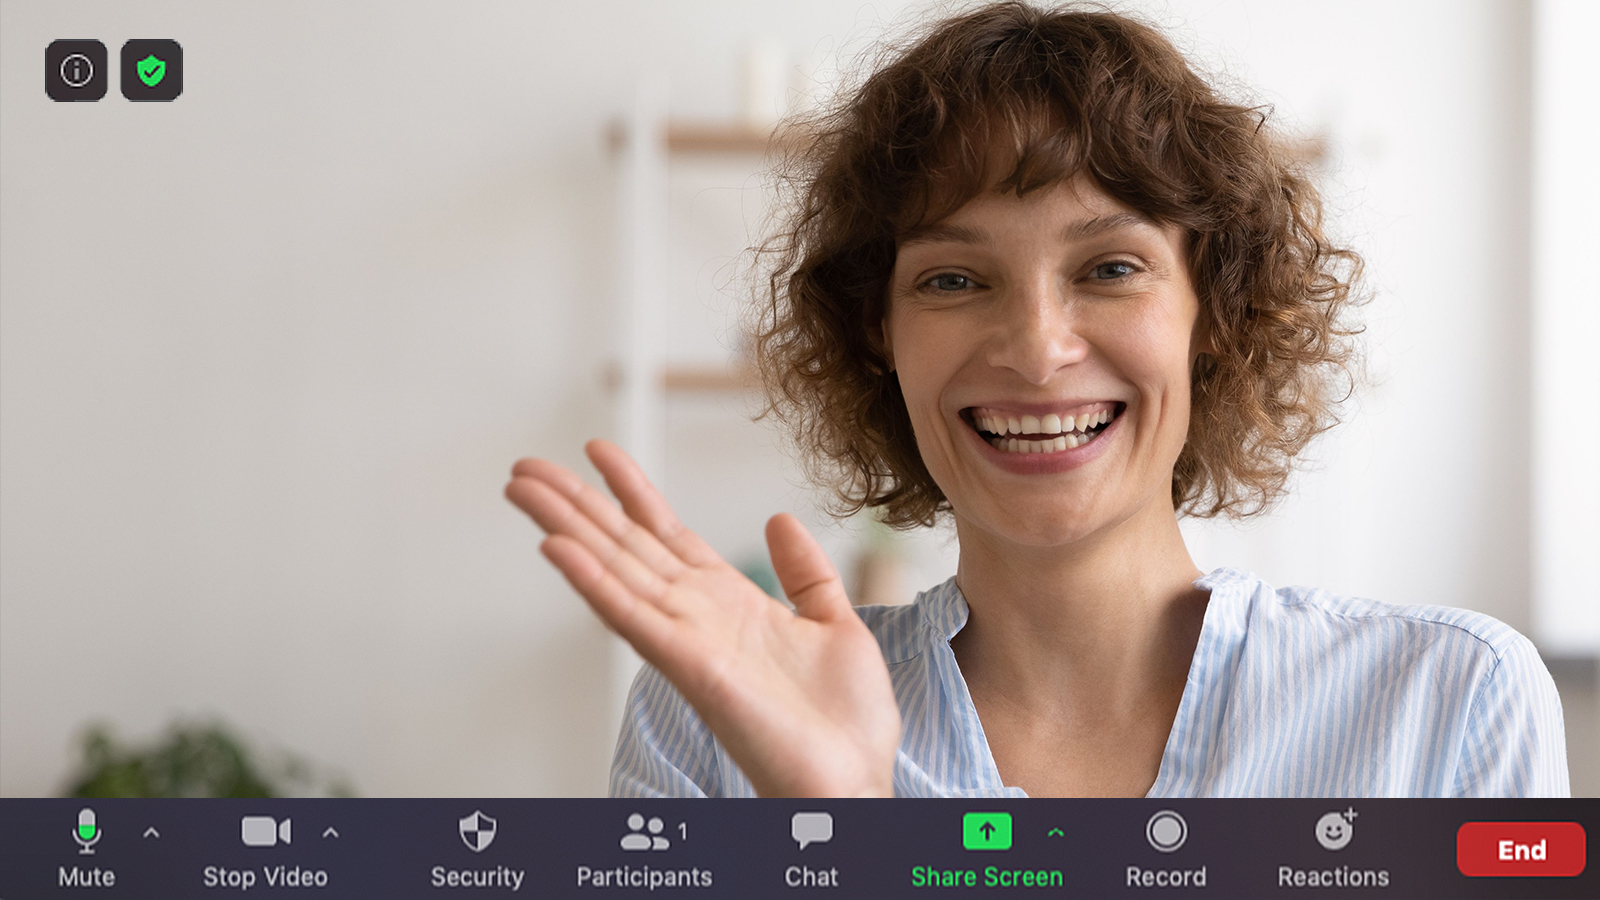
Have you seen the many variations of Zoom meeting bingo boards floating around online these days? The bingo squares say things like, “Sorry, I was on mute” and “Can everybody see my screen?” They’re painfully relatable and a reminder of just how similar Zoom meetings all tend to be.
Though I don’t know a way around accidentally muting yourself (better than accidentally unmuting yourself), I do know a way to spruce up your Zoom meetings so they don’t all feel the same: incorporate Switcher Studio!
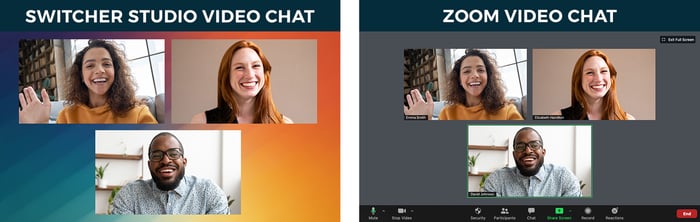
Incorporating Switcher’s live-editing tools into your meetings lets you brand and polish your Zoom meetings, make them more engaging, and even improve your Zoom video quality.
How to make Zoom meetings more engaging with Switcher Studio
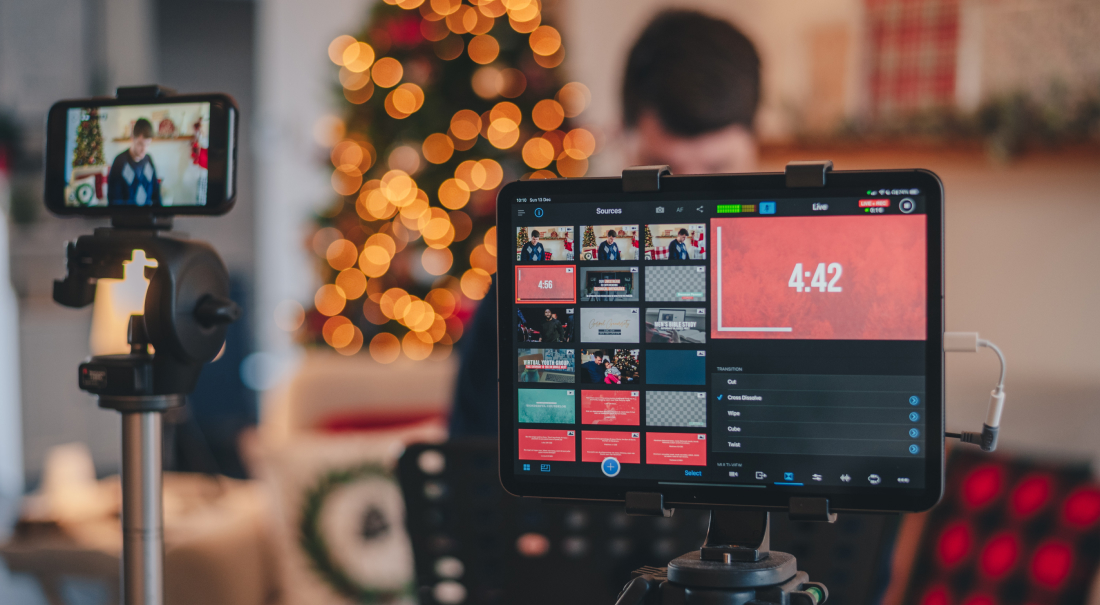
Switcher Studio is a livestreaming software that lets you connect multiple iOS devices (iPhones and iPads) to do multicamera live video production. You can add in graphics, prerecorded videos, text, and more — all in real time — and you can easily screen mirror your Switcher production into Zoom (more on how to do that in a minute) for a professional-looking meeting that goes way beyond your basic split-screen Zoom format.
Here’s what you can do with Switcher and Zoom combined:
- Improve Zoom video quality: iPhone and iPad cameras are way more advanced than your laptop’s built-in webcam. (At 4k, they have nine times more pixels than even the brand new MacBooks’ 720p webcams.) Because Switcher uses these iOS device cameras, you’ll be Zooming with much higher video quality than you’d get from your computer — and there’s no need to shell out for an external webcam.
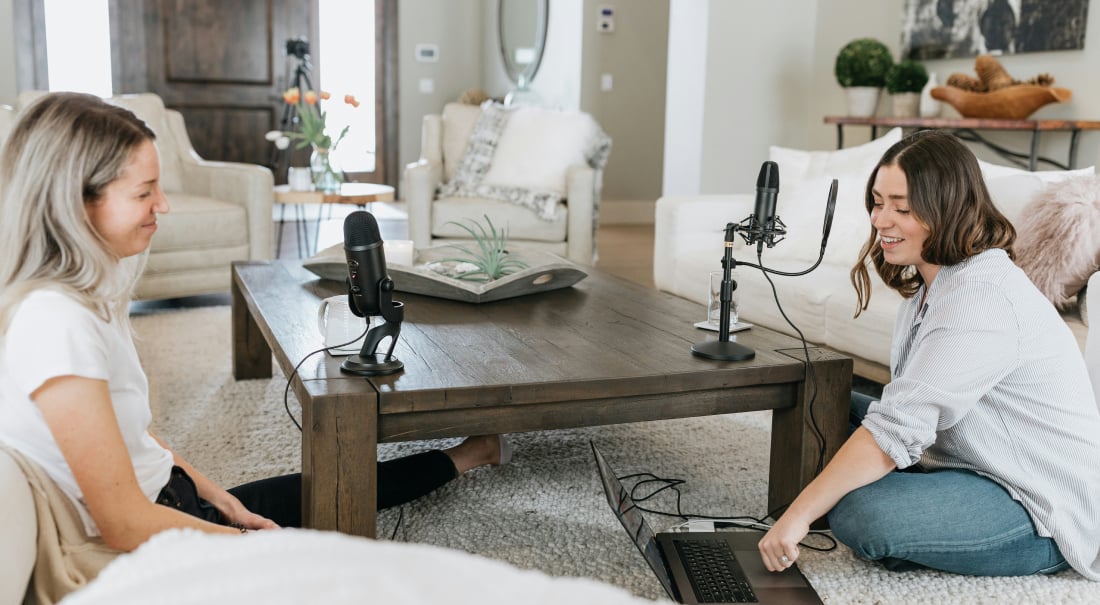
- Add multiple angles to your Zoom meeting: Speaking of cameras, Switcher lets you connect multiple iOS cameras on one Wi-Fi network and switch angles with a tap — perfect when you’re Zooming demonstrations, tours, workout classes, and more.
- Add in text and titles: Text and title overlays not only add a level of professionalism to your Zoom meetings but also add context about what’s being discussed for those who are hopping on late or multitasking during meetings.
Add professional backgrounds to your Zoom meeting: Sure, Zoom lets you put a beach behind your head. Switcher lets you add background colors and graphics for your entire meeting/video — not just your face. As a result, it polishes the whole experience.
- Brand your meetings: Don’t stop with backgrounds. Switcher lets you add logos, graphics, and your own color scheme to your videos, upping the quality of your Zoom sales pitches and presentations.
- Roll in prerecorded video: Easily play a video right in the middle of your Zoom meeting — a message from the CEO, a marketing spot for review, or a training clip.
In addition to those exclusive features, Switcher also has some functionalities similar to Zoom’s core tools, so you’re not giving up Zoom basics when you output your Switcher production into Zoom. This means you can still:
- Screen mirror into Zoom: Switcher lets you screenshare or screen mirror from Macs, PCs, or iOS devices on your Wi-Fi network, meaning you can also screen mirror those devices right into Zoom. Discuss websites, software, games, decks, and more. And whereas Zoom lets you share the screen of the device from which you’ve joined the Zoom meeting, Switcher lets you share your own device’s screen or the screens of other specific devices on your network.
- Inviting remote guests: You can still invite participants to join your Zoom meeting the usual way, and you can pair this with Switcher’s built-in Video Chat for special remote guests, whose cameras will be visible in the meeting presentation. We’d recommend having attendees join via Zoom and speakers join via Video Chat. Hosting your speakers through Switcher’s Video Chat lets you add the custom meeting backgrounds mentioned above, giving your meeting that extra polish.
How to integrate Switcher Studio with Zoom
Now that you’ve seen what you can do with Switcher and Zoom’s powers combined, all that’s left is to link the two and try it yourself! Thankfully, linking Switcher with Zoom is super easy. This Help Center article on using Switcher with Zoom goes into more detail about how to integrate the two, but here’s the quick version:
- Put the computer running Zoom and the iOS device running Switcher on the same Wi-Fi network.
- Start or join a Zoom meeting on the computer.
- Enable iOS screensharing in Zoom and check Share computer sound.
- Set Switcher’s output source to Live.
- Turn on screen mirroring on your iOS device (in the Control Center) and choose Zoom–Your Computer Name.
- Mute your Zoom mic and use Switcher’s mic instead.
Your Switcher production should now be seen and heard in Zoom! Again, for a more detailed guide, check out our Help Center article.
Ready to up your Zoom game? Start your free 14-day trial of Switcher Studio and enhance your Zoom meetings with the power of live-editing.
Subscribe to the blog
Sign up to receive notifications whenever a new blog post is published. You may unsubscribe at any time.

Share
About the Author

As Switcher's content strategy manager, Kate strives to answer the questions of new and expert livestreamers alike. She has spent her career in digital marketing and content strategy and now funnels that experience into helping others plan and create their own video content.
All posts by Kate Brannen Smith