One of the most important goals as a content creator is to make a lasting impact on your viewers. Setting yourself apart helps your audience to see what differentiates you from others.
Many factors go into this, such as your personality on-screen, your product(s), and your call-to-action at the conclusion of your video. However, there is an even easier way to brand your videos and lead to more memorable content.
Creating a set intro video and outro video is a great way to brand your content. Like the intro and outro bumpers found on any television program, having your own bumpers will make your content recognizable. This leads to more exposure and a larger fanbase.
The Best Way To Say Goodbye…
The outro video is the easier of the two videos to create. This video will often display any closing credits for your content. You should include your hosts’ names, a producer’s name, the name of your streaming service, and the handle for your social media sites.
The easiest way to do this is to use a photo editor such as Adobe Photoshop or Pixlr to create a 1920x1080p image file. These dimensions are needed for widescreen video formats and should be what your image file is set to use.
Decorate your image file any way that you want. It is recommend to create 3-4 different images to play in a sequence. There should be an image to thank your audience, one to promote your social media, and one to remind your audience of their call-to-action. You can create as many images as you would like, but these are mandatory.
Save each image as a separate .pdf file. Now, open your favourite video editing program. Create a new video file in 1080p Widescreen format.
Import each of the image files into the video editor. Arrange them to the order they should appear in, and adjust the length that each image is shown. A length of 4-5 seconds per image is usually sufficient. All images should be shown for the same length of time.
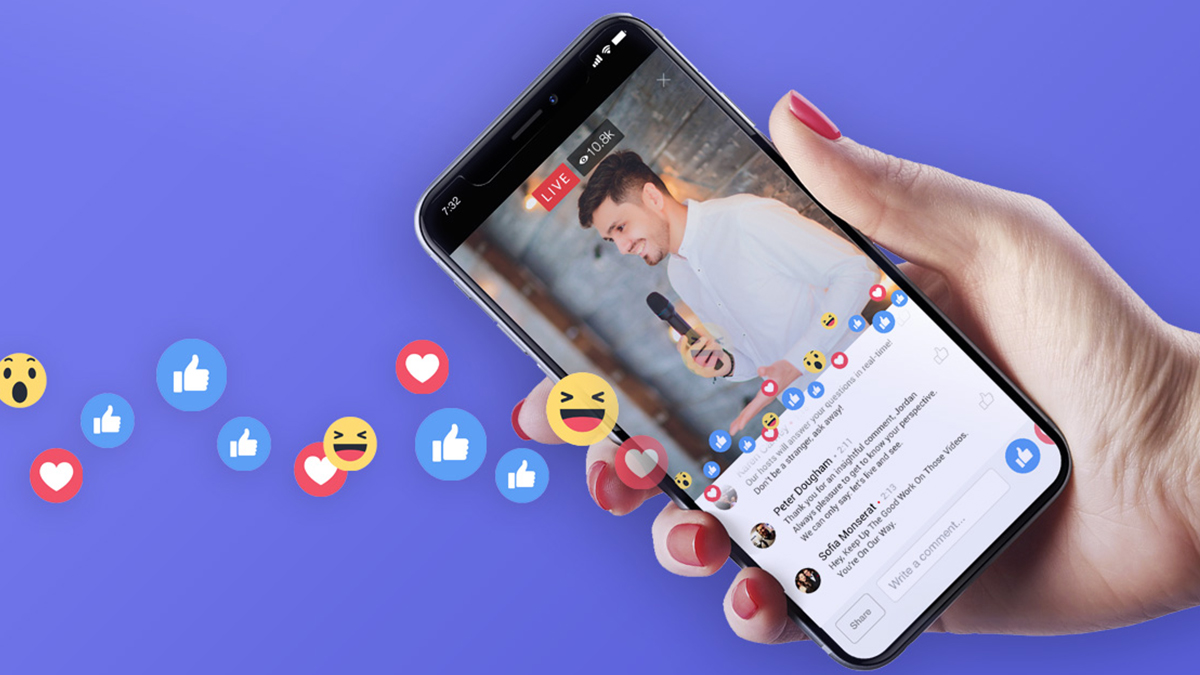
Now, import a music file to be used during your outro video. Make sure this music file is copyright-free so that your video does not get flagged by Facebook Live. You can get copyright-free from websites such as FreePlayMusic and AudioJungle. Many audio creators on Soundcloud and Bandcamp will also allow the use of their music with written permission first.
Your outro video should be around 10-15 seconds in length, and it should be divisible by the number of image files you have. For instance, an outro video using 3 image files could be 9, 12, or 15 seconds long, depending on how long each image file is shown. Meanwhile, an outro video using 4 image files could be 12 or 16 seconds long.
Choose a section of your music file to use, and crop it to play for only the 10-15 seconds that you have chosen. Arrange your image files to appear for those set amounts of seconds. Each image should show for the same length of time.
When you are satisfied, render out your video file and watch it to make sure it looks and plays the way it should. You have now created an outro bumper.
Introductions Are Everything
When your favourite show comes on, you are alerted to this by the show’s theme song and intro credits. Why shouldn’t your videos have the same effect on an audience?
Creating an intro bumper can be a bit more complicated. You will usually want animated effects shown on the screen, along with any necessary credits and your copyright-free music.
If you are skilled at creating your own animated graphics or would like to give things a try, you can do this via software such as Adobe After Effects. If you have no idea how to do this, you can also commission people to create these for you for low cost by using services such as Fiverr.
At a minimum, your intro needs to have a memorable and catchy song, the name of your broadcast, your host(s)’s name, and some sort of graphics, preferably animated. Once this is set, render out your video just like you did with the outro bumper. Watch the video to make sure that it looks and plays the way that it should. You are now all set with both bumpers.
Bump That Brand
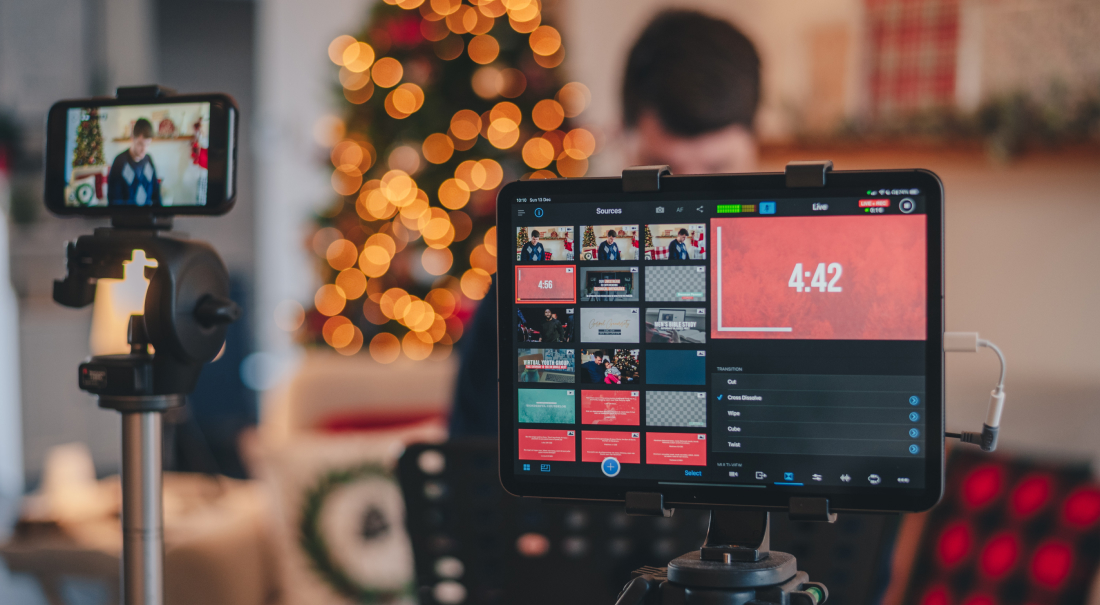
Many broadcasting software programs allow you to import video clips to be used during your broadcast. Import your intro bumper and your outro bumper, and make sure they play correctly inside your broadcasting program.
Now, when you go live, start your broadcast by playing the intro bumper. After that, proceed with your broadcast as normal.
When it is time to end your broadcast, things will also begin as normal. Give your audience a call-to-action, thank them for tuning in, and remind them to tune in next time. Then, play your outro bumper.
Having intro and outro bumpers leaves your broadcast with a clean and polished look. The theme music and graphics will also help to memorialize your broadcast in viewer’s heads. This will make you more memorable, and leave viewers more likely to become fans!
To learn how to insert videos into Switcher Studio, check out this guide here.
#GetOut. #GoLive. #BeAwesome.
Subscribe to the blog
Sign up to receive notifications whenever a new blog post is published. You may unsubscribe at any time.

Share
About the Author

As Customer Support Manager, Angela seeks to keep users knowledgeable on Switcher's ever-evolving features and how they boost live video potential. She's also a Switcher user herself and uses the software to produce both live and recorded content for multiple platforms.
All posts by Angela Nicole Cobble