According to a recent Inside Radio poll, 57% of podcast listeners say they prefer “shows that offer video they can watch compared to traditional audio-only podcasts.” That’s a lot of folks who want video! So, if you’re thinking about producing video for your show, you probably recognize how crucial it is for you to create an in-home video podcast studio to stand out.
But, before we do a deep dive into studio spaces, here’s our ultimate guide to creating (and promoting) a video podcast from scratch. Even if your show is up and running, this guide is an excellent refresher and checklist. We strongly encourage you to revisit it to ensure you’re doing everything you can to help your podcast succeed in reaching its audience.
How do I make my own podcast studio?
The great thing about podcasting is that it’s a content channel that heavily relies on the host, or hosts, being authentic. Listeners want someone who is going to lead the show and unpack the topics in an honest way. They don’t have time for a put-on; listeners crave someone genuine.
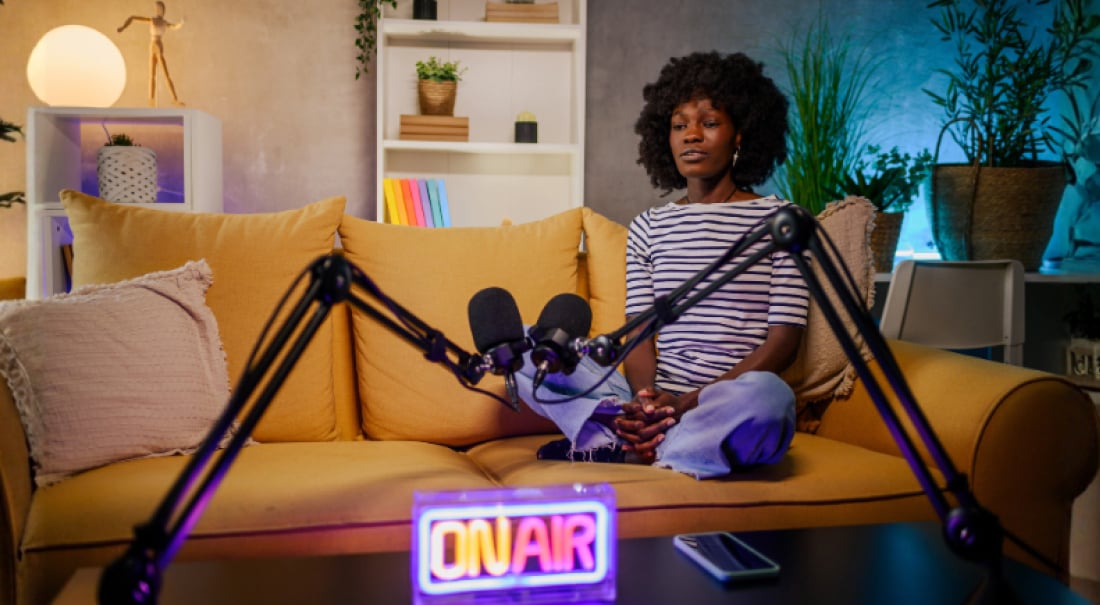
This extends to the presentation of the show’s set. First and foremost, make sure that when you’re curating art and set decoration for your in-home studio, it accurately reflects the personality of your show and its host — especially if that’s you.
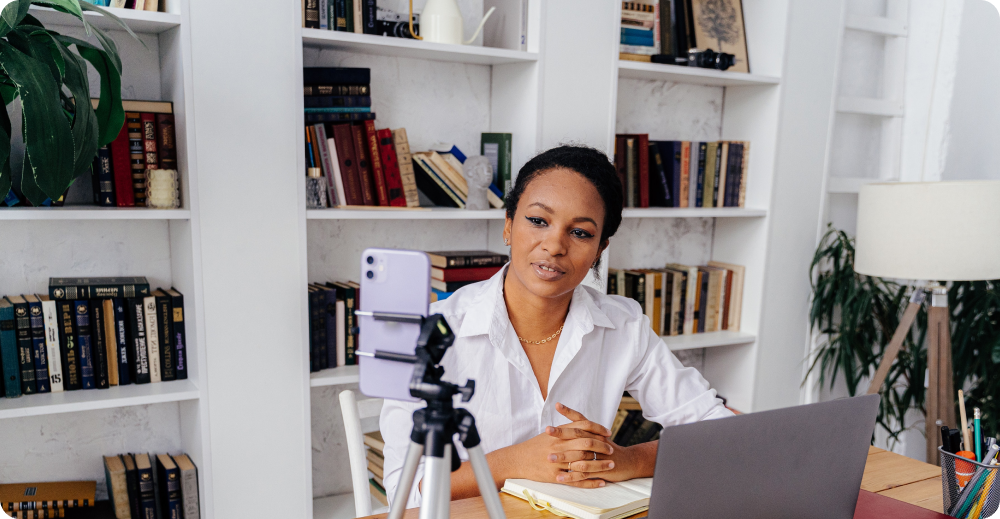
For example, if you produce a video podcast centered on author interviews and book reviews, it probably makes sense for you to stage bookish items and literary props inside your camera frame! And, in this scenario, you could get even more specific: If your show is dialed into classic fiction, having leather-bound books, an inkwell — maybe even a framed Edgar Allan Poe quote — could make the studio pop.
To summarize: When staging decoration and props, be intentional and consistent with your video podcast’s personality. What audiences see should reflect what they hear.
As far as how to build out your studio, here are a few quick steps to get you started:
Location, location, location!
Not everyone has access to off-site studio spaces and controlled environments, and that’s okay. You can do a lot with a little. Find a room or corner in your apartment or house that gets natural light. (Important! Pick somewhere that doesn’t have a lot of background noise, such as traffic. You’d be surprised at how much a microphone will pick up.)
Then, position your desk or set facing the natural lighting. For fill light, you can use a basic desk lamp or one of these affordable LED tube lights. If you’re interested in expanding your lighting setup beyond this, we’ve put together a step-by-step guide.
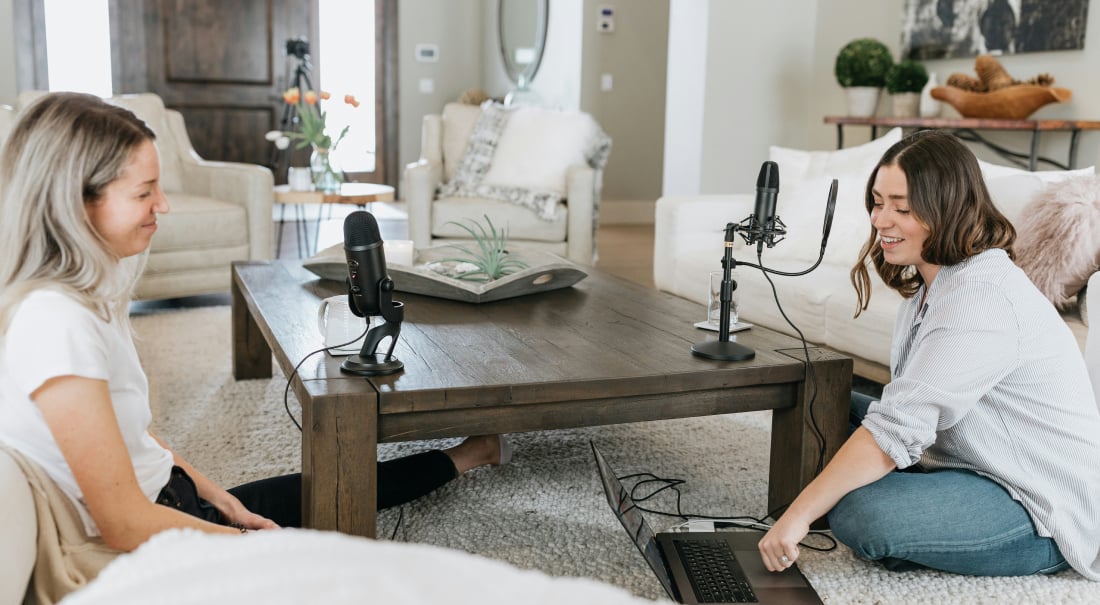
Assemble your gear
Next up, you’ll need a few key pieces of equipment to produce your show, like a reliable camera, a good microphone, and a pair of noise-canceling headphones. For a complete list, click here.
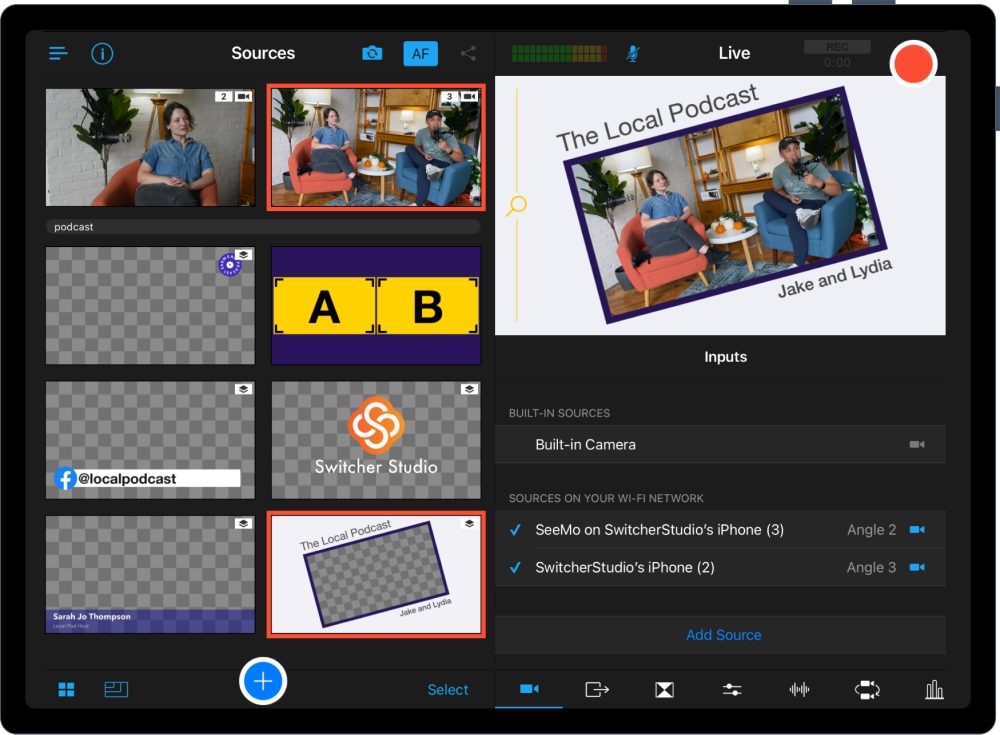
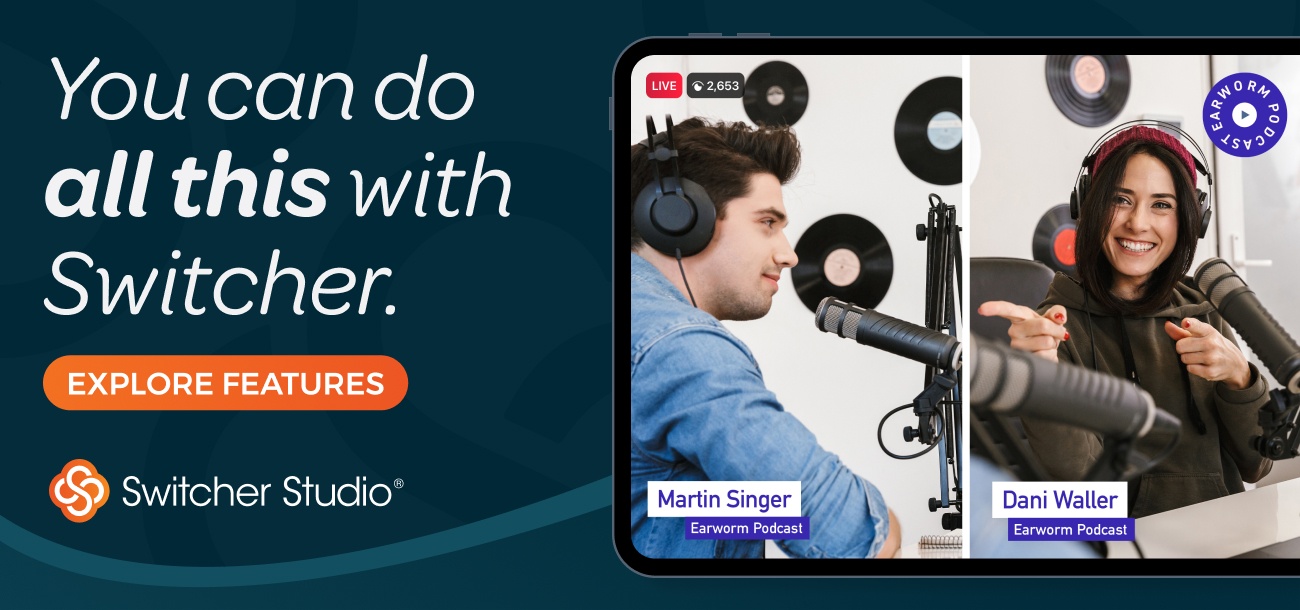
If you’re looking into livestreaming your video podcast, you’ll also need a platform like Switcher Studio, which allows creators the ability to multicamera stream, invite remote guests, and embed and monetize episodes.
The finishing touches
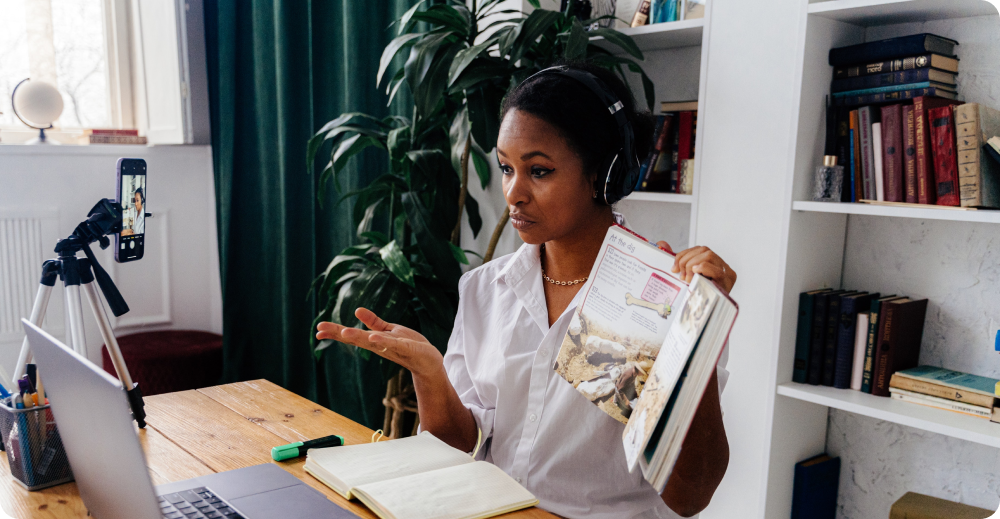
You’ve got your location picked out, and you’ve pulled together the gear you’ll need. Now it’s time to dress your studio set with show- and topic-related props to bring your video podcast alive.
If the camera is how your audience will see the show, and the microphone is how your audience will hear the show, the presentation of your in-home studio is the glue that holds everything together.
(Need some inspiration? Check out Korby Lenker’s podcast studio, which makes great use of background instruments and minimalism!)
How much does it cost to build a podcast studio?
Obviously, the costs will vary depending on what kind of equipment and gear you invest in. But, if you’re worried about breaking the bank, don’t be!
Today, you can spend as little as ~$200 on your in-home podcast studio—especially if you’re not afraid of a DIY approach and getting scrappy. (Example a dimmable Dracast LED light panel costs $200 versus an $8 sheer curtain that you could use to diffuse sunlight coming in from a window).
A word of advice: Let’s say you do have a decent-sized budget to spend on your studio. Just because you have the money doesn’t mean you should spend it. If you can get by on spending less to launch your video podcast, consider redirecting those funds toward paid social ads to help amplify the reach of your show 🤑.
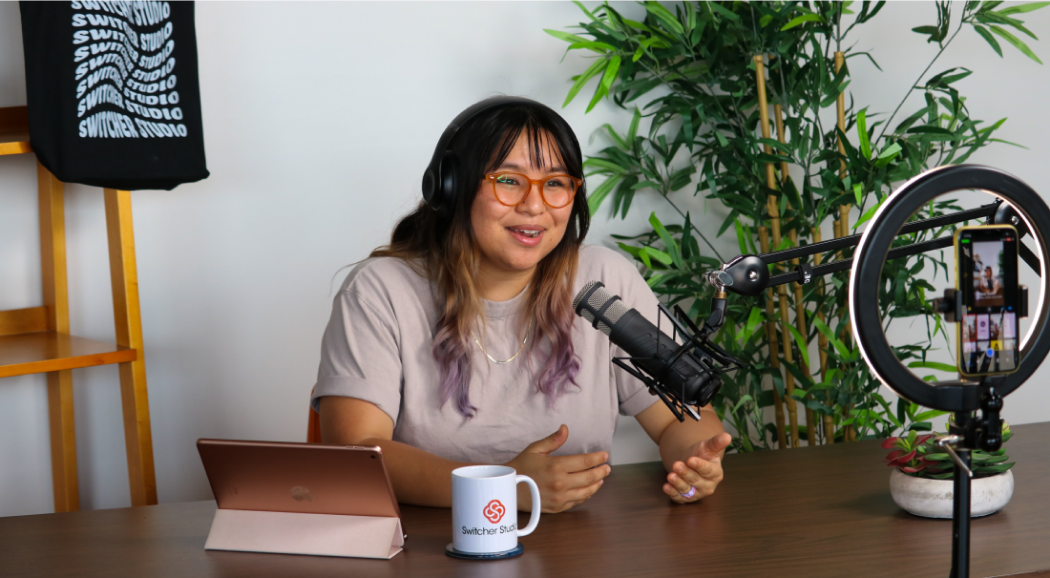
What equipment do I need to set up a podcast studio?
Here’s what you’ll need, equipment-wise, to get your in-home video podcast studio started.
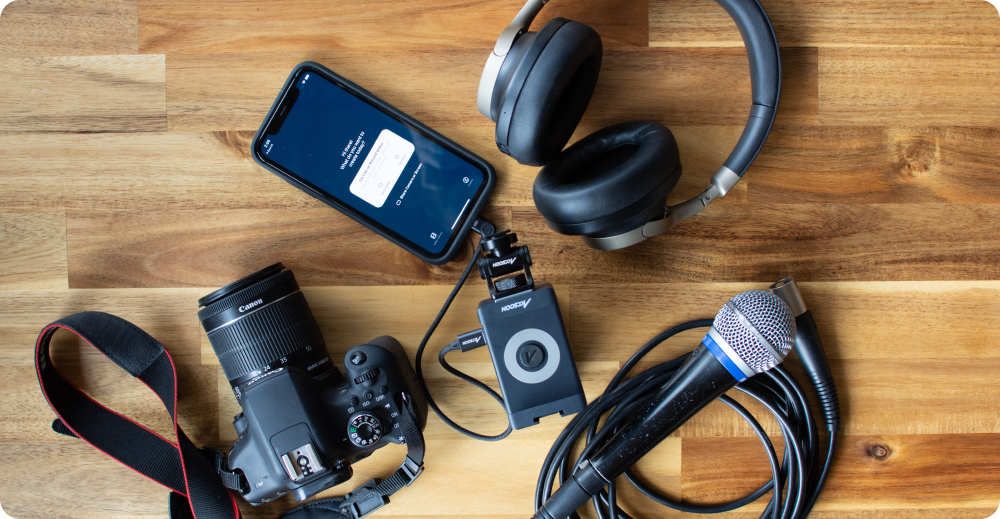
- A reliable microphone with good audio quality. We recommend the affordable, top-rated Blue Yeti USB microphone, which integrates smoothly with your desktop or smartphone.
- Noise canceling headphones. There are plenty to choose from, but anything from Audio-Technica is a great bet, like their hugely popular ATH-M30x.
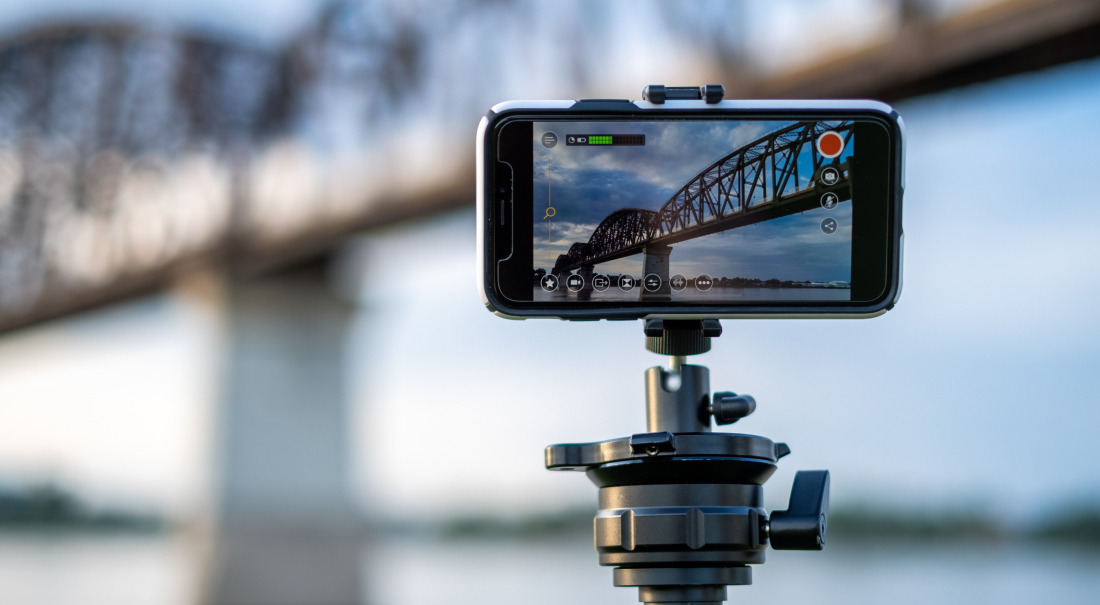
- Video camera. Sony’s Vlogging Camera is a great, reliable choice (though it will require a $500 investment). Plus, Switcher now integrates with Accsoon SeeMo, enabling creators to use higher-end cameras within Switcher Studio.
(If you’re not looking to spend that much up front, know that you can use your smartphone or tablet — and most will record 4k quality video.)
- Audio mixer. Should you opt to shoot your video podcast with a more professional camera, you’ll also need a tool to record audio, like this reasonably priced channel mixer from Yamaha.
- Video streaming software. Creating a successful video podcast isn’t just about shipping an episode. Tools like Switcher Studio empower podcast creators to take their content farther with tools built for growth, post-production, and monetization.
How do I start recording my first podcast?
You’ve assembled the gear, you’ve picked a location for your studio, and you’ve dressed your set. Guess what? You’re ready to record your first video podcast!
If you’re not live streaming your show, you can exhale a bit. You have some freedom to take multiple takes on certain aspects of your show or interview. And, if you stumble over something, pause and give yourself an edit point so that you can clean up the episode in post.
And, speaking of post production, Switcher’s live editing is simplifying how podcast producers package their shows and repurpose content for additional distribution. Save time and optimize your video — and do it all with one app.
If you do decide to livestream, well . . . exhale again! With Switcher, you’re in very good hands: Sync up to 9 iOS cameras to create flawless multicam livestreams, edit from your iOS device while you livestream, and broadcast to any platform — like Twitch, YouTube, and even your own website!
Here’s the best part: If you’re on the fence about how Switcher can help you launch your in-home podcast studio, try it completely free for 14 days.
There’s no excuse, only an opportunity to produce the video podcast you’ve always dreamed of.
We’re live in 3 . . . 2 . . .
And, that’s it! You are now equipped with the basics to get an in-home video podcast studio off the ground. Hopefully you see just how easy — and affordable — it is to make your show a reality.
So bookmark this article for later reference, open a new tab, and start planning your podcast! Your audience is ready. Are you?
Subscribe to the blog
Sign up to receive notifications whenever a new blog post is published. You may unsubscribe at any time.

Share
About the Author
Julian R. Vaca is an actor, writer, and marketer. His work has appeared in The Nerd Daily, Writer's Digest, and more. His debut Young Adult series "The Memory Index" is available wherever books are sold. Connect with Julian on Instagram: @JulianRayVaca
All posts by Julian R. Vaca