When it comes to creating graphics, Pixlr is top-of-the-line. Available on both Windows and Mac browsers free-of-charge, Pixlr is a cloud-based set of image tools. Experienced Photoshop users will be right at home with Pixlr’s interface, since Pixlr's interface and utilities mimic the style of the traditional Adobe Photoshop.

Since its release in 2008, Pixlr has consistently found itself ranked within Time’s Top 50 websites each year. As a solution that anyone can use, it is easier than ever to create graphics for your recordings and broadcasts using Pixlr. To see how to create a video graphics, such as logos and lower-thirds, simply follow the steps in the tutorial below:
The Pixlr Graphics Process
This guide will show you how to create graphics for your productions using Pixlr. Remember that there is no right way to create lower-thirds or logos. Always do what feels natural for your company’s style and feel while creating graphics.
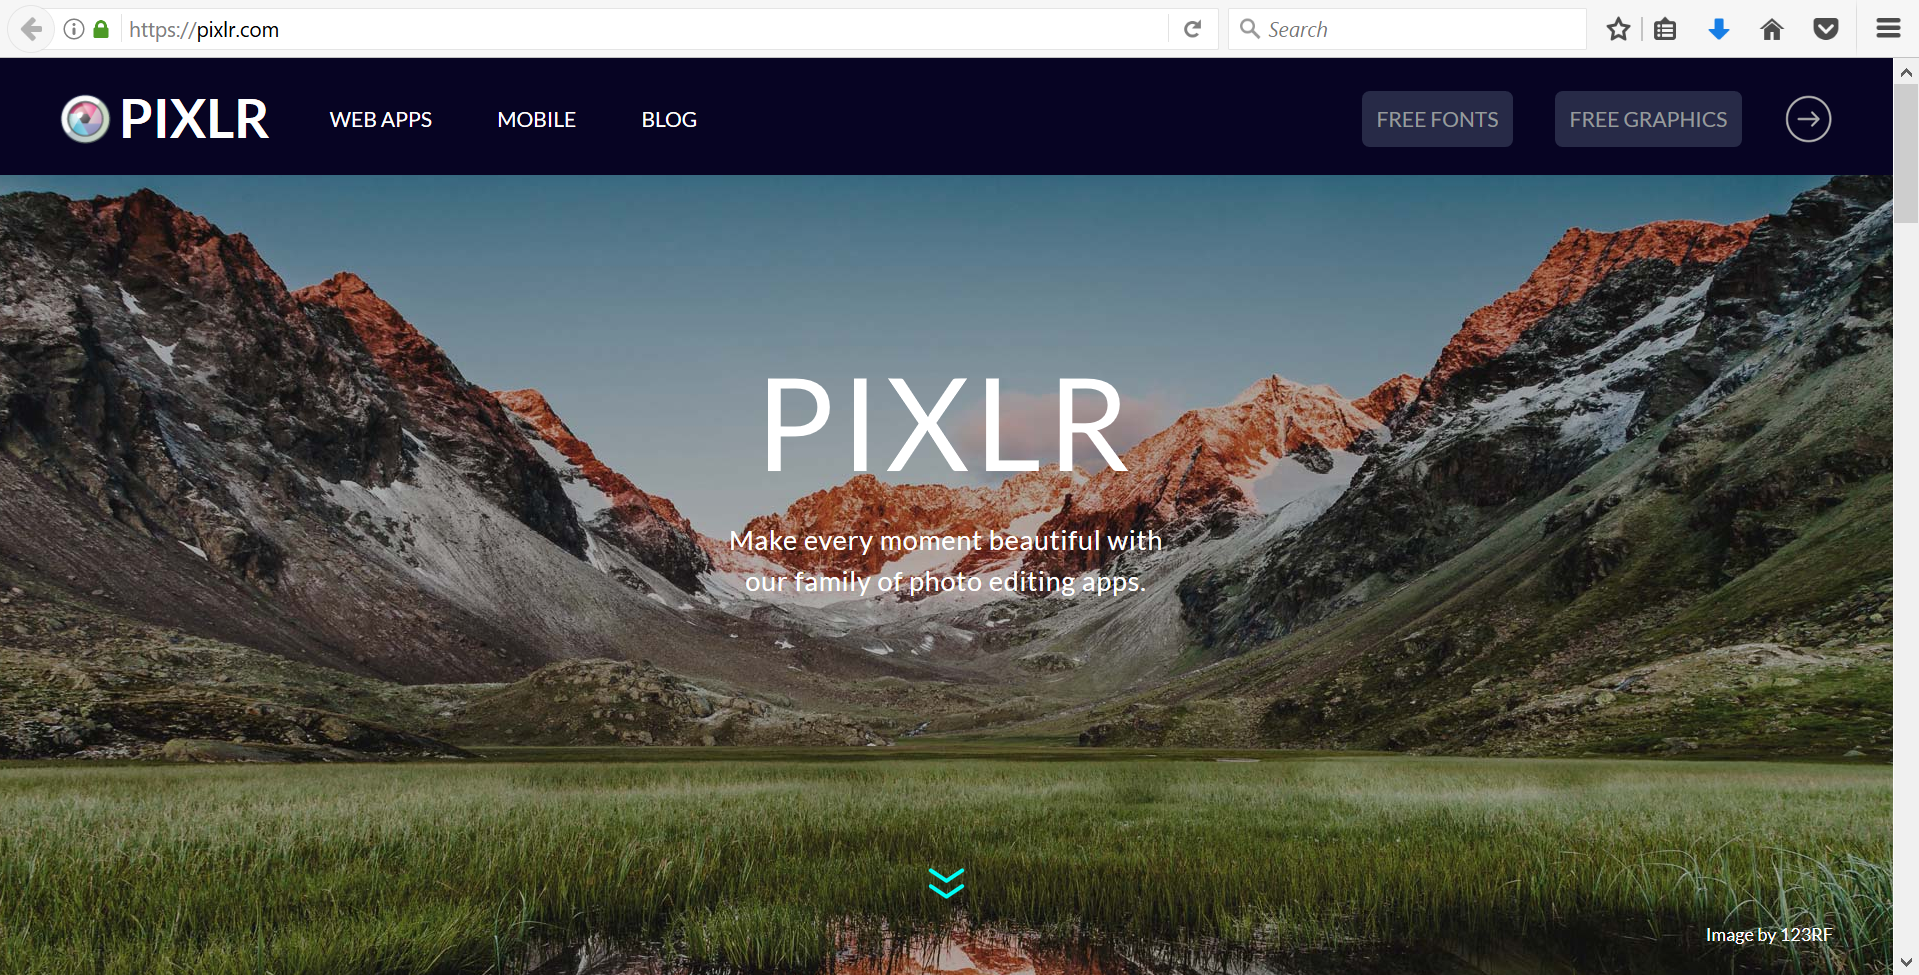
- Navigate to Pixlr.com. A generic splash screen greets you to let you know that you are in the right place.
 Scroll down until you see the options for Pixlr Editor and Pixlr Express. Use Pixlr Express for quick edits to images, such as teeth-whitening, red-eye reduction, and adding borders. To create lower-thirds and logos, we want to use Pixlr Editor. Click on the Launch Web App button to enter the Editor.
 - You will now see the Pixlr Editor menu. You will notice that this screen is standard to many other popular graphics editors. Select Create A New Image to create your new graphics.
- Here, you will customize your graphic’s look. First, give it a name. This will help you to locate it later when needed. Under Presets, select “Movie 1080p”. This will give you dimensions of 1920x1080p, which is standard for all broadcasts. Lastly, select the checkbox next to Transparent so that there is a checkmark in the box. This is very important. Once you finish, select OK.
- Now, the design window of Pixlr appears. Select the Drawing Tool from the menu on the left-hand side of your screen to create shapes for your graphic. Click on the black box next to Fill Shape in order to change the color of your shapes. Click on the Text icon from the menu on the left-hand side of the screen to add text to the graphic.
- It’s time to save your work. Click on File in the top-left corner, and select Save… My Computer is automatically selected. If you have created a free Pixlr account, you can also select My Library to save your design to Pixlr’s Cloud.
- For graphics where transparent backgrounds are needed, select PNG (Transparent, full quality) under the Format option. This enables transparency when your overlay is in use. After this, select OK. Lastly, select where on your computer to save your new graphic.
- Now, import your new graphic into your video editing program. Feel free to use your new graphic as a template to quickly generate similar graphics in the future.
To learn how to import lower-thirds into Switcher Studio, check out this helpful guide!
#GetOut. #GoLive. #BeAwesome.
Subscribe to the blog
Sign up to receive notifications whenever a new blog post is published. You may unsubscribe at any time.

Share
About the Author

As Customer Support Manager, Angela seeks to keep users knowledgeable on Switcher's ever-evolving features and how they boost live video potential. She's also a Switcher user herself and uses the software to produce both live and recorded content for multiple platforms.
All posts by Angela Nicole Cobble